

If cooking is a giant chemistry experiment, fermentation is a lesson in biology. Preservation is a happy marriage of these two sciences.
Easy Counter-Top Pickles
Lately, between the Community Supported Agriculture (CSA) basket I purchased for the summer (check out Miller Farms if you live in Northern Colorado!) and a very generous co-worker (THANK YOU, Tracy!), I have almost too many veggies to eat.
In an effort to avoid letting any of my amazing veggies go to waste, I’ve been dabbling in the art of food preservation. Because I don’t have any canning equipment (or any room to store it if I did), the two main experiments I’ve been conducting are pickling and fermentation.
I’m excited to share two recipes with you today (Counter-Top Pickles and Fermented Sauerkraut) to briefly explain the difference between the two and give you an easy (and yummy!) chance to try your own hand at food preservation.
Fermented Sauerkraut
Before you try your hand at fermenting, pickling, or canning at home, let me issue a safety disclaimer: I am not an expert in these sciences. If you’re new to it, too, I would recommend reading up a bit about the process online here or here, or by purchasing a pickling book. Science Friday also has a great interview with the author of The Art of Fermentation that explains a little more about the process and answers a few questions.
If you’re going to experiment, follow the instructions that you’re given. There are some rules about the concentration of vinegar and/or salt that you should follow unless you’re using Grandma’s tried-and-true recipe. But if you’re following Grandma’s instruction instead of a recipe, make sure you use the same products that she did. For example, fermenting vegetables in plastic (that didn’t exist 100 years ago) is NOT a good idea.
According to the USDA, there have been no documented cases of a foodborne illness related to fermenting vegetables. However, the Centers for Disease Control and Prevention (the CDC) has documented a handful of cases of botulism from home-fermented tofu and some other traditional products in Alaska.
Botulism is a pretty big deal. Clostridium botulinum is the organism we’re talking about, which happens to be all around us and is usually quite harmless. However, under the right conditions, clostridium botulinum grows and produces a deadly nerve toxin. These are the conditions in which this happens:
-
Zero oxygen (anaerobic conditions)
-
High moisture, low-acid, low-salt
-
Room temperature (not refrigerated)
If you notice that your fermented food has an off-odor or you see signs of a bulging lid in your canned food, DO NOT EAT IT! Generally, fermenting food is really safe — I am a novice and have done many such science experiments in my kitchen and have lived to tell the tale — but I highly recommend doing a little research before making yourself sick.
Okay. Let’s start pickling.
Pickling
Simply speaking, pickling is the broad term for art of preserving a vegetable in a brine. Pickling can either be done by submersing vegetables in a brine of acid and salt OR can be done via fermentation (see below).
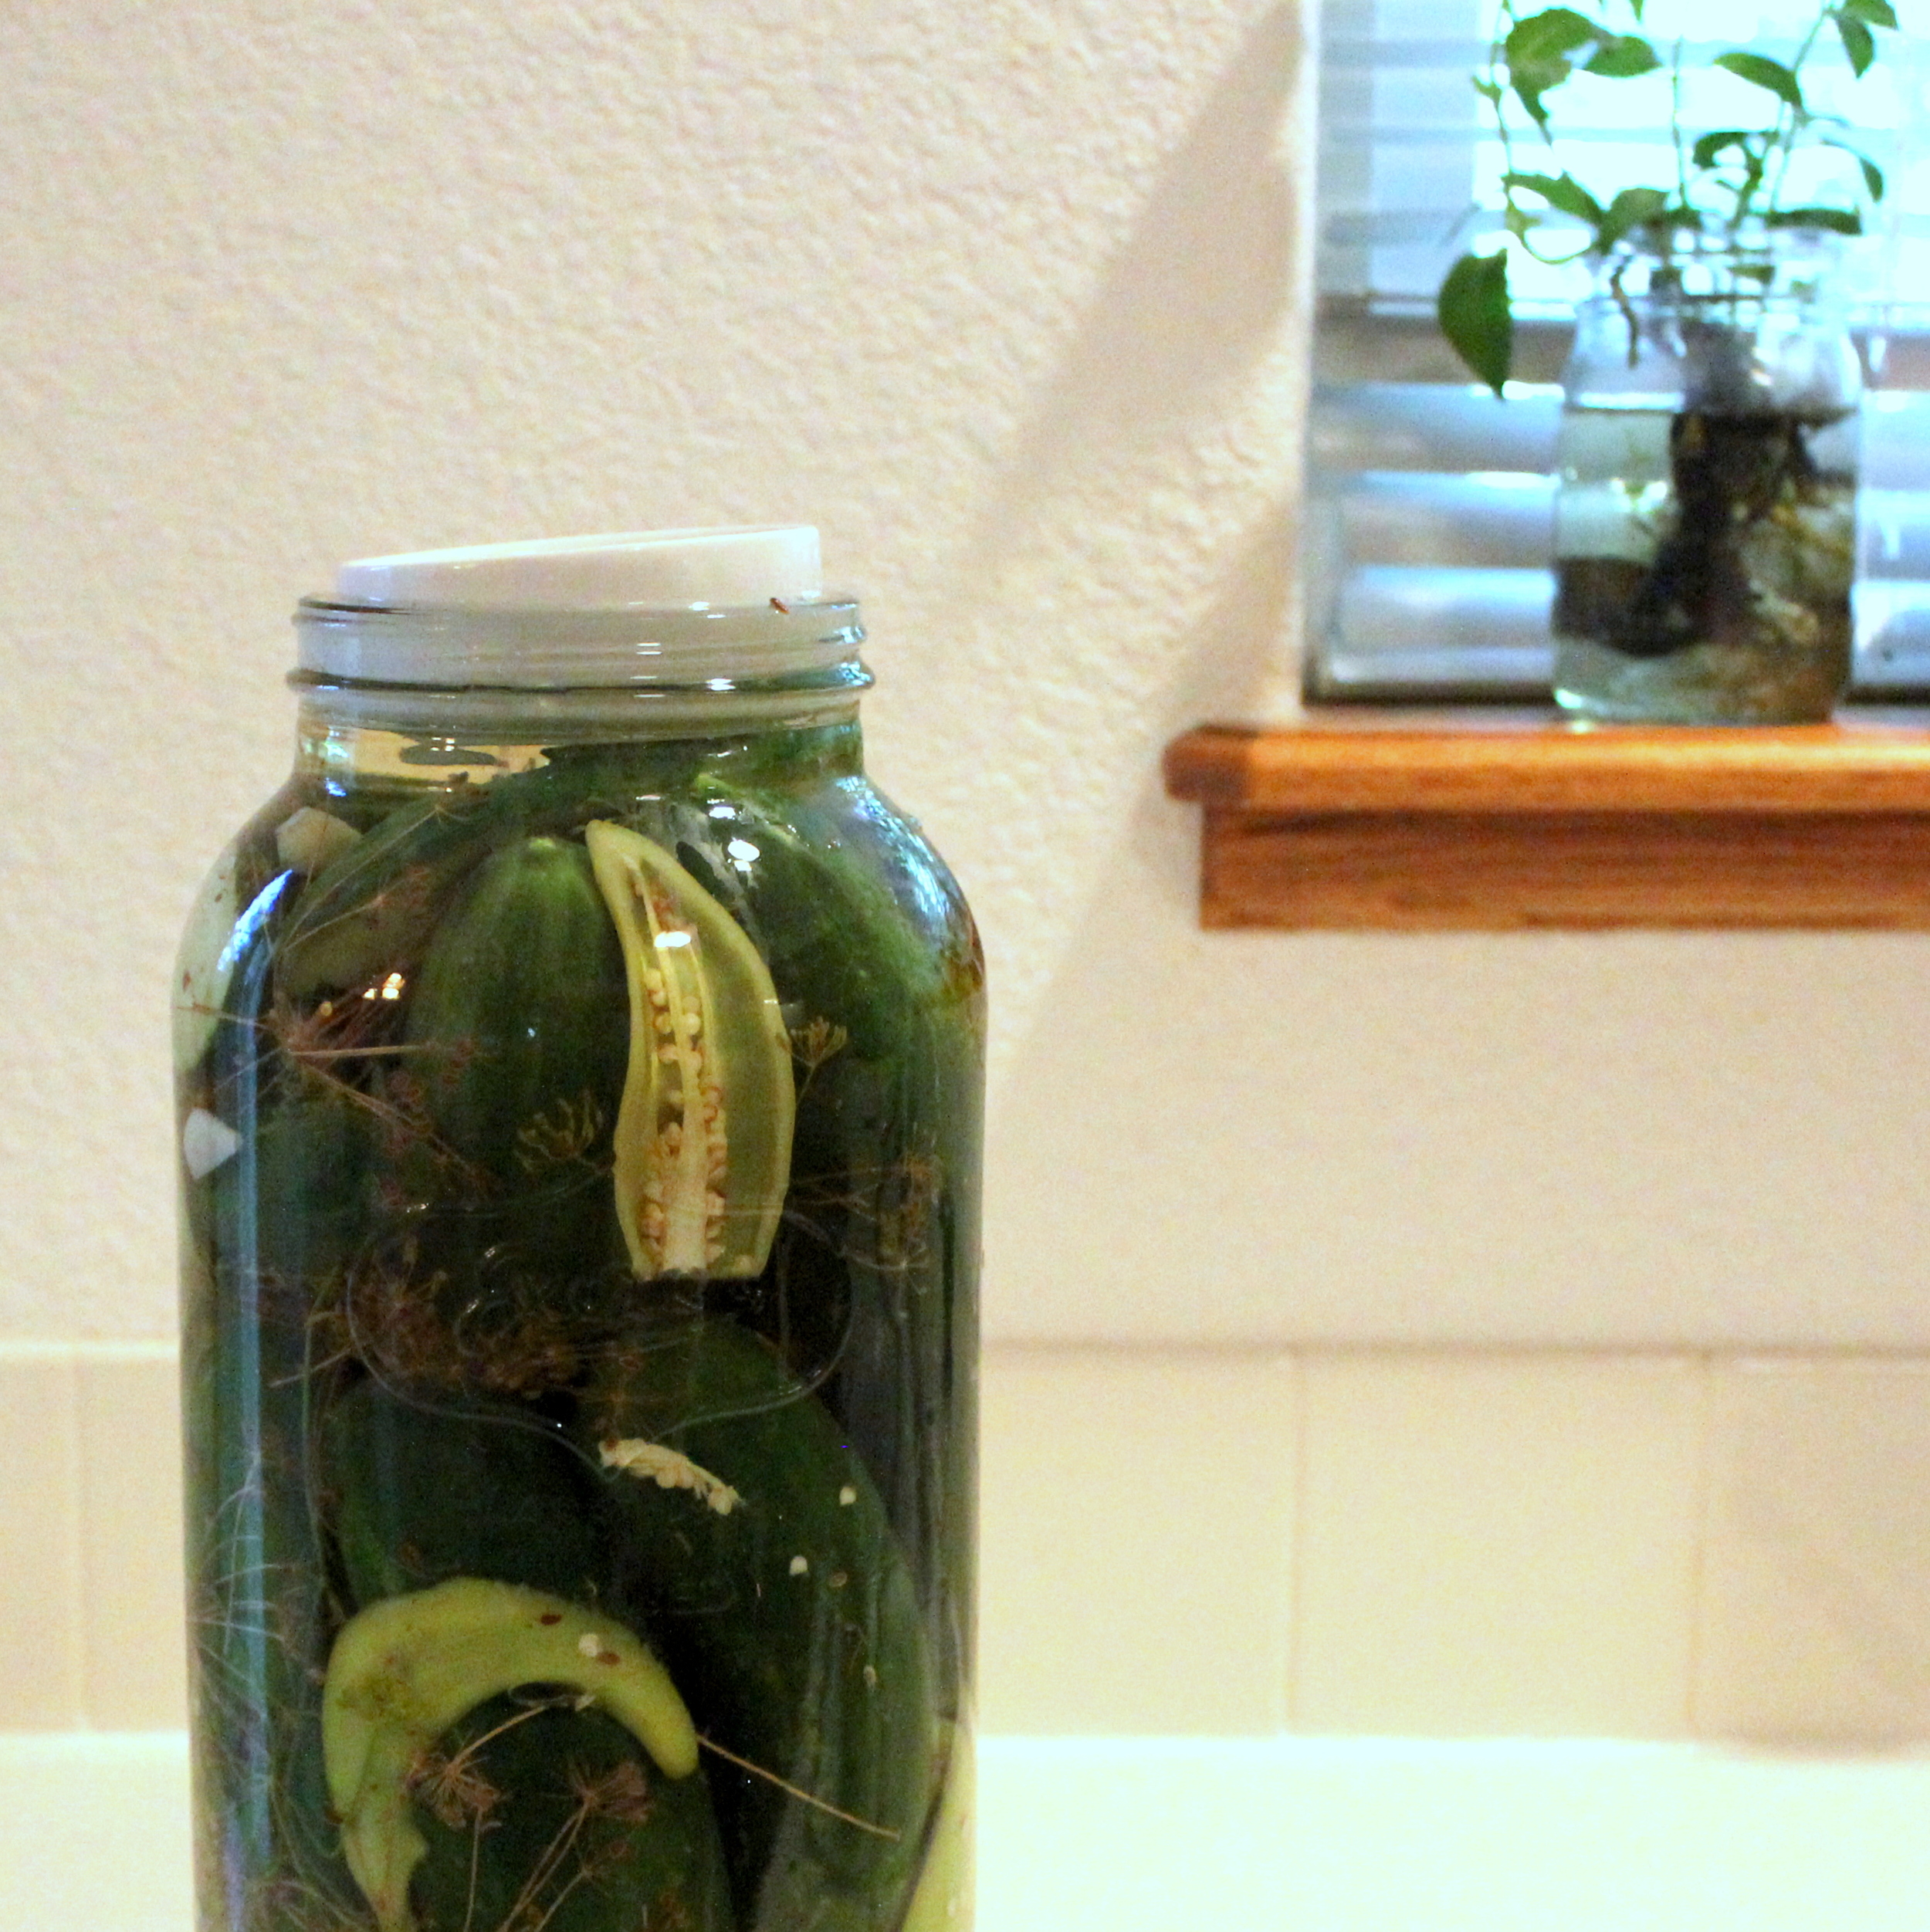
My aforementioned friend and co-worker, Tracy, shared this recipe for Easy Counter-Top Pickles that has been passed down for generations in her family. It’s a great example of the fresh-pack process for pickling in which a hot vinegar solution is poured over cucumbers.
This process is similar to that which is used to produce most of the pickles on the shelf in your grocery store. Note: there is a method for fermenting pickles, which would thus contain healthy probiotics. The process we’re discussing today won’t contain any healthy bacteria, as the acidity of the vinegar inhibits their growth.
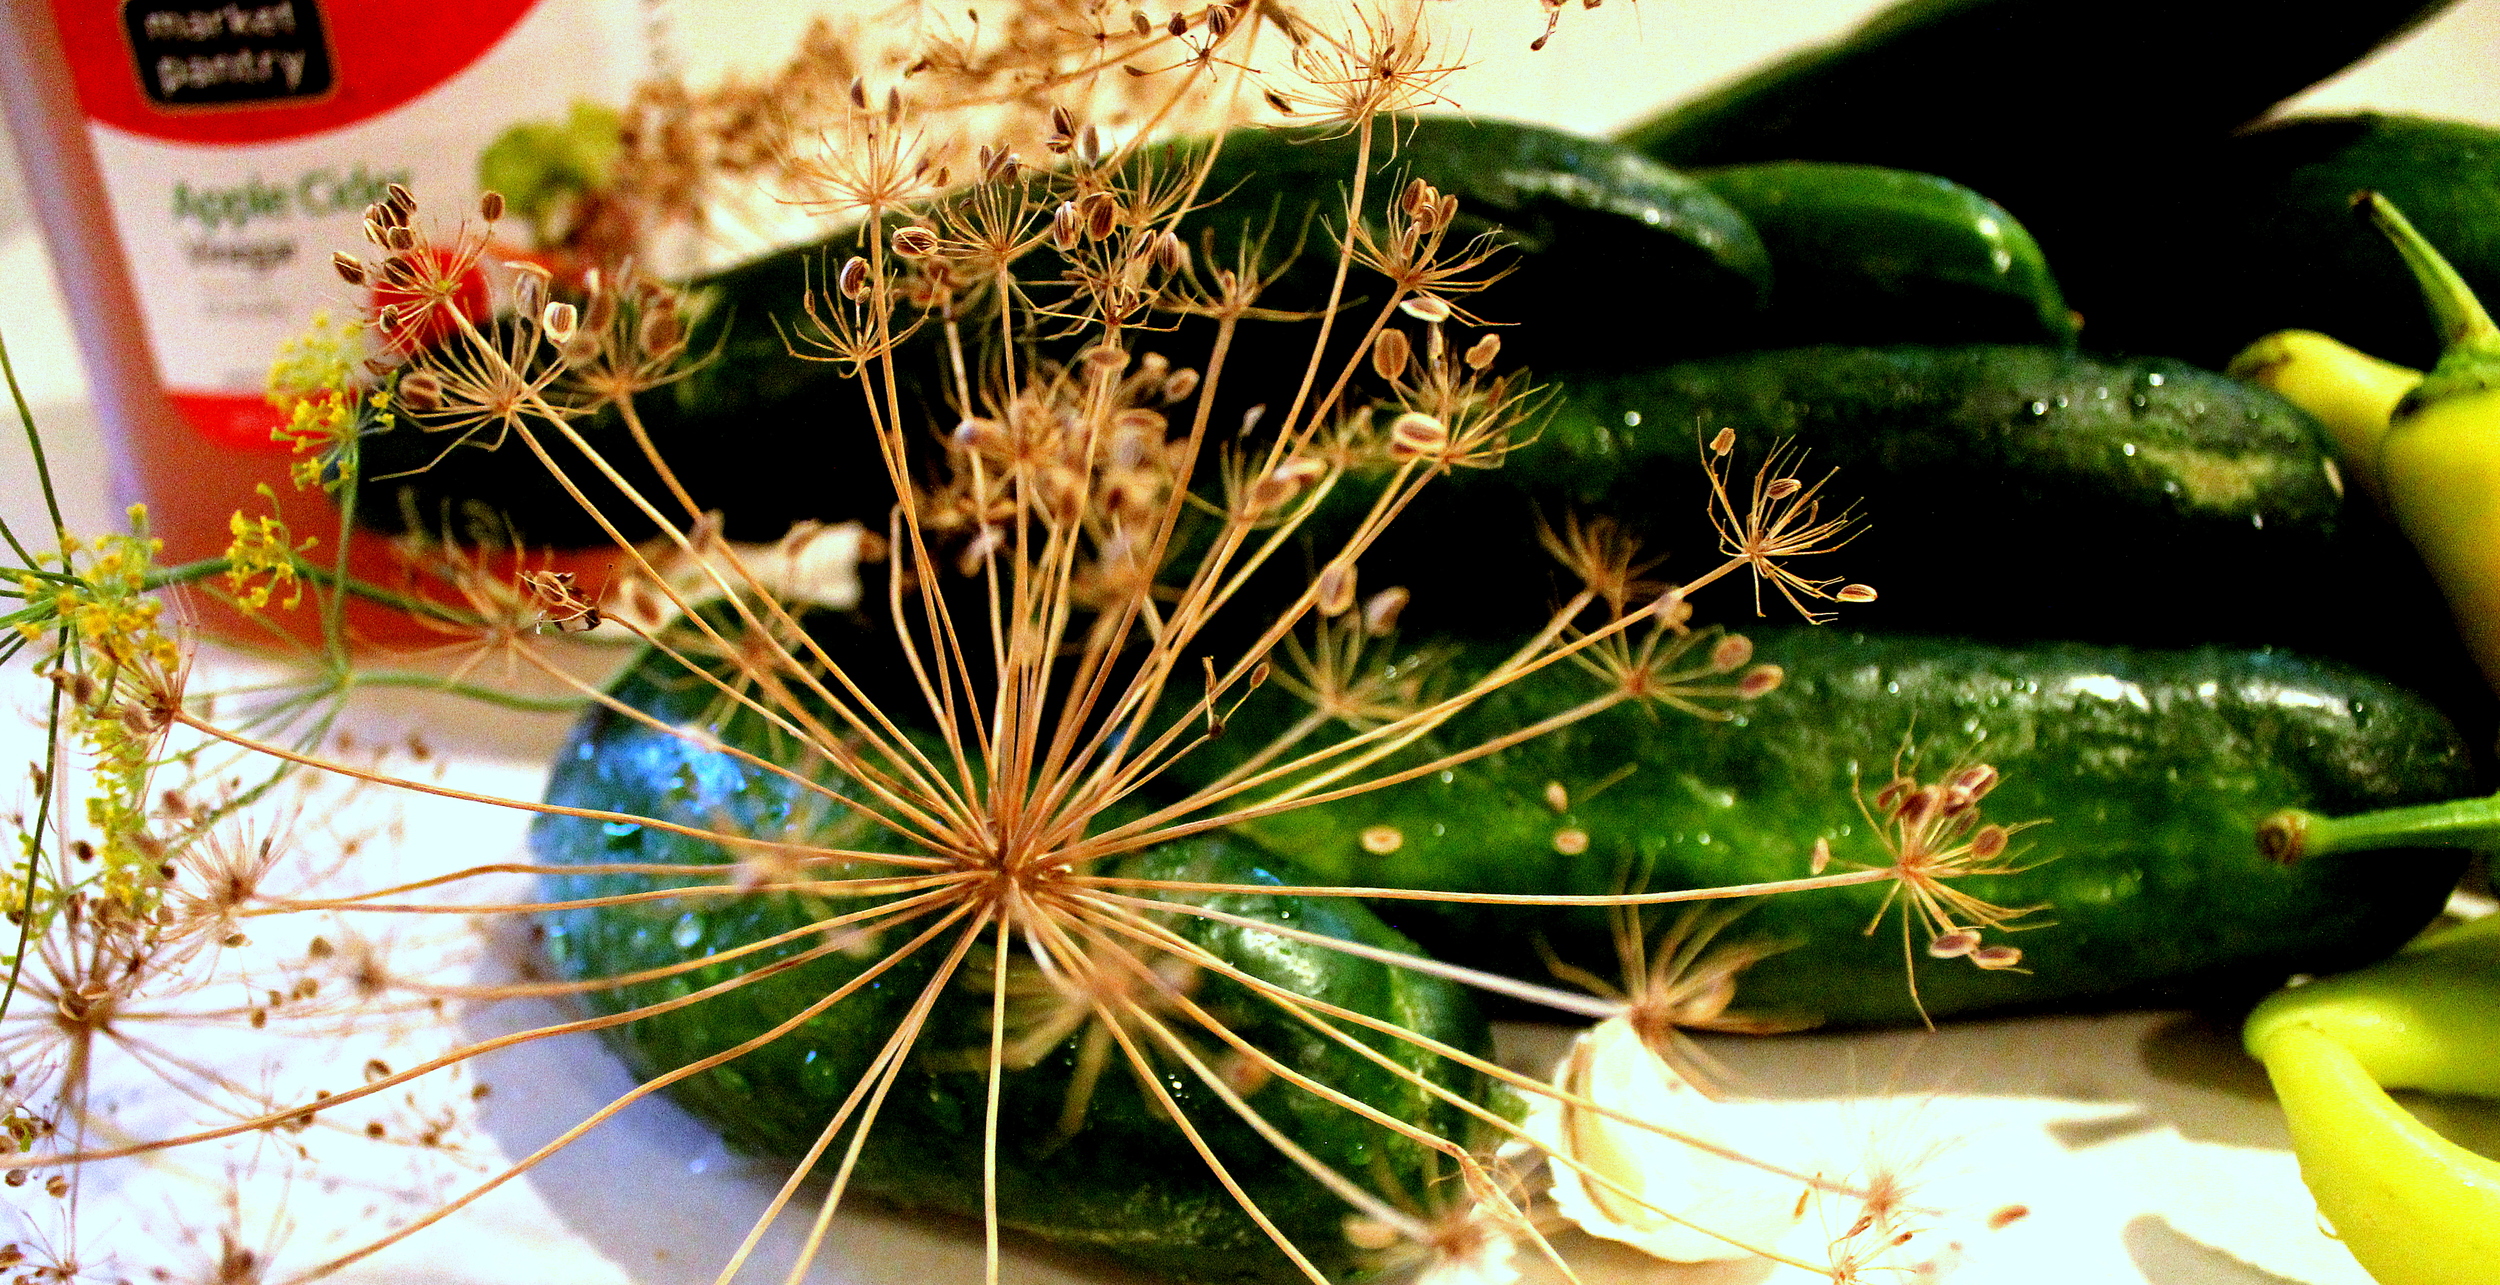
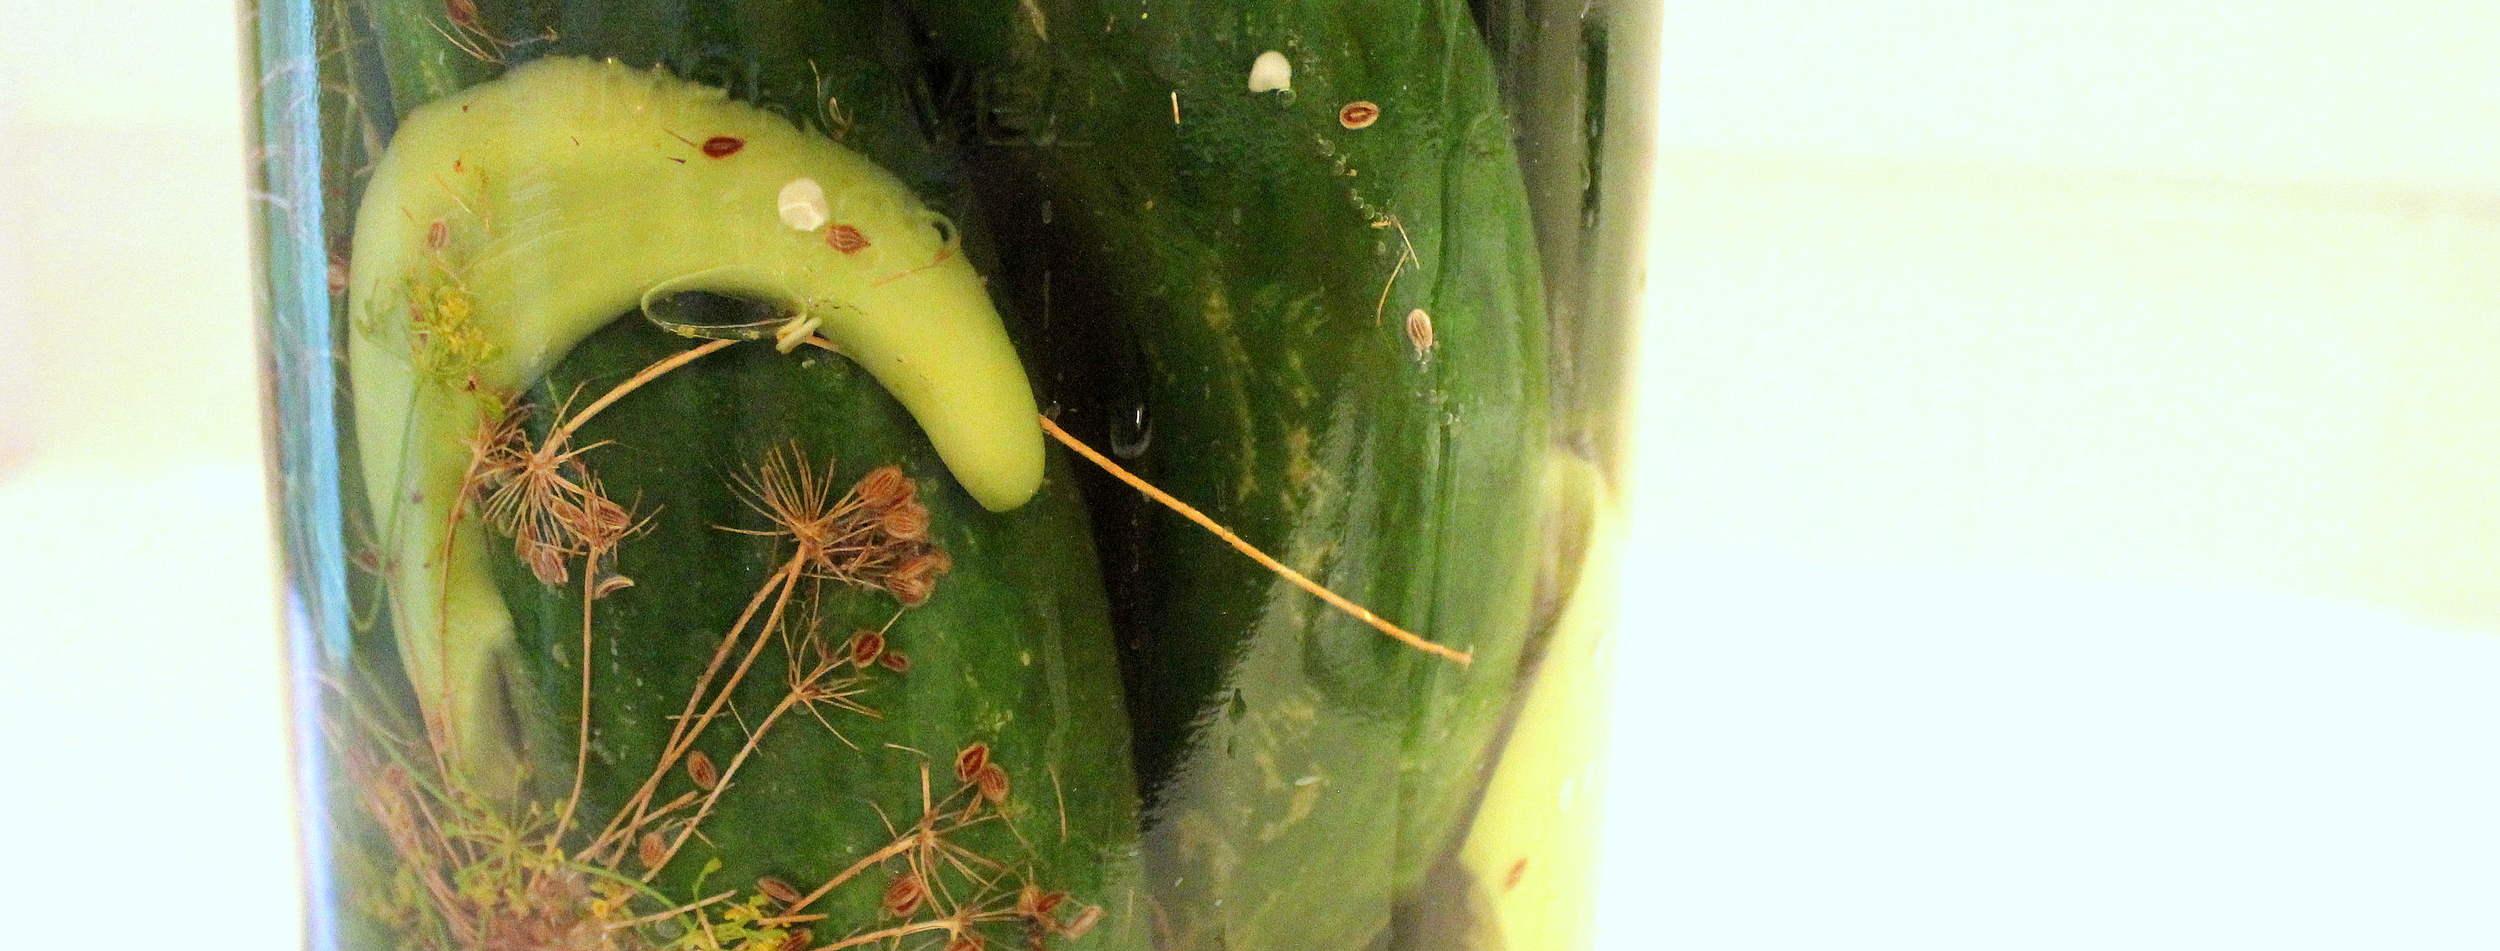
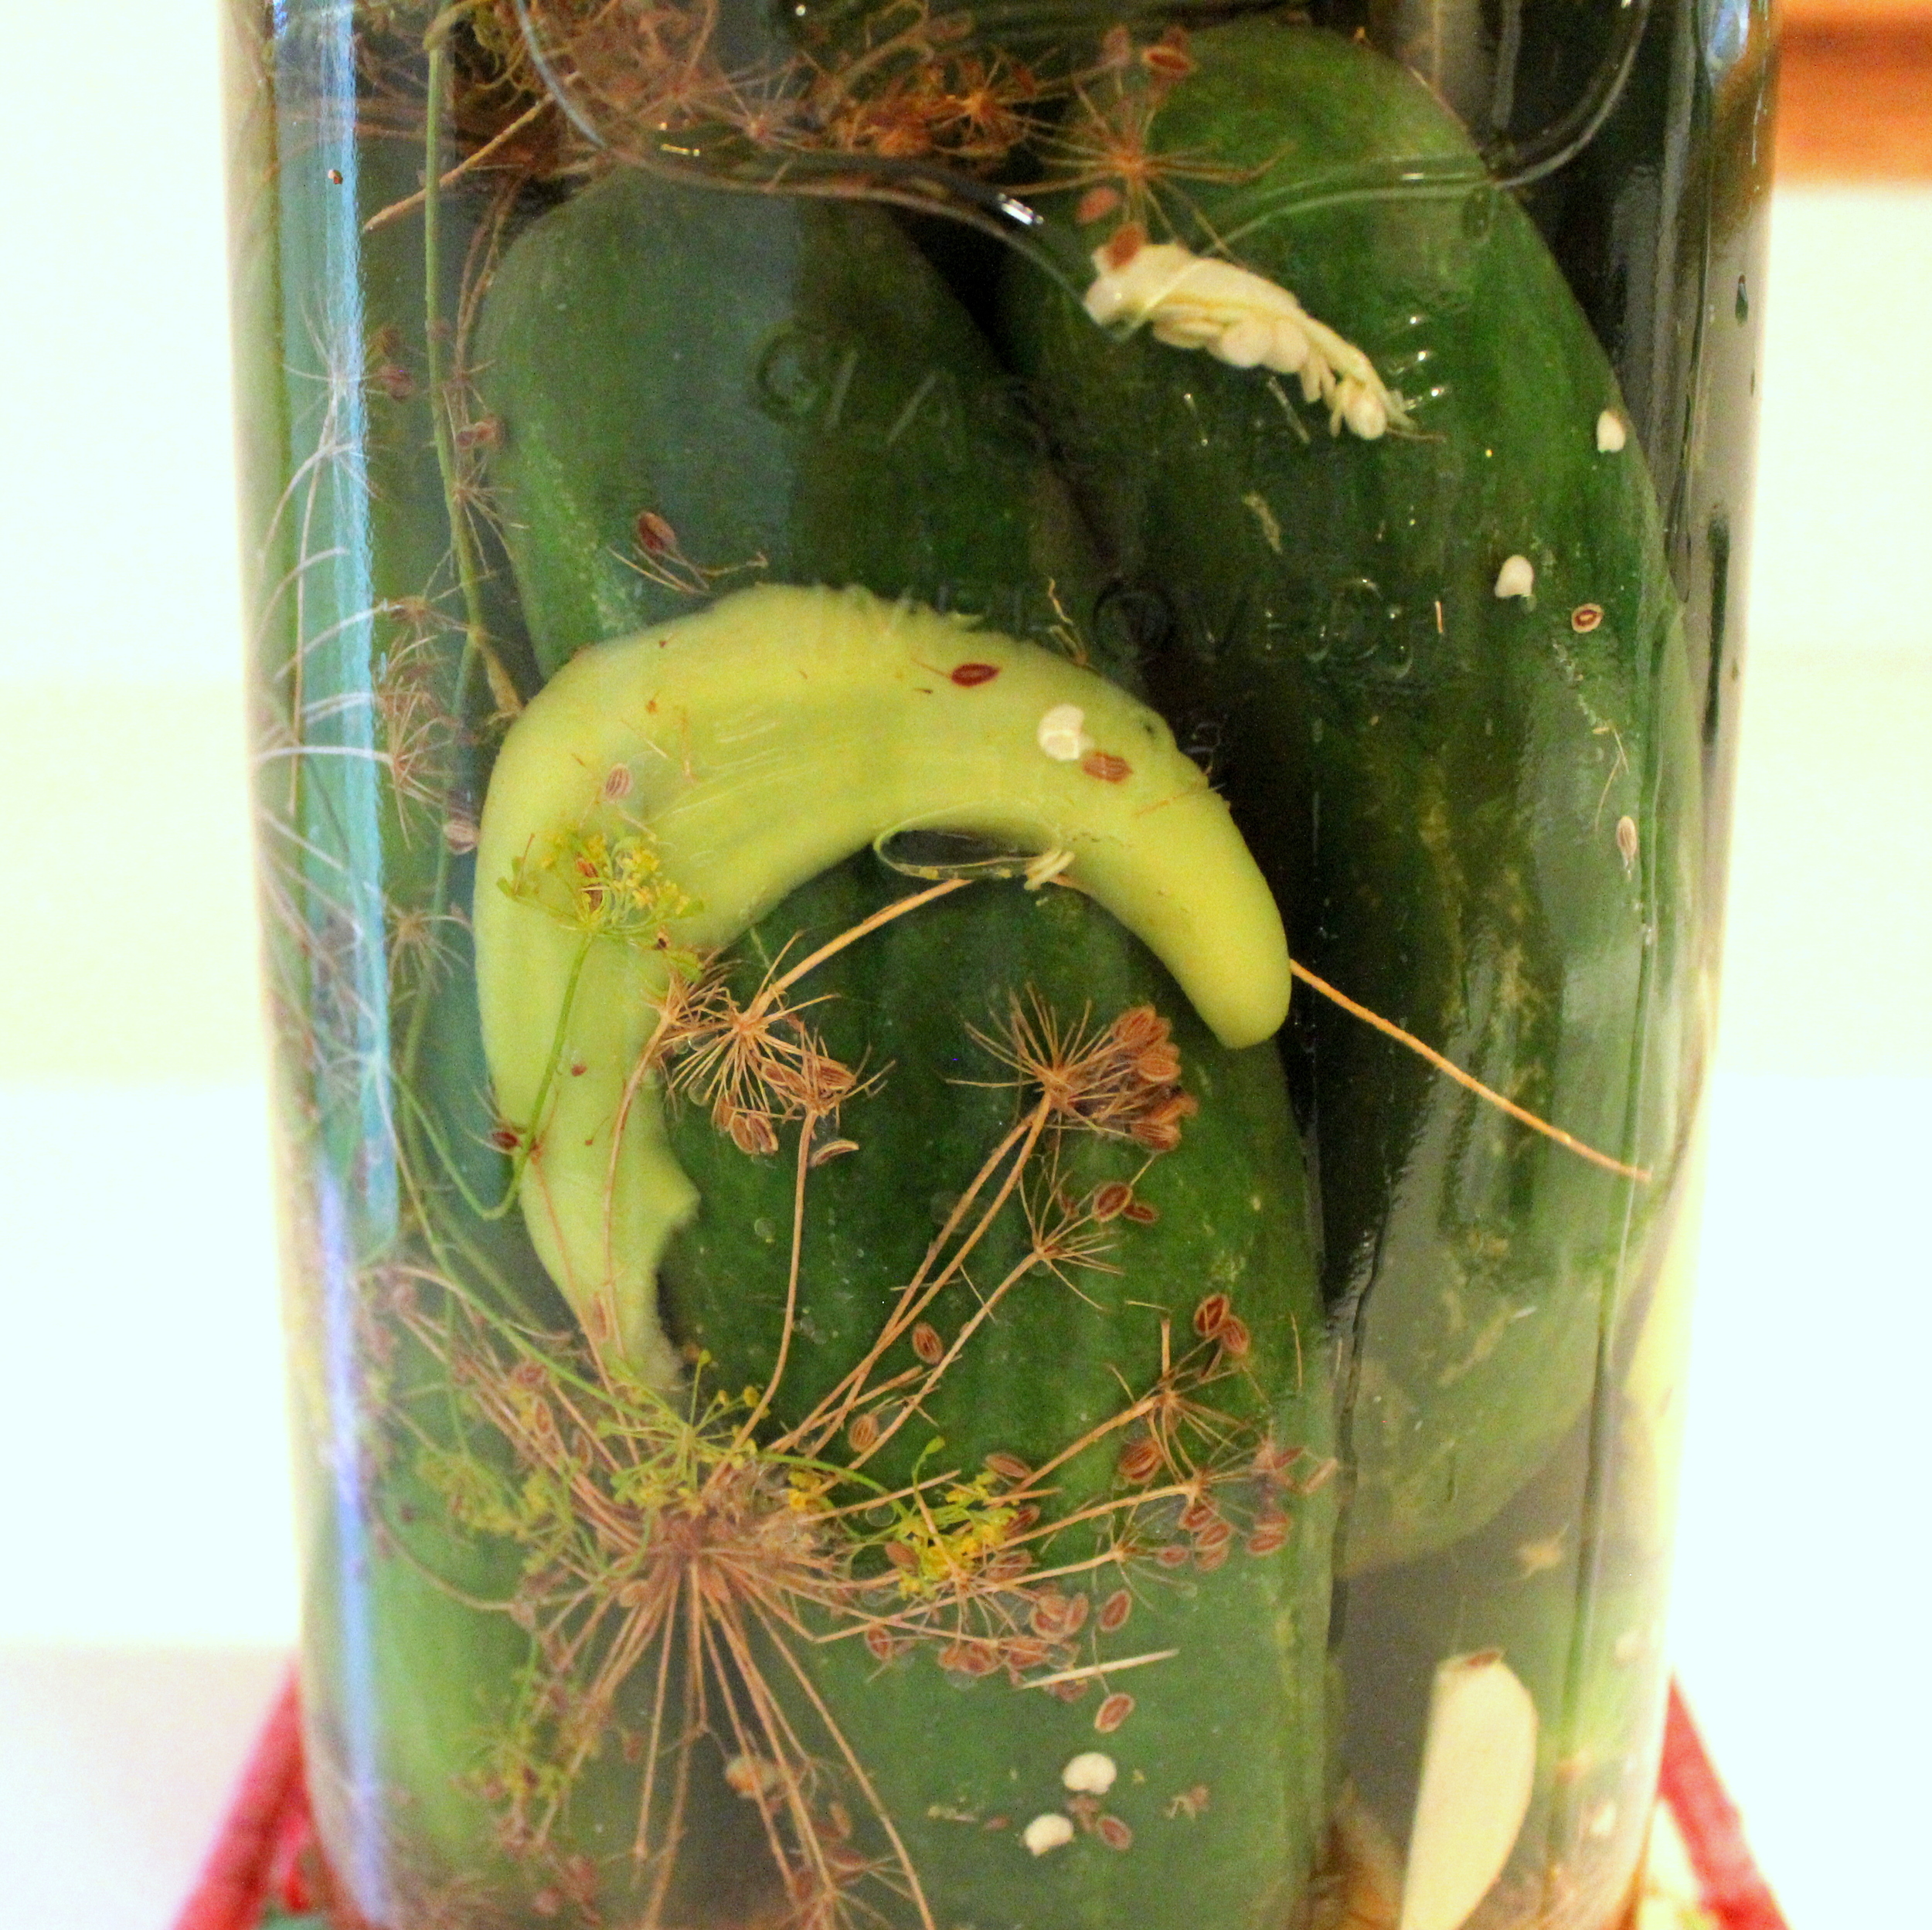
That plant in the front is dill!
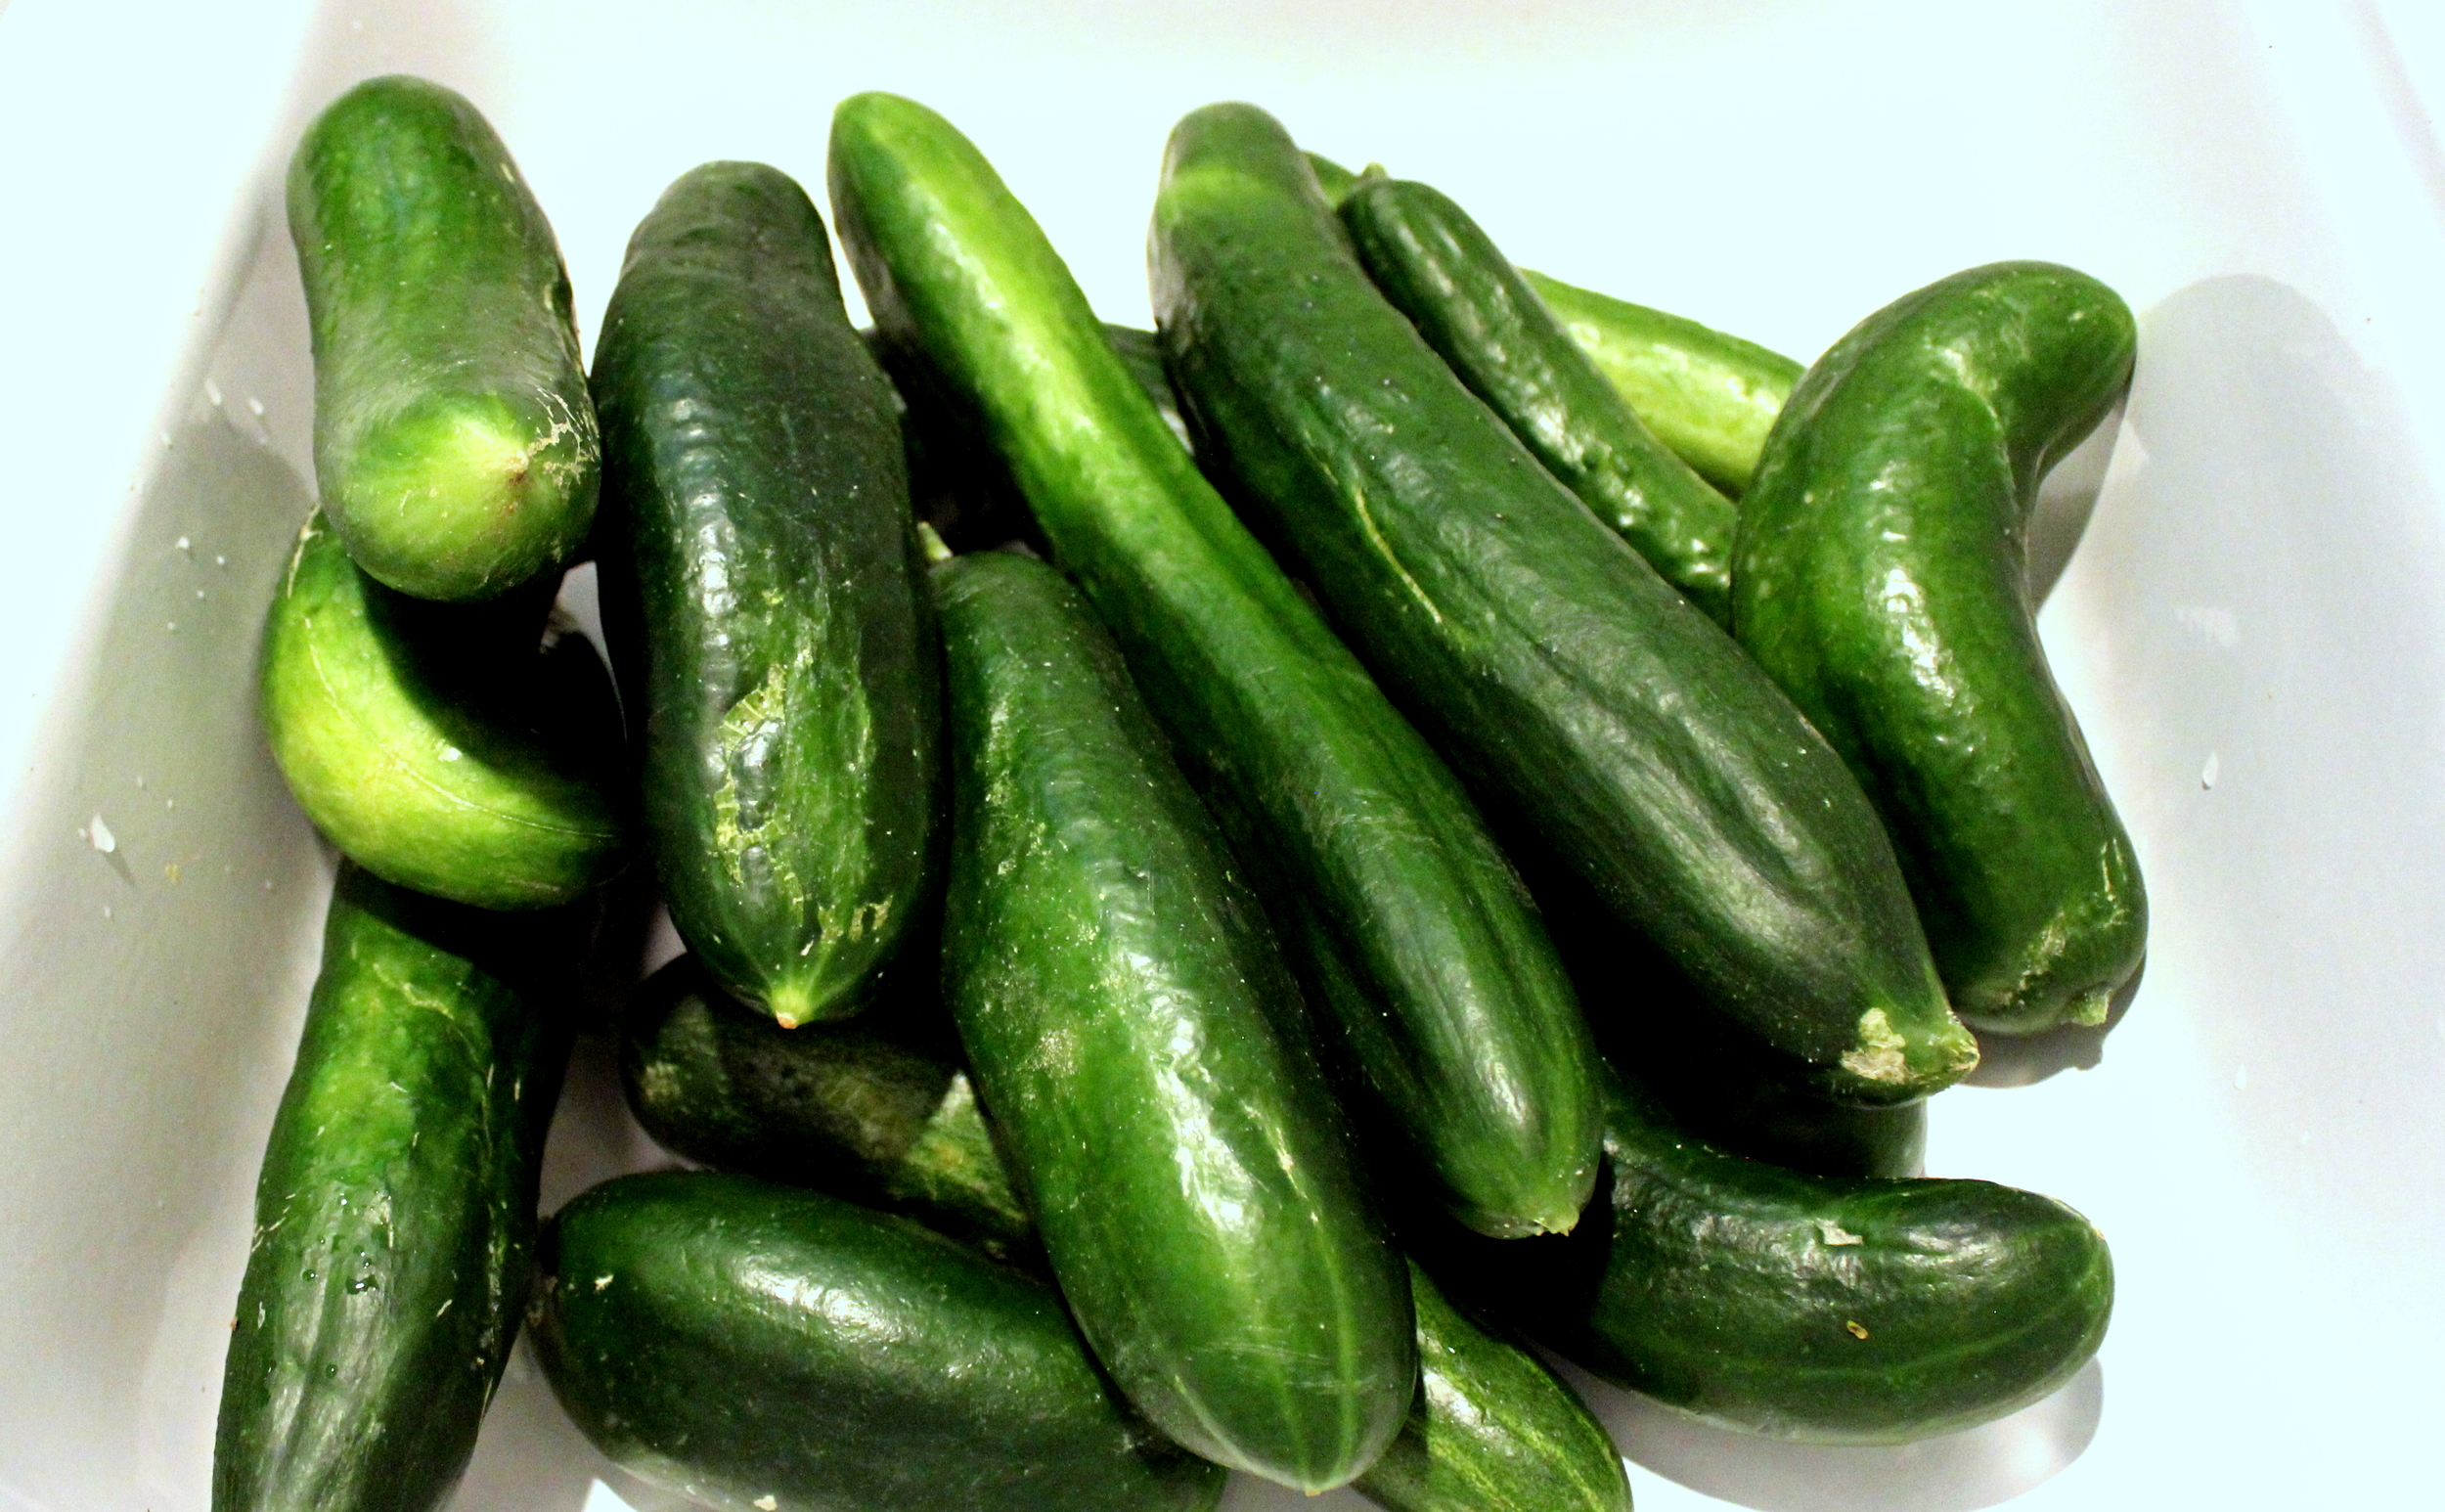
It’s best to use fresh cucumbers from the garden or local farmer’s market; most cucumbers in the grocery store have a thin layer of wax on the outside to help keep them fresh while they’re shipped across the country. Wash those cukes and a couple of banana peppers very well.
Slice the tops off the banana peppers and cut them in half. Peel and slice a couple of cloves of garlic.
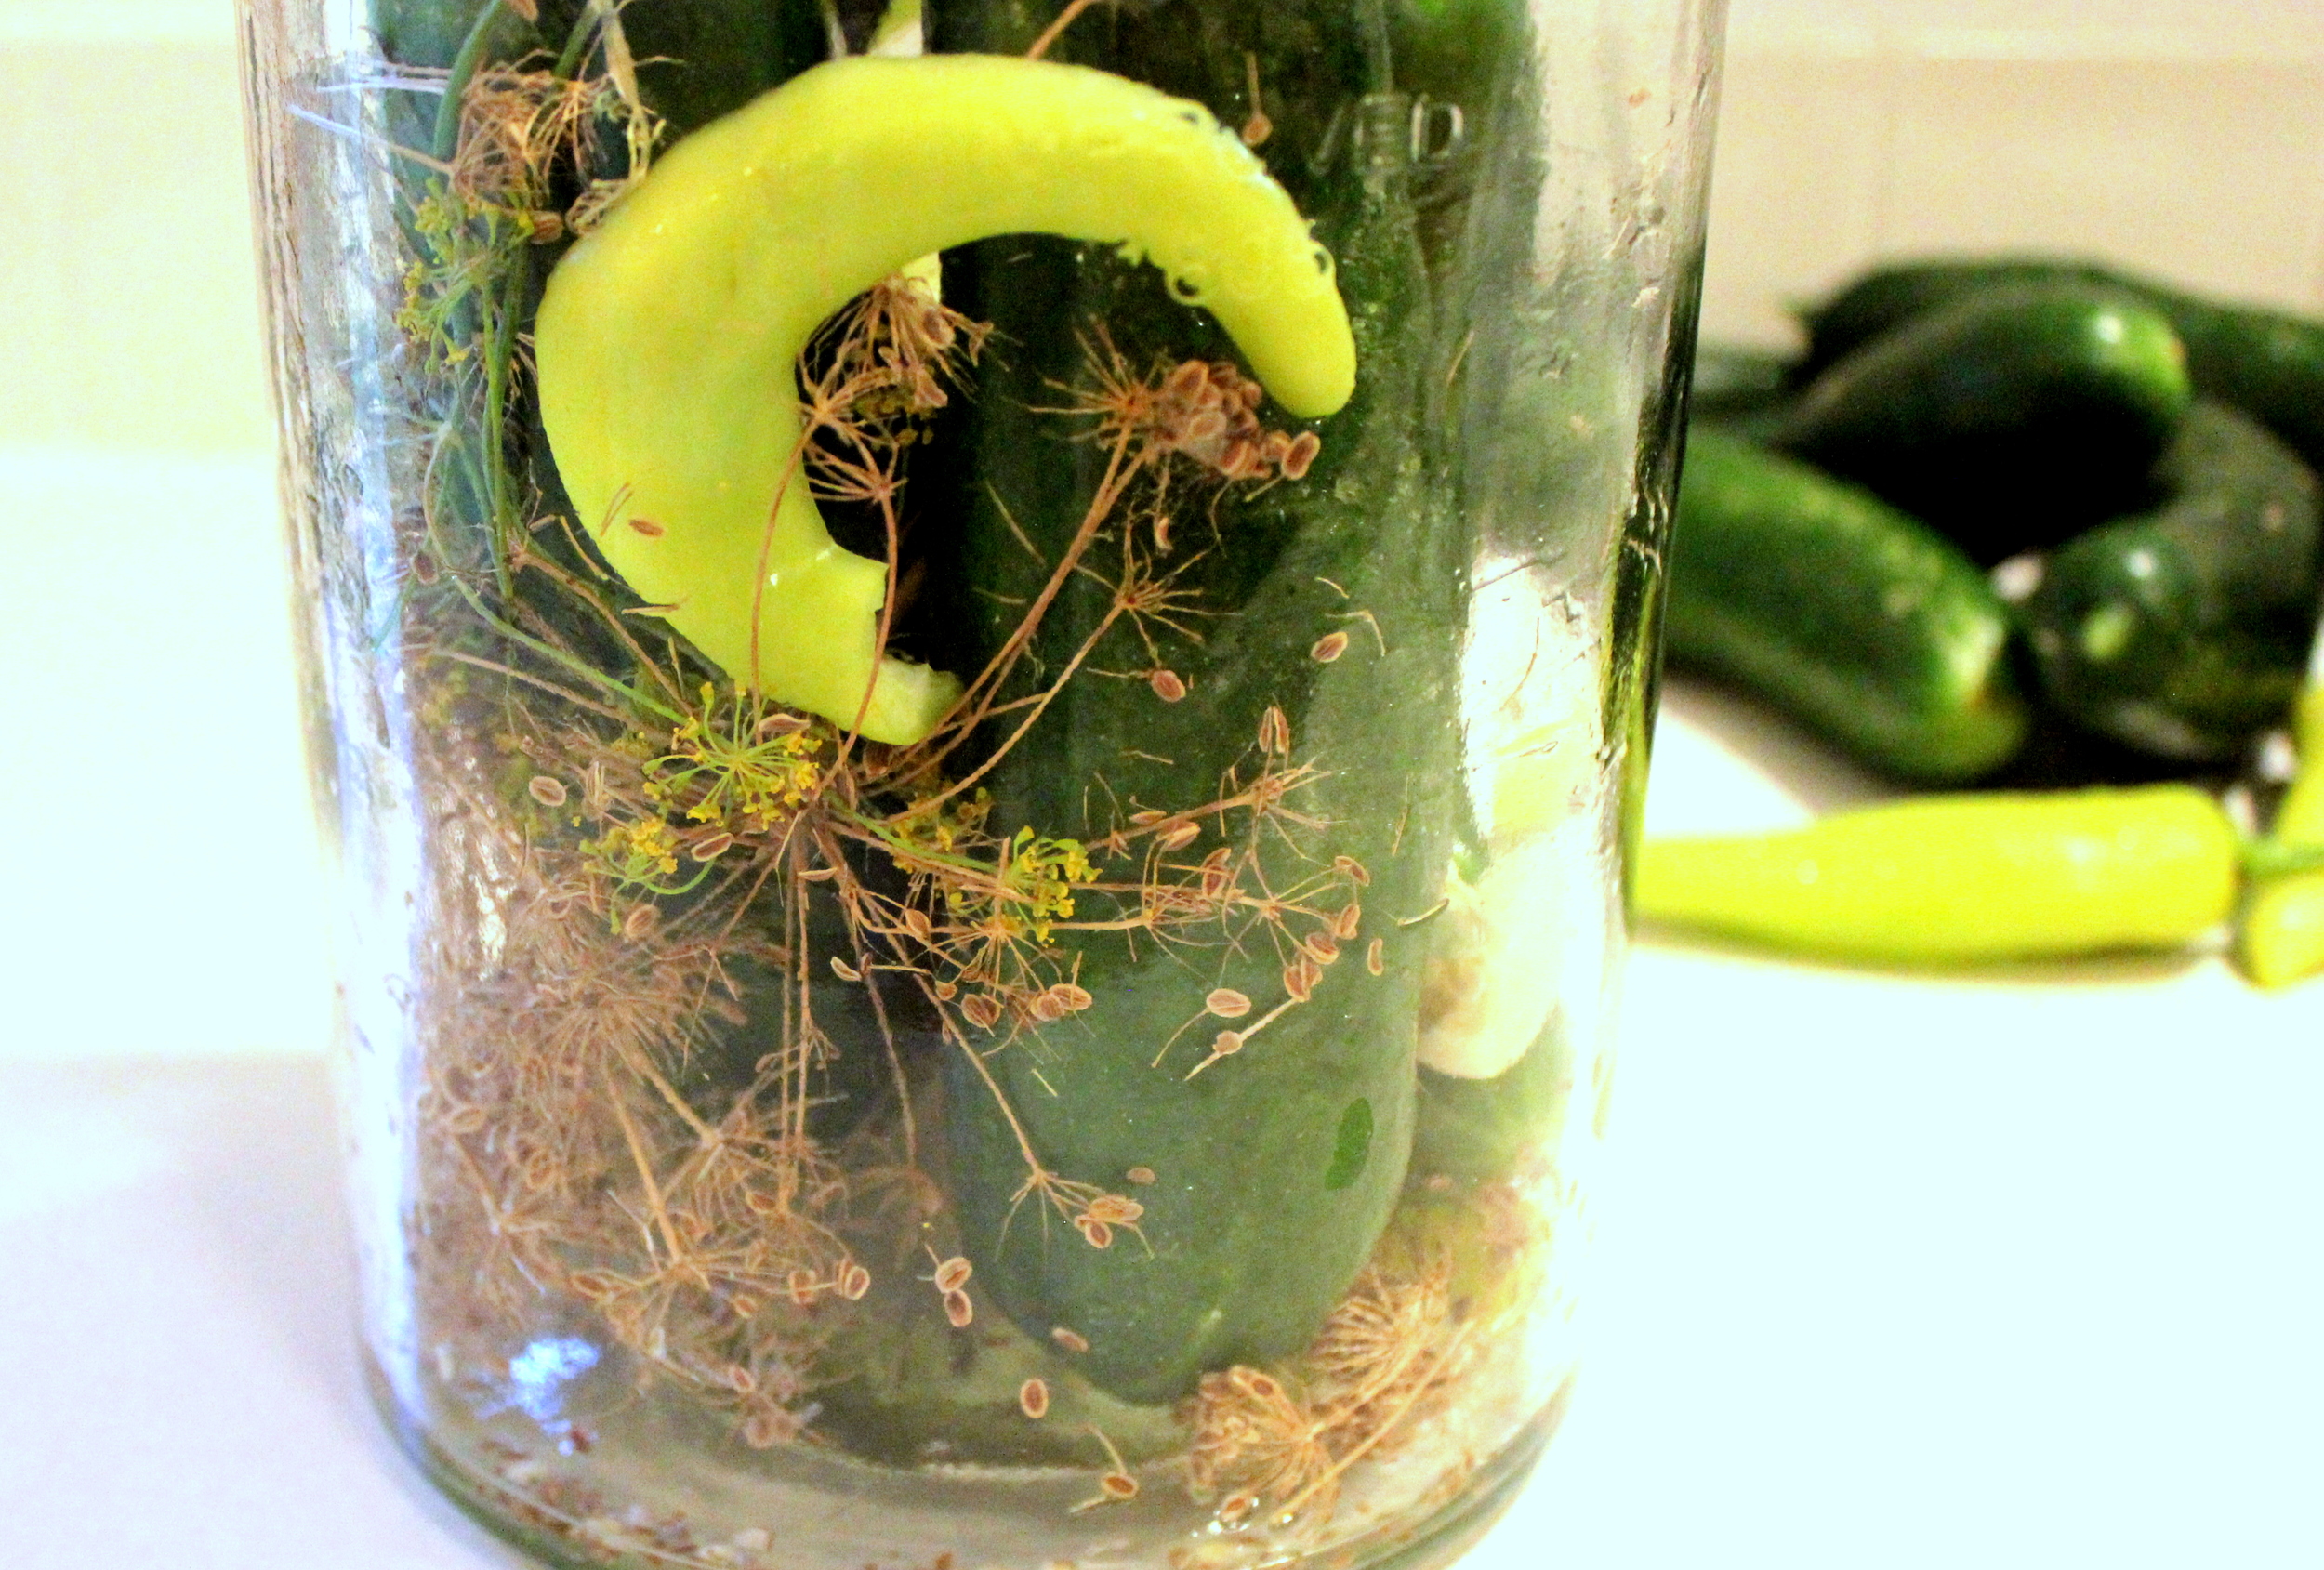
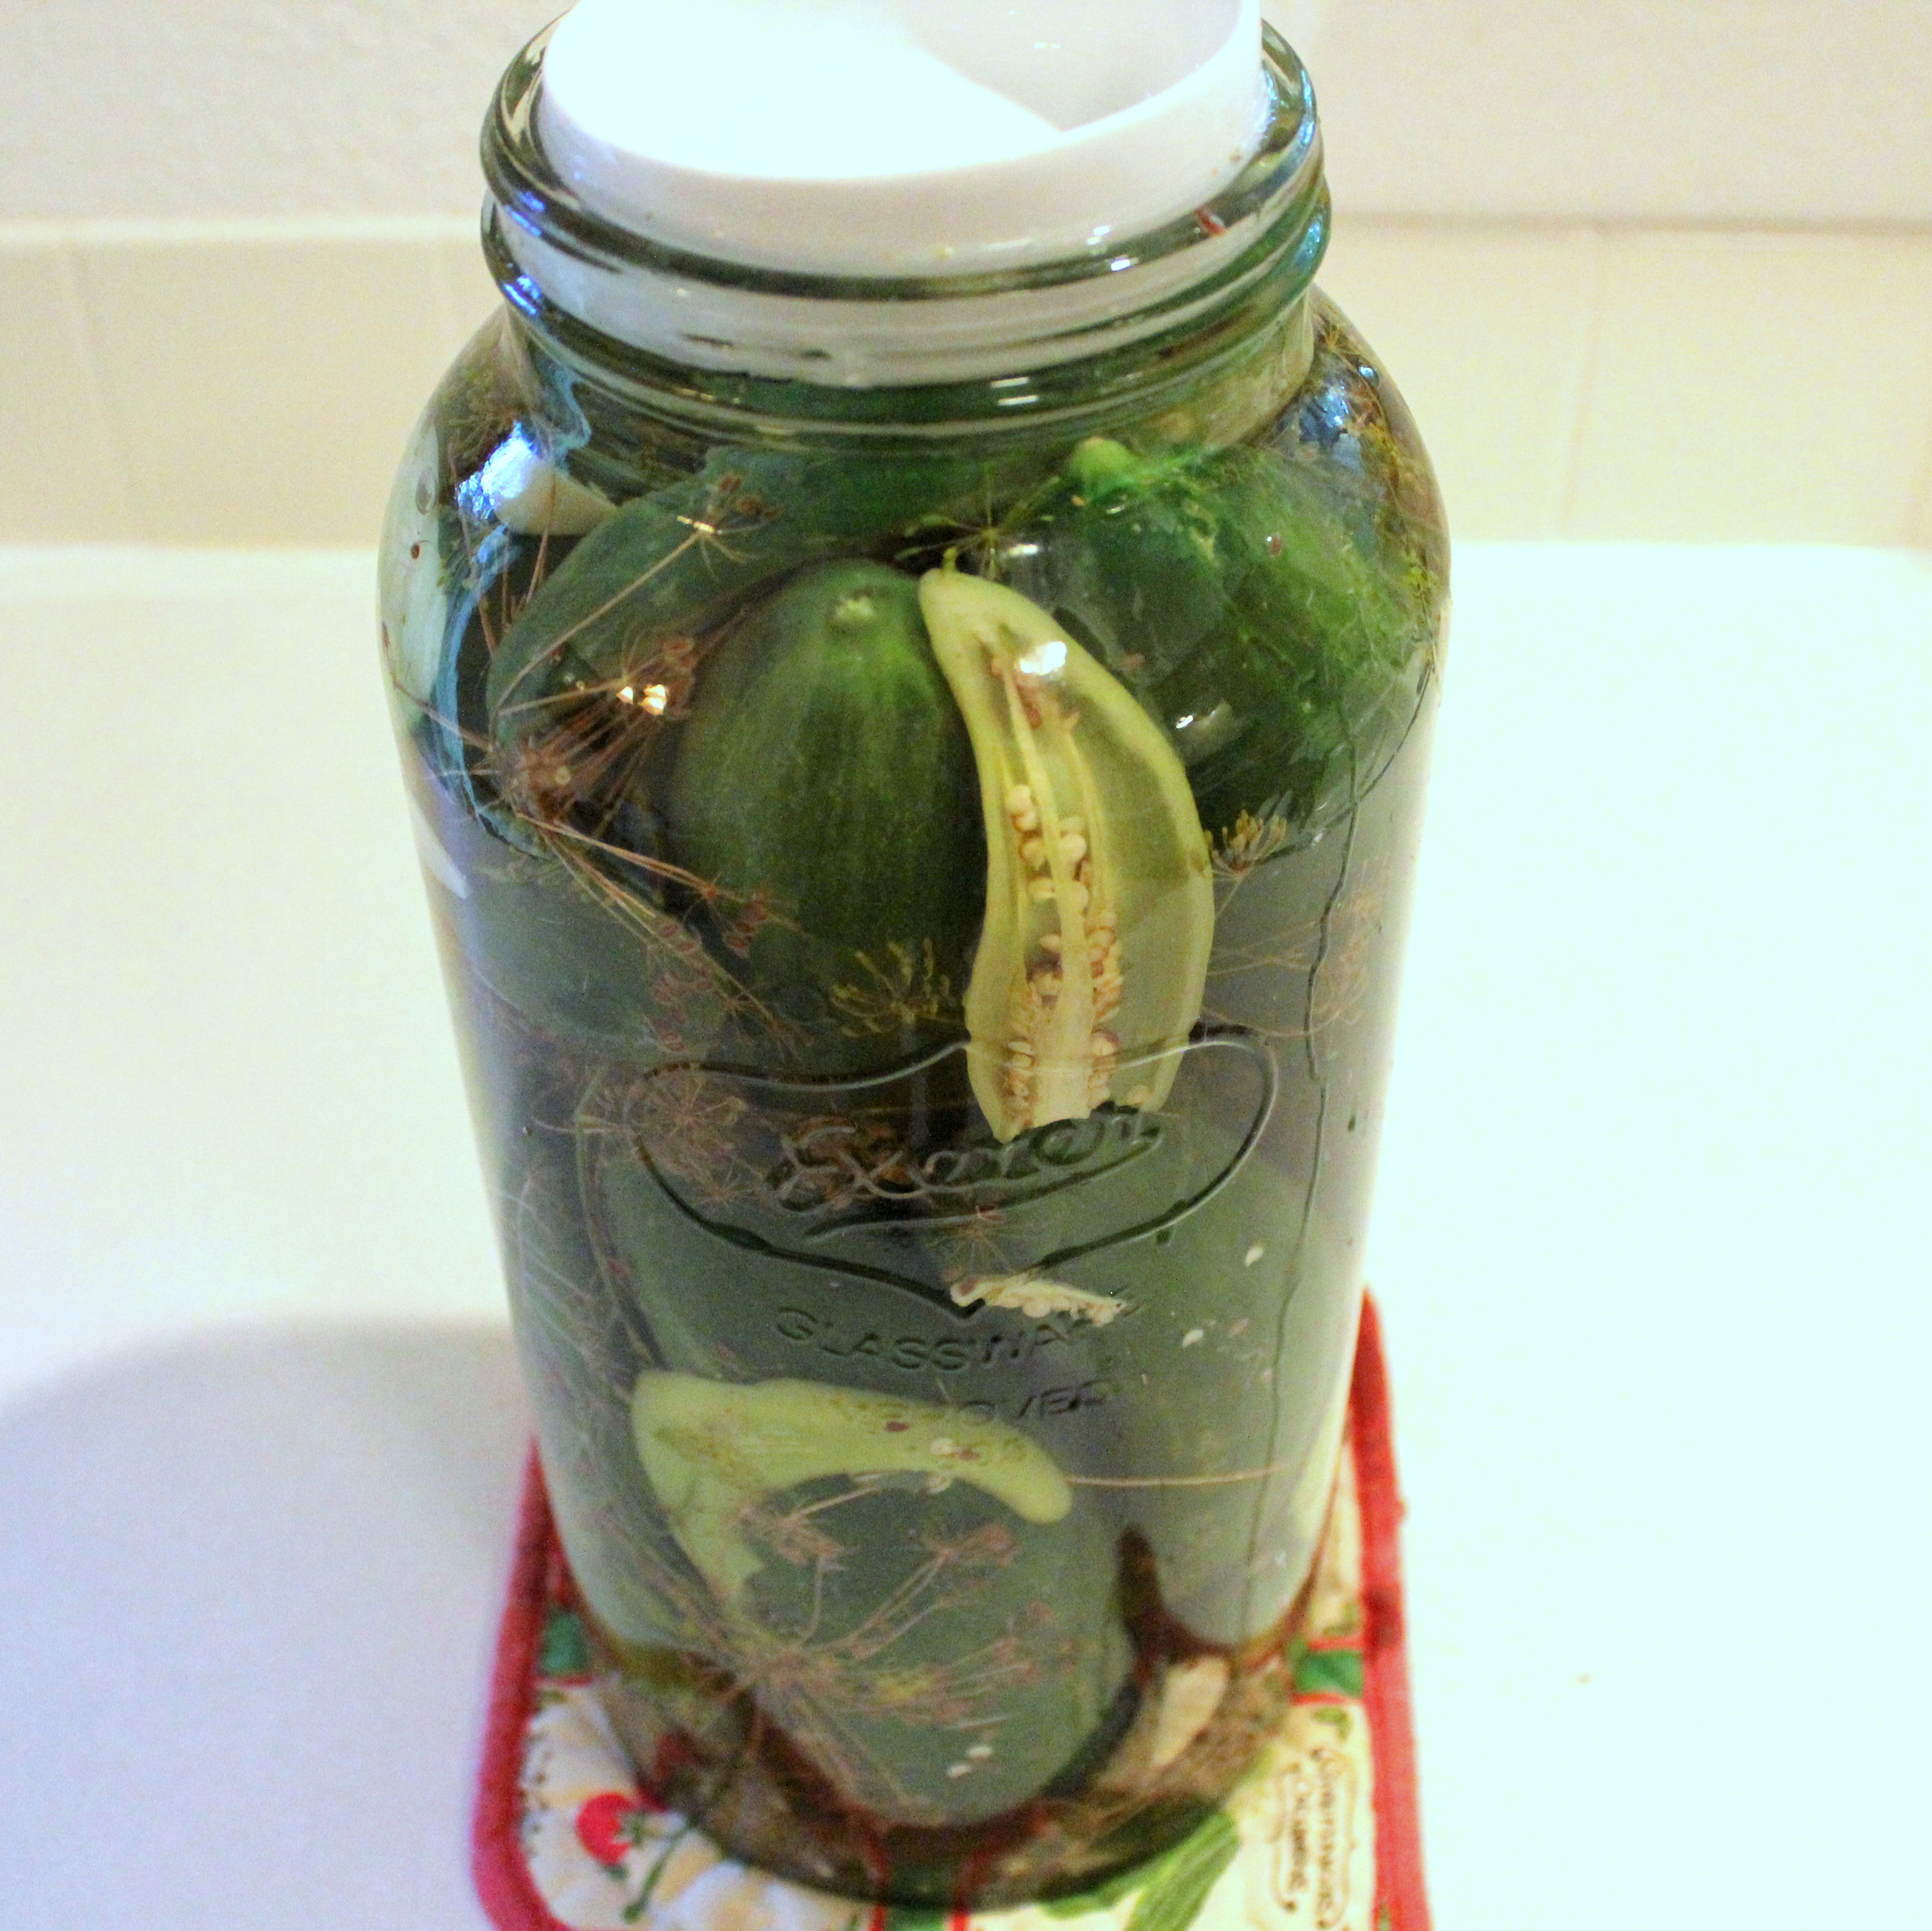
Pack all of your veggies tightly into a one-gallon glass container. Don’t use plastic, metal, or any ceramic dish that might contain metal. You don’t want any chemicals or metals to leach into your pickles!
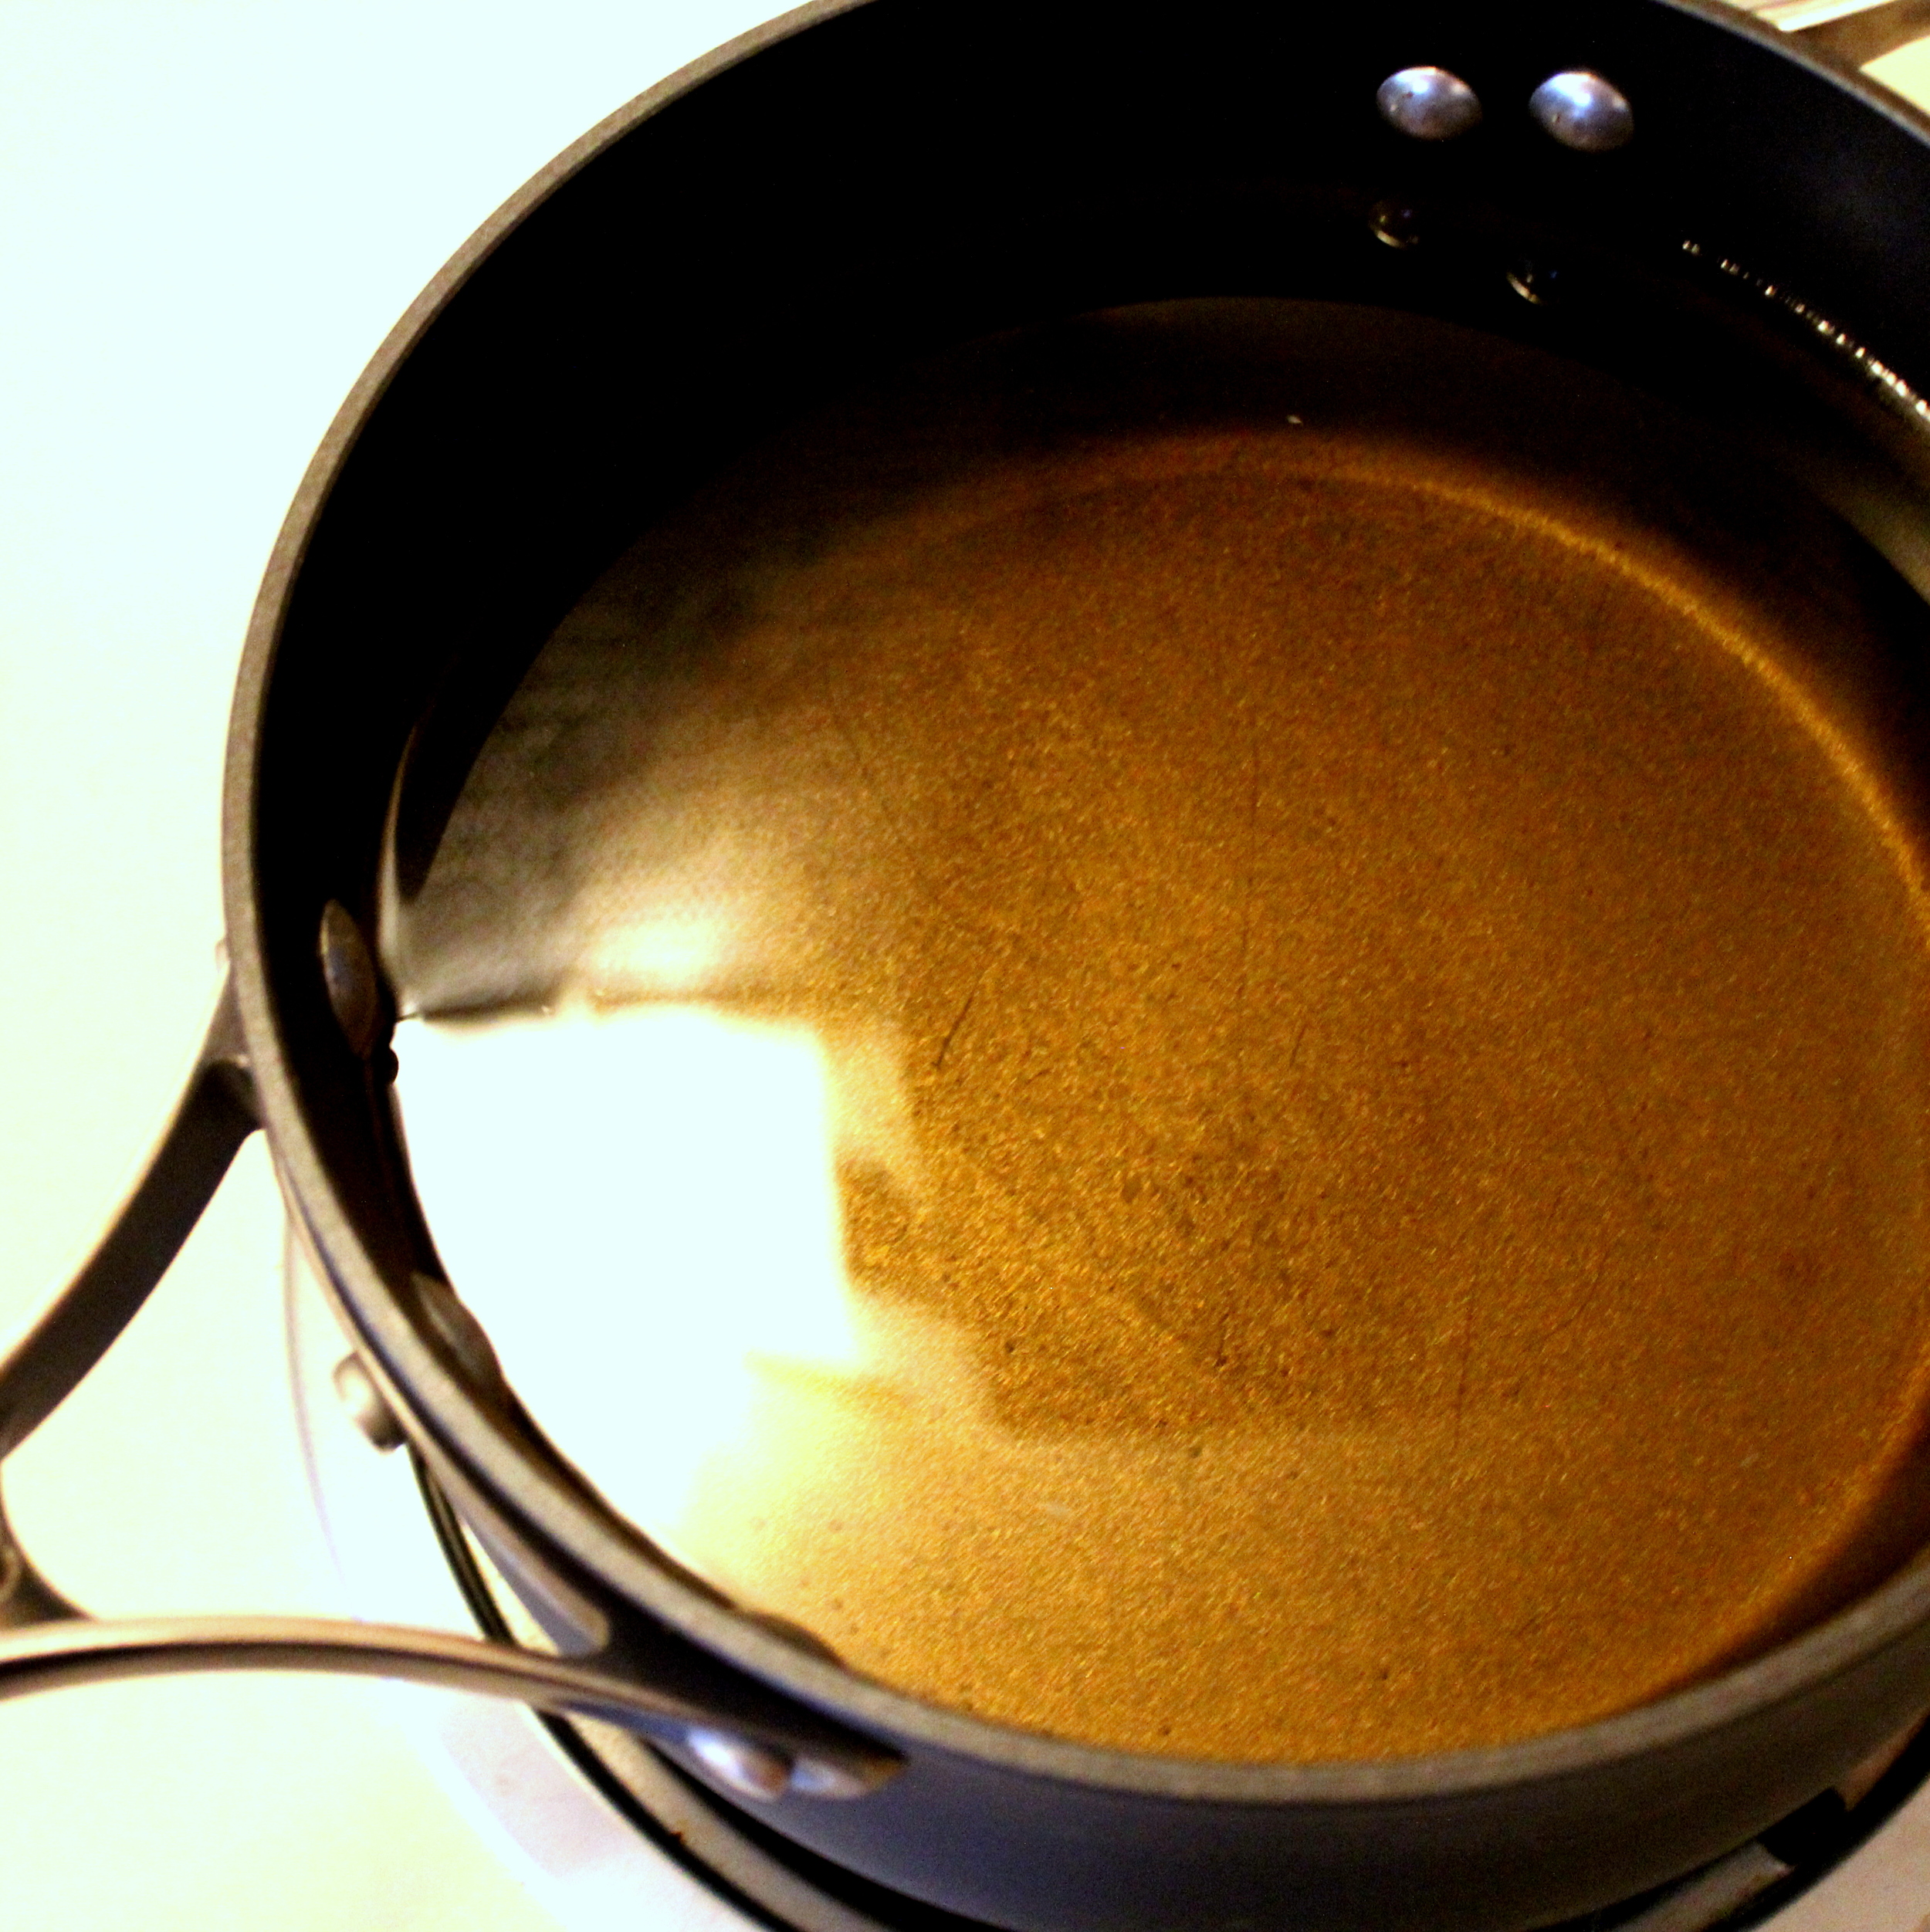
Meanwhile, in a saucepan bring to a boil one and a half quarts of water, a half cup (or just a little less) non-iodized salt, a half quart cider vinegar, and one-fourth teaspoon of alum (for crispiness).
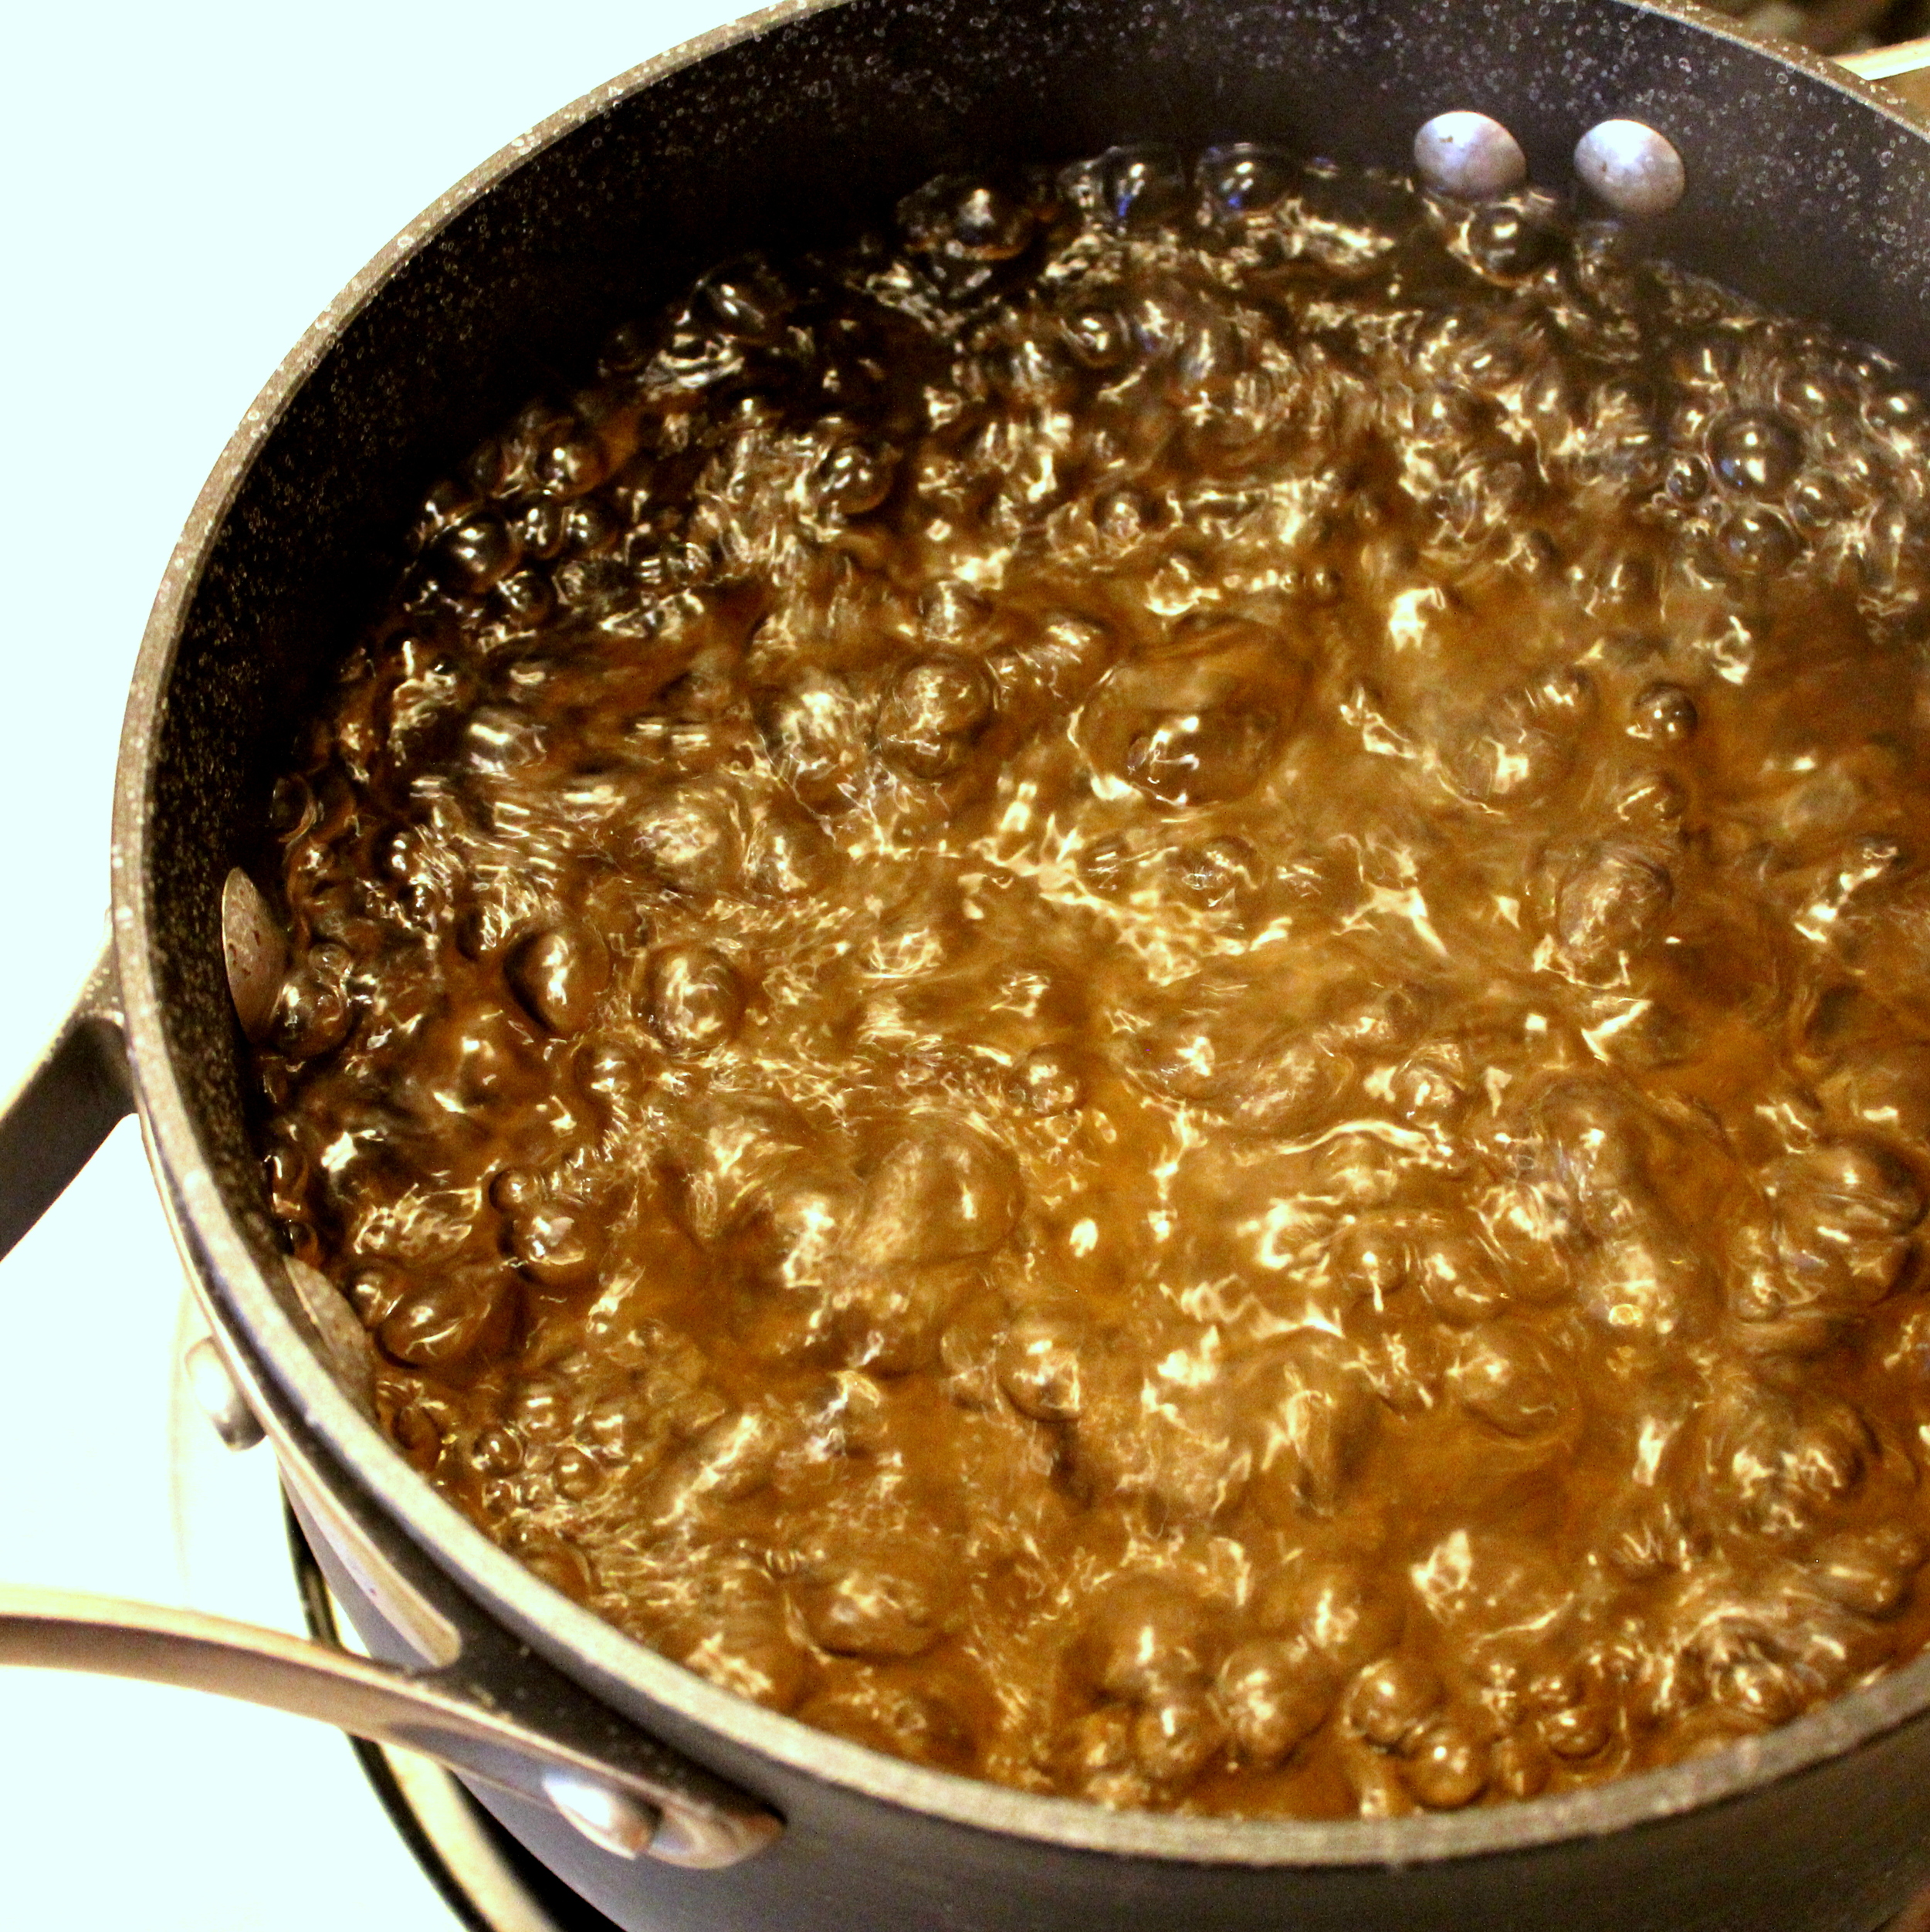
Pour boiling liquid over freshly packed vegetables. Place a plate or bowl inside the mouth of the jar, on top of the cabbage, then set a bowl or a mason jar filled with water on the plate/bowl to weight it down so that the cucumbers are submerged.
Let your cukes sit on the counter for at least three days before sampling. They might not be pickled all the way through; if not, keep them on the counter for a few more days. After 14 days, your cucumbers should definitely be pickles; store them in the fridge for safekeeping.
These pickles are best eaten fresh — canning can cause them to turn more soggy than crisp, so enjoy them while they last!
Easy Counter-Top Pickles
Ingredients
-
Cucumbers
-
Banana Peppers or Jalapenos
-
2-3 cloves garlic
-
Lots of dill
-
1 1/2 qt. water
-
1/2 c. pickling salt (non-iodized)
-
1/2 qt. cider vinegar
-
1/4 tsp. alum
Instructions
-
Wash vegetables very well. Slice ends of peppers and cut in half. Peel garlic and slice.
-
Pack vegetables and dill as tightly as possible in 1-gallon glass jar.
-
Boil water, salt, vinegar, and alum, then pour boiling liquid over vegetables.
-
Place a plate or bowl inside the mouth of the jar, on top of the cabbage, then set a bowl or a mason jar filled with water on the plate/bowl to weight it down so that the cucumbers are submerged.
-
Let the cucumbers sit on the counter for 3 – 14 days. After the cucumbers are pickled, store them in the refrigerator for safekeeping.
Fermentation
Fermentation is the lovely art in which bacteria transform one food into another food. In addition, the bacteria that ferment your food are also really healthy for your gut — remember our talk about probiotics? The trick to keeping away harmful bacteria and only allowing the good ones to work is to add salt to your food before fermenting.
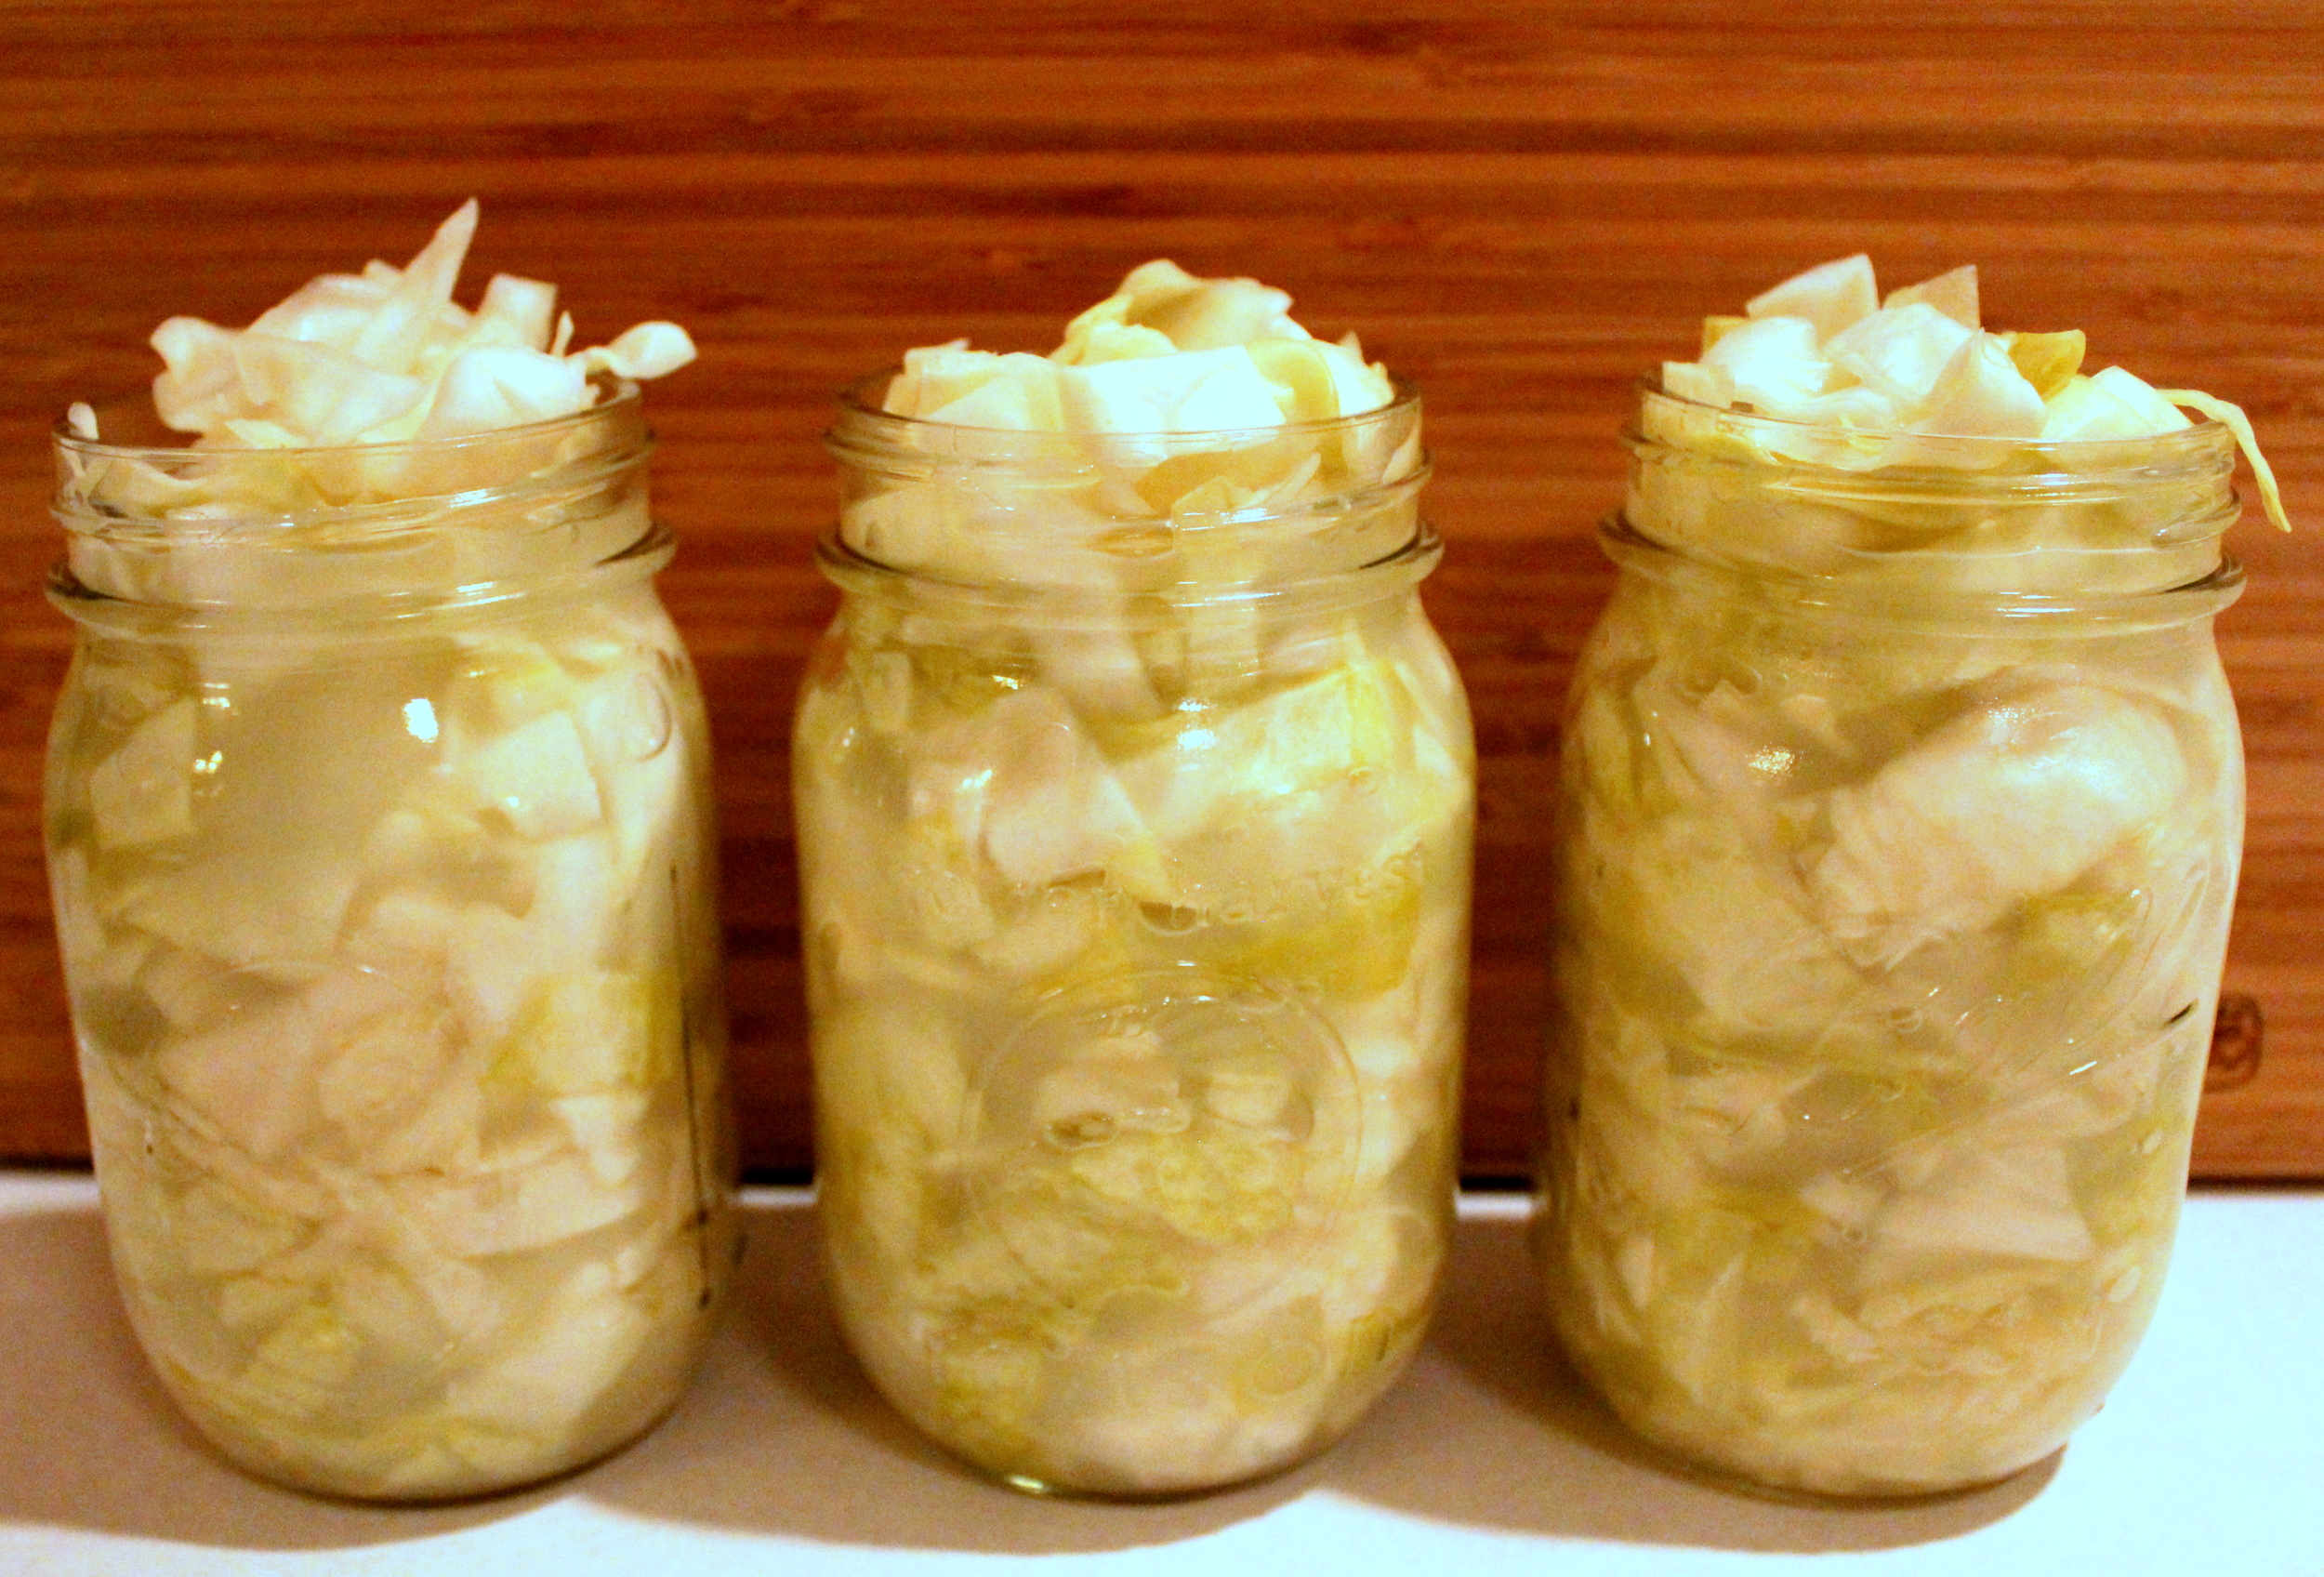
Cabbage to Sauekraut: the miracle of fermentation
It might be a little hard to wrap your mind around fermentation (essentially the art of letting your food spoil), as we’ve been trained to use anti-bacterial hand soap and live in a world without germs (as if that were possible…). In reality, we eat fermented food all the time. Let me name a few common examples:
-
Cheese
-
Beer, wine, and liquor
-
Yogurt
-
Bread
-
Vinegar
-
Kefir
-
Kombucha
-
Sauerkraut
There are many more examples, but today we’re going to make this super easy home-fermented sauerkraut. If this is your first time fermenting, it’s a good recipe to start with.
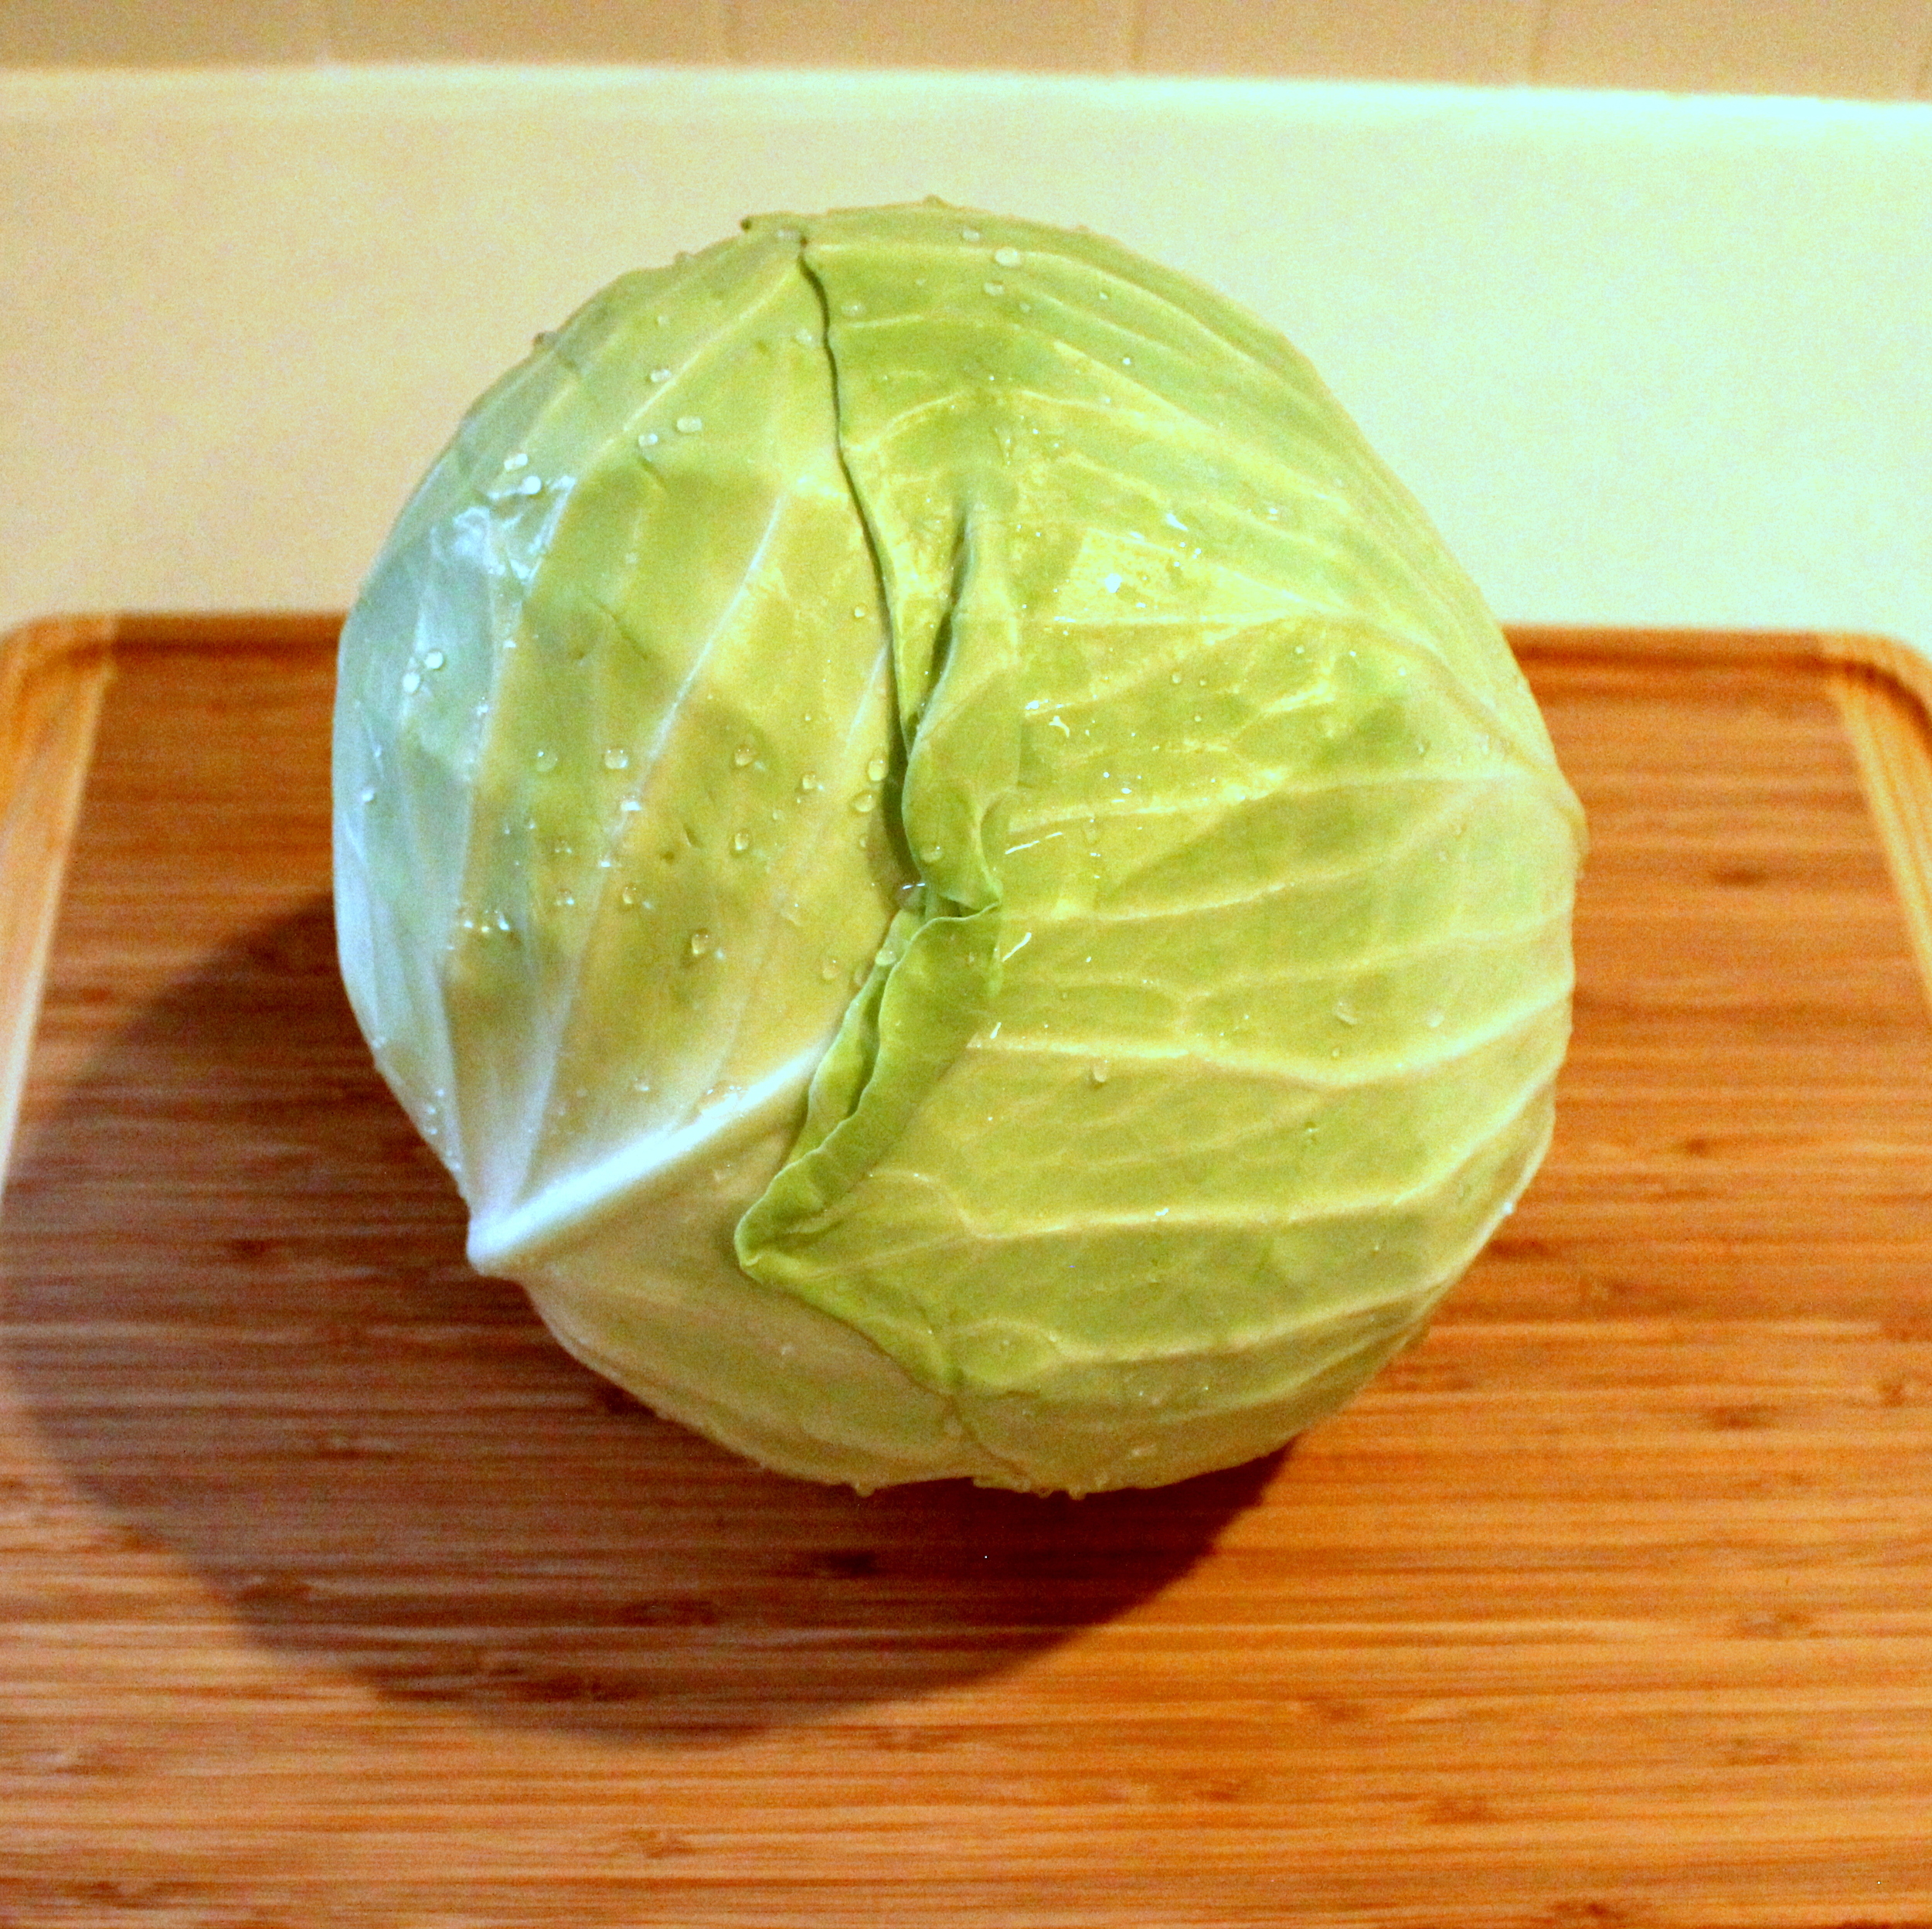
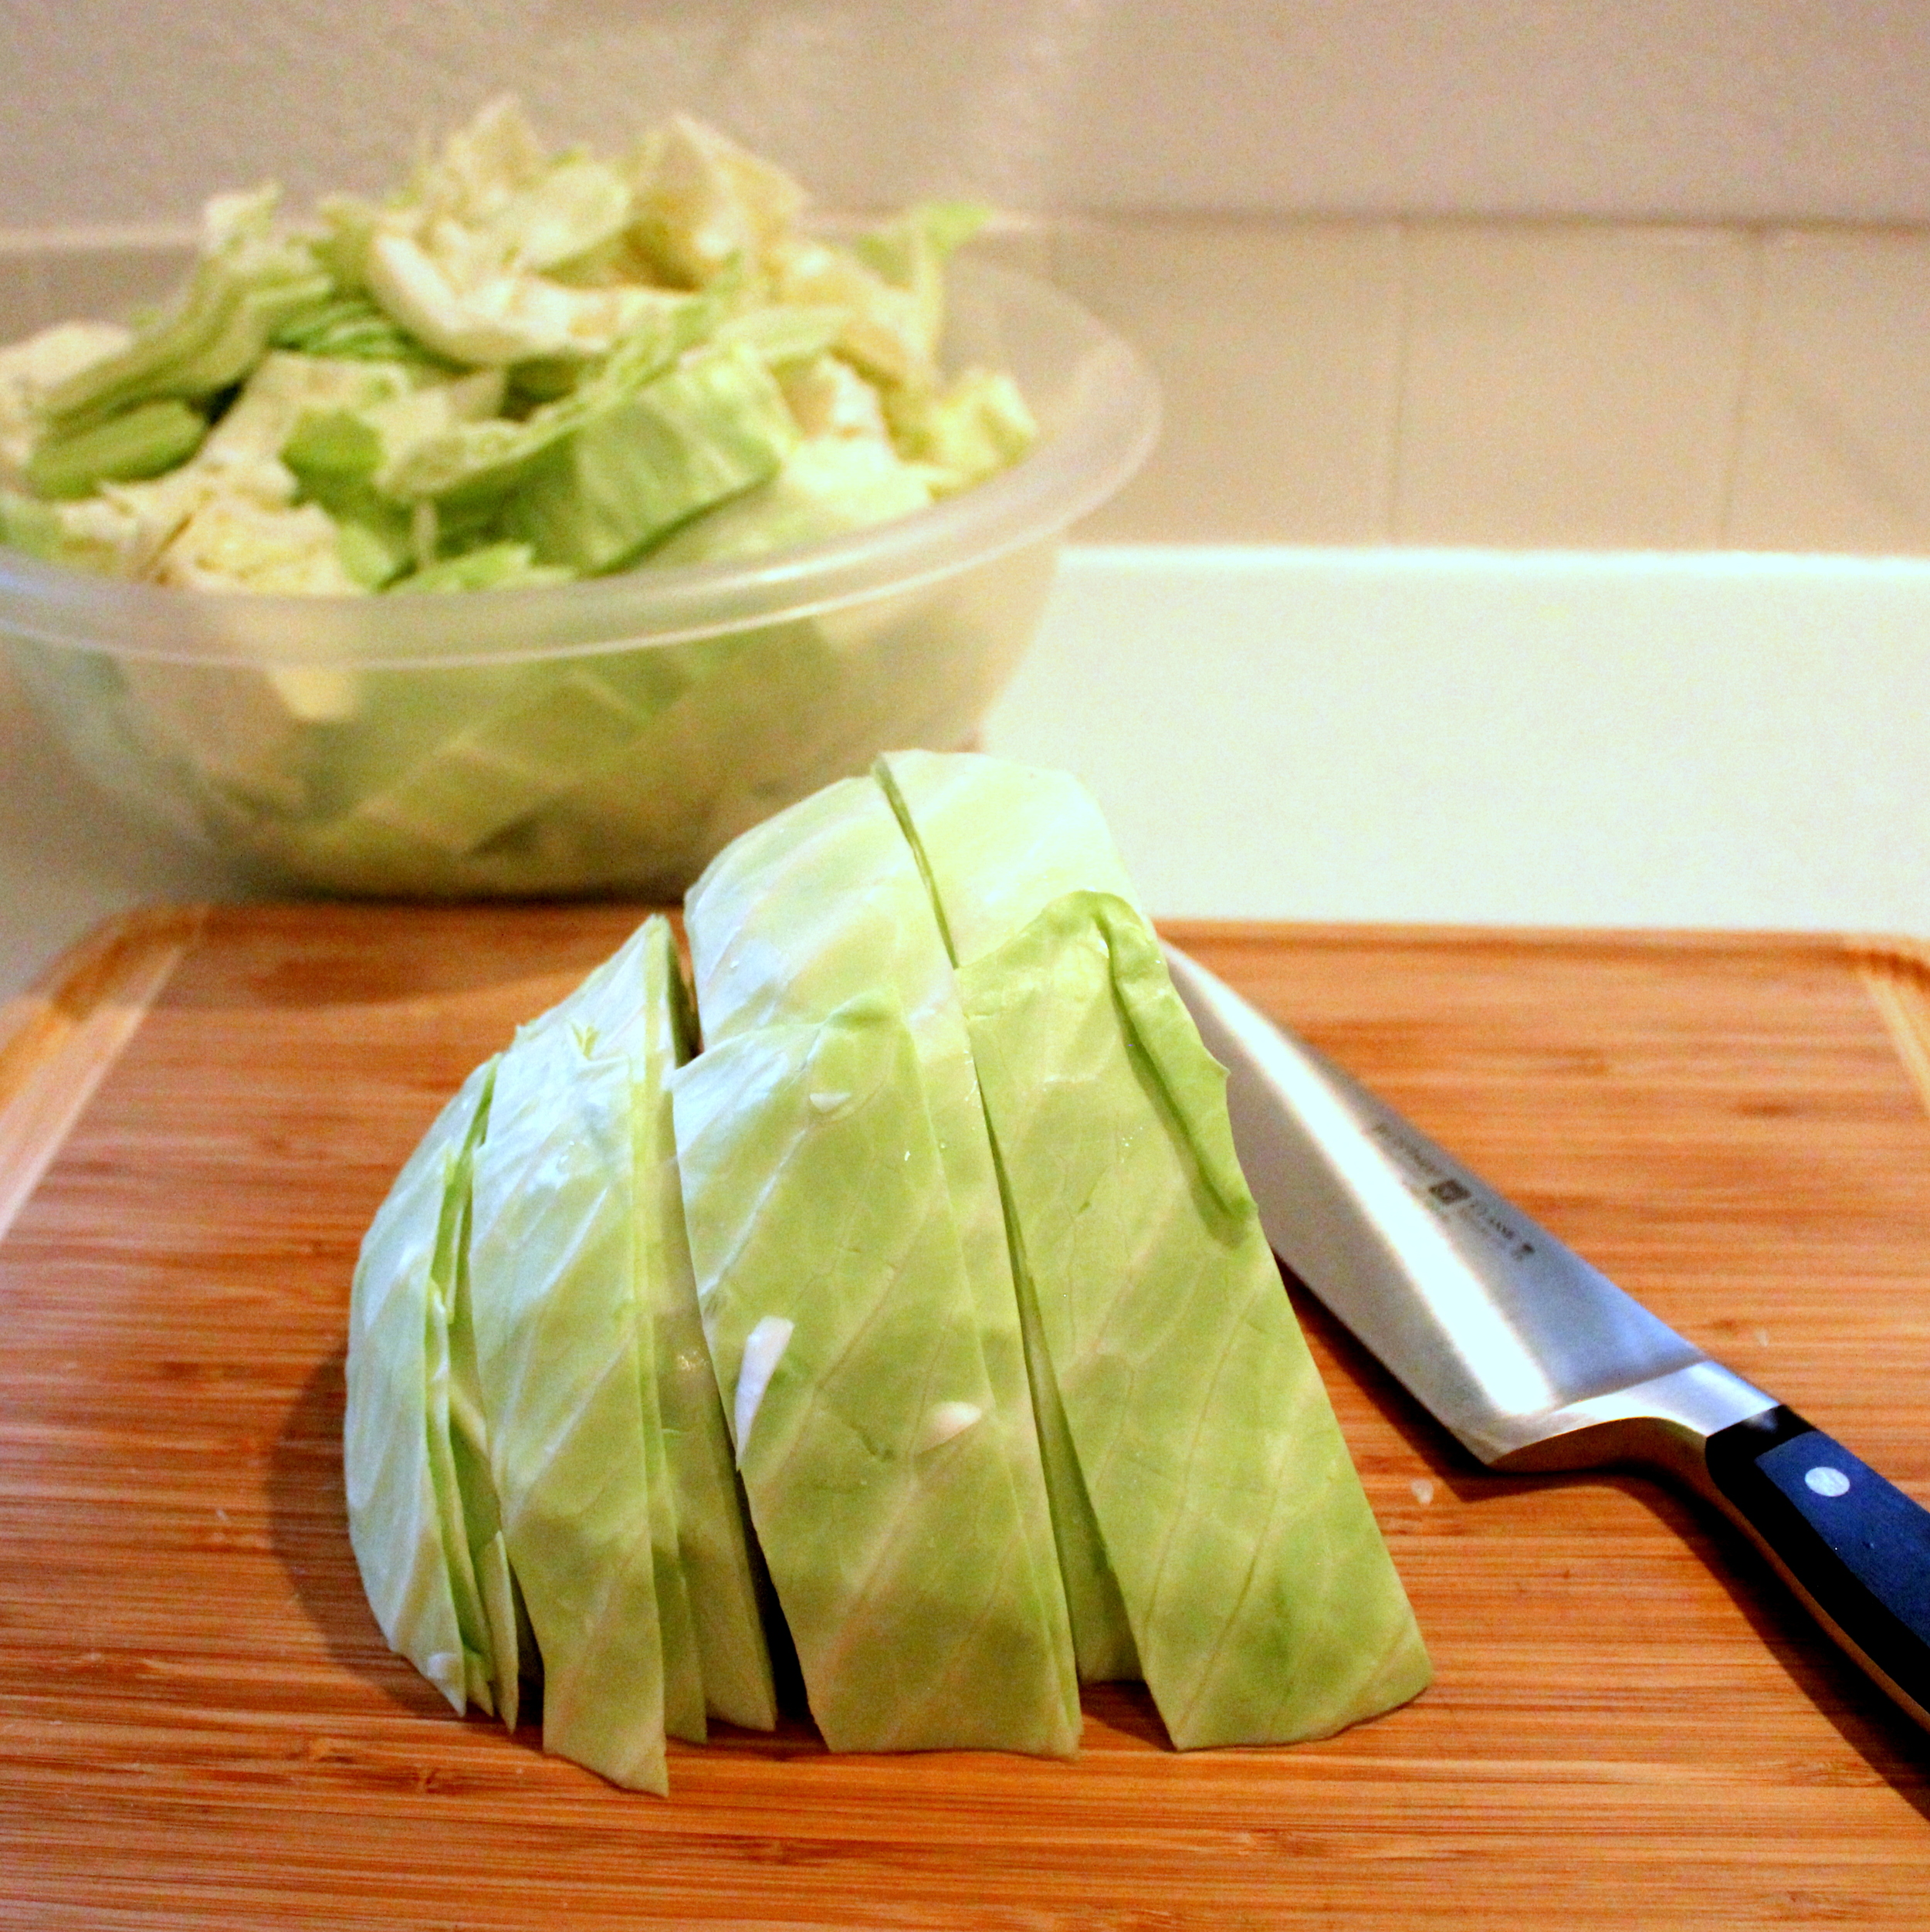
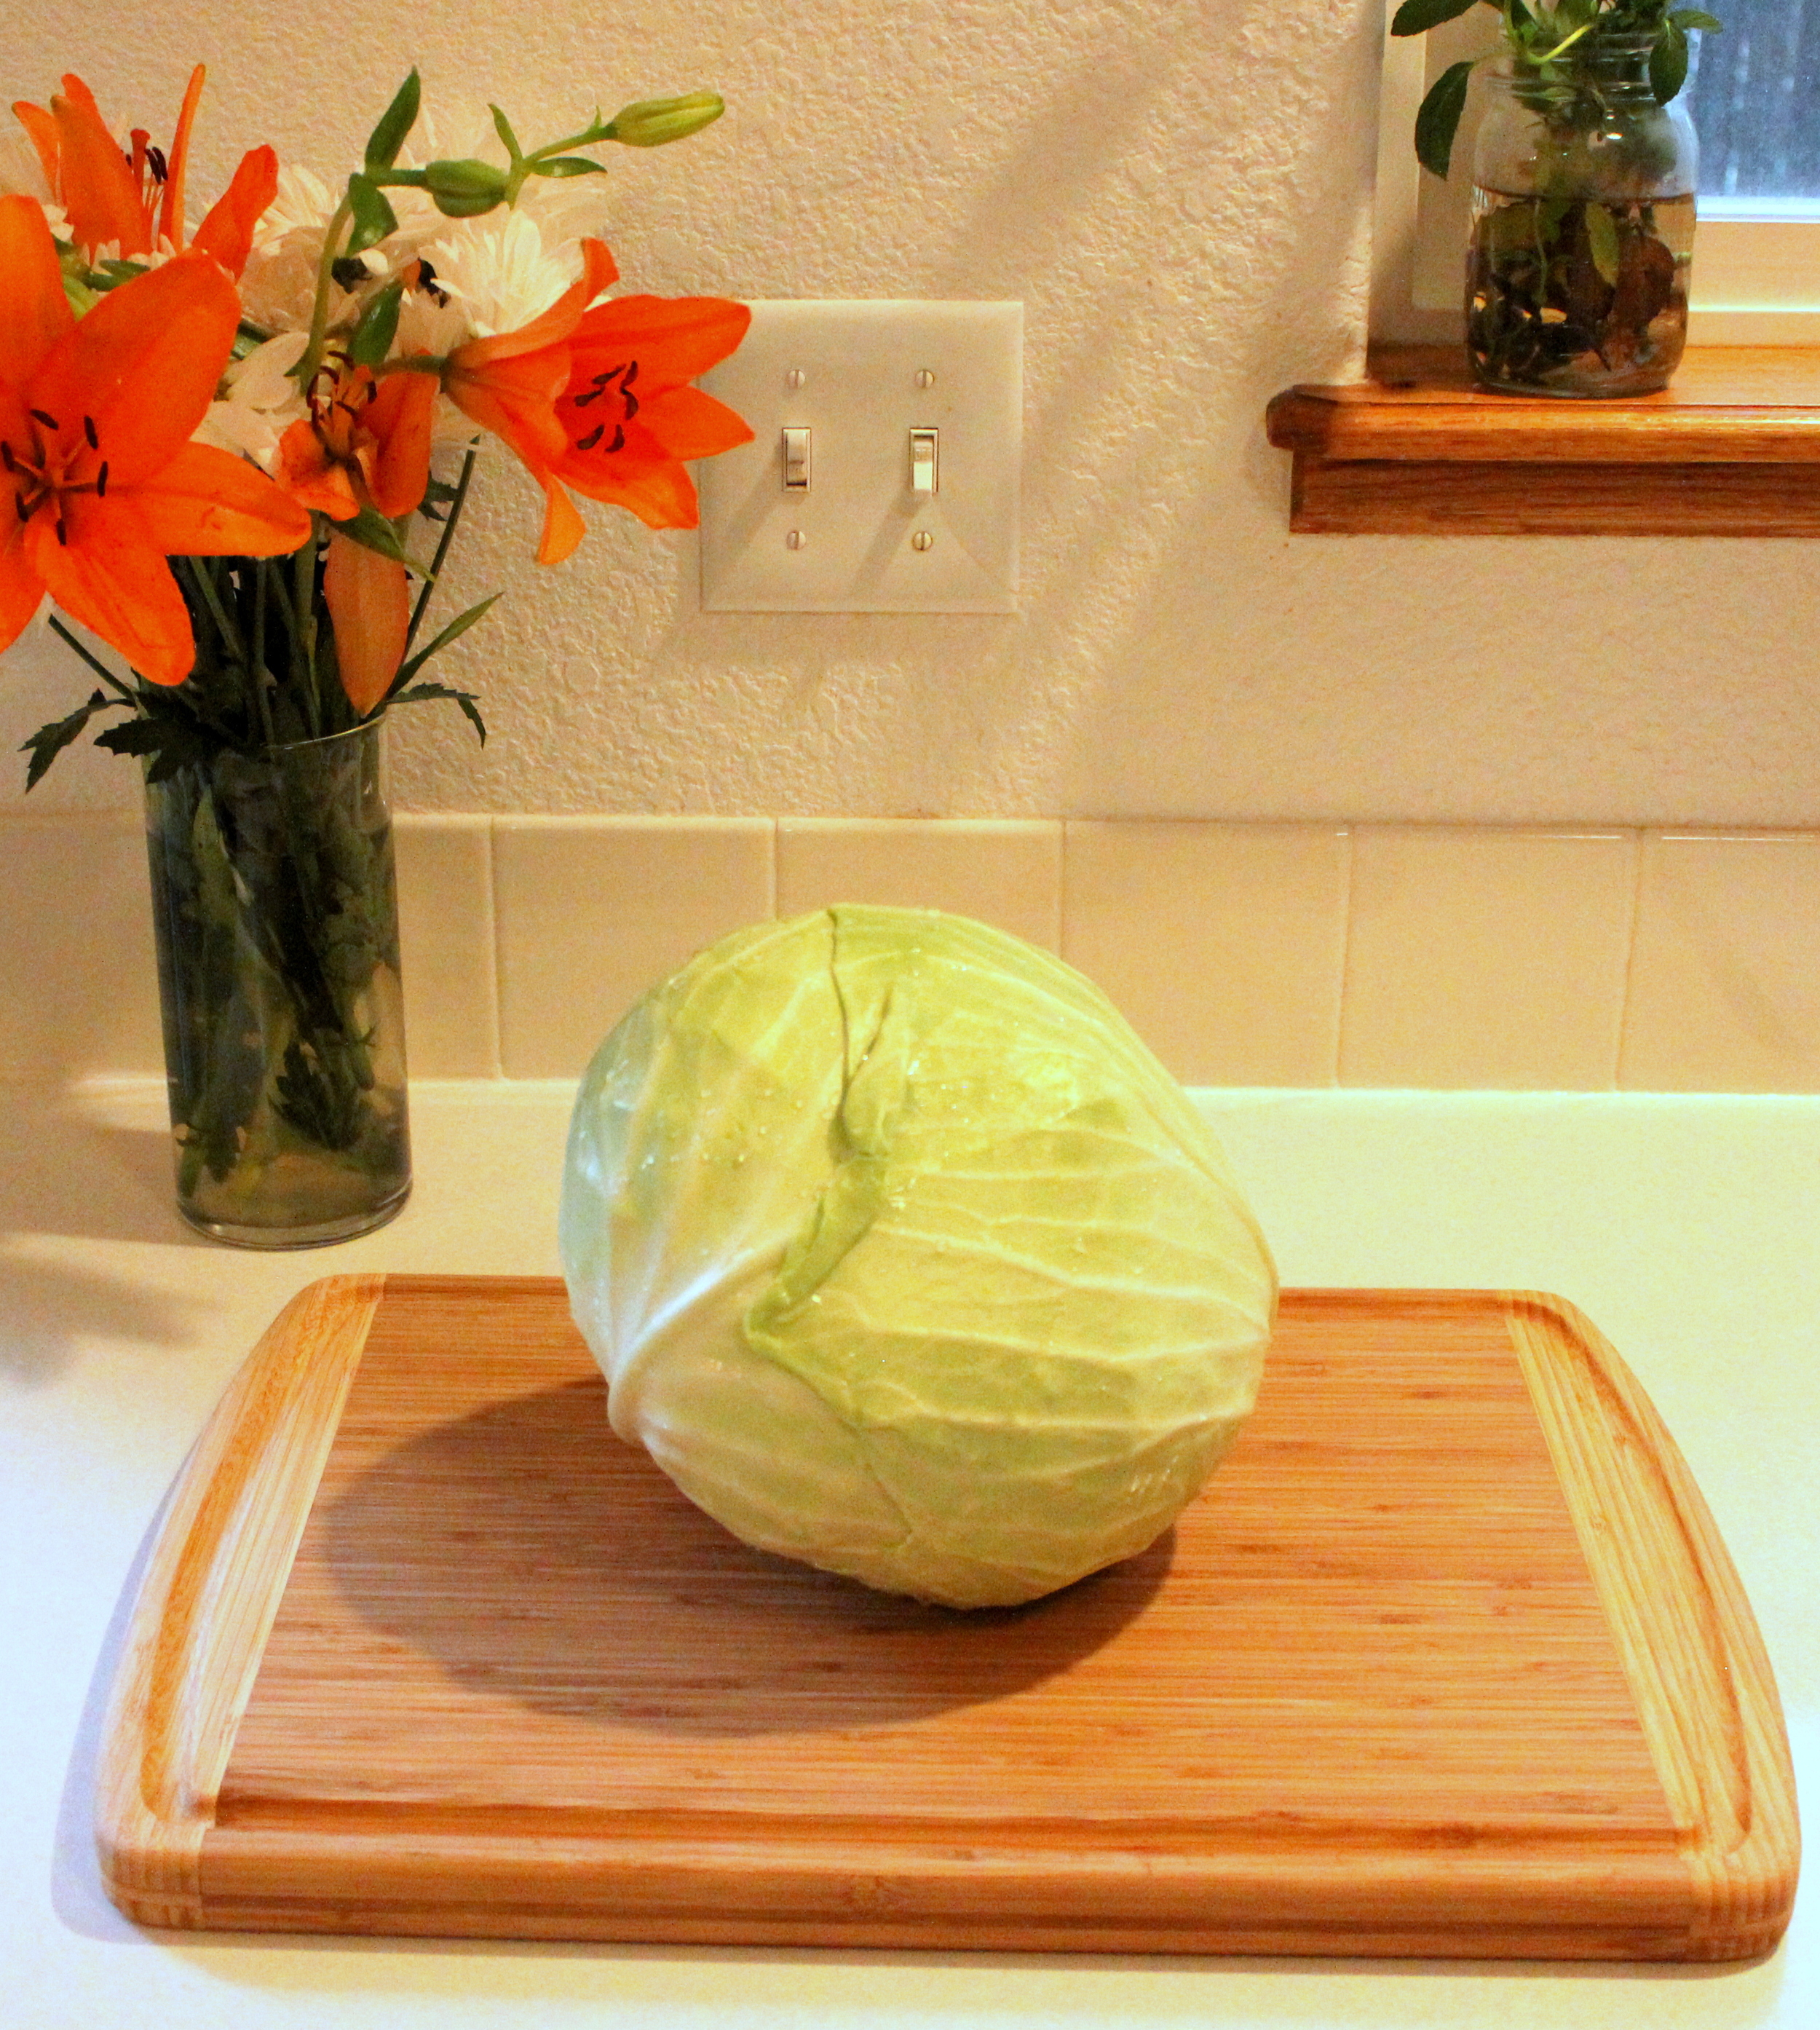
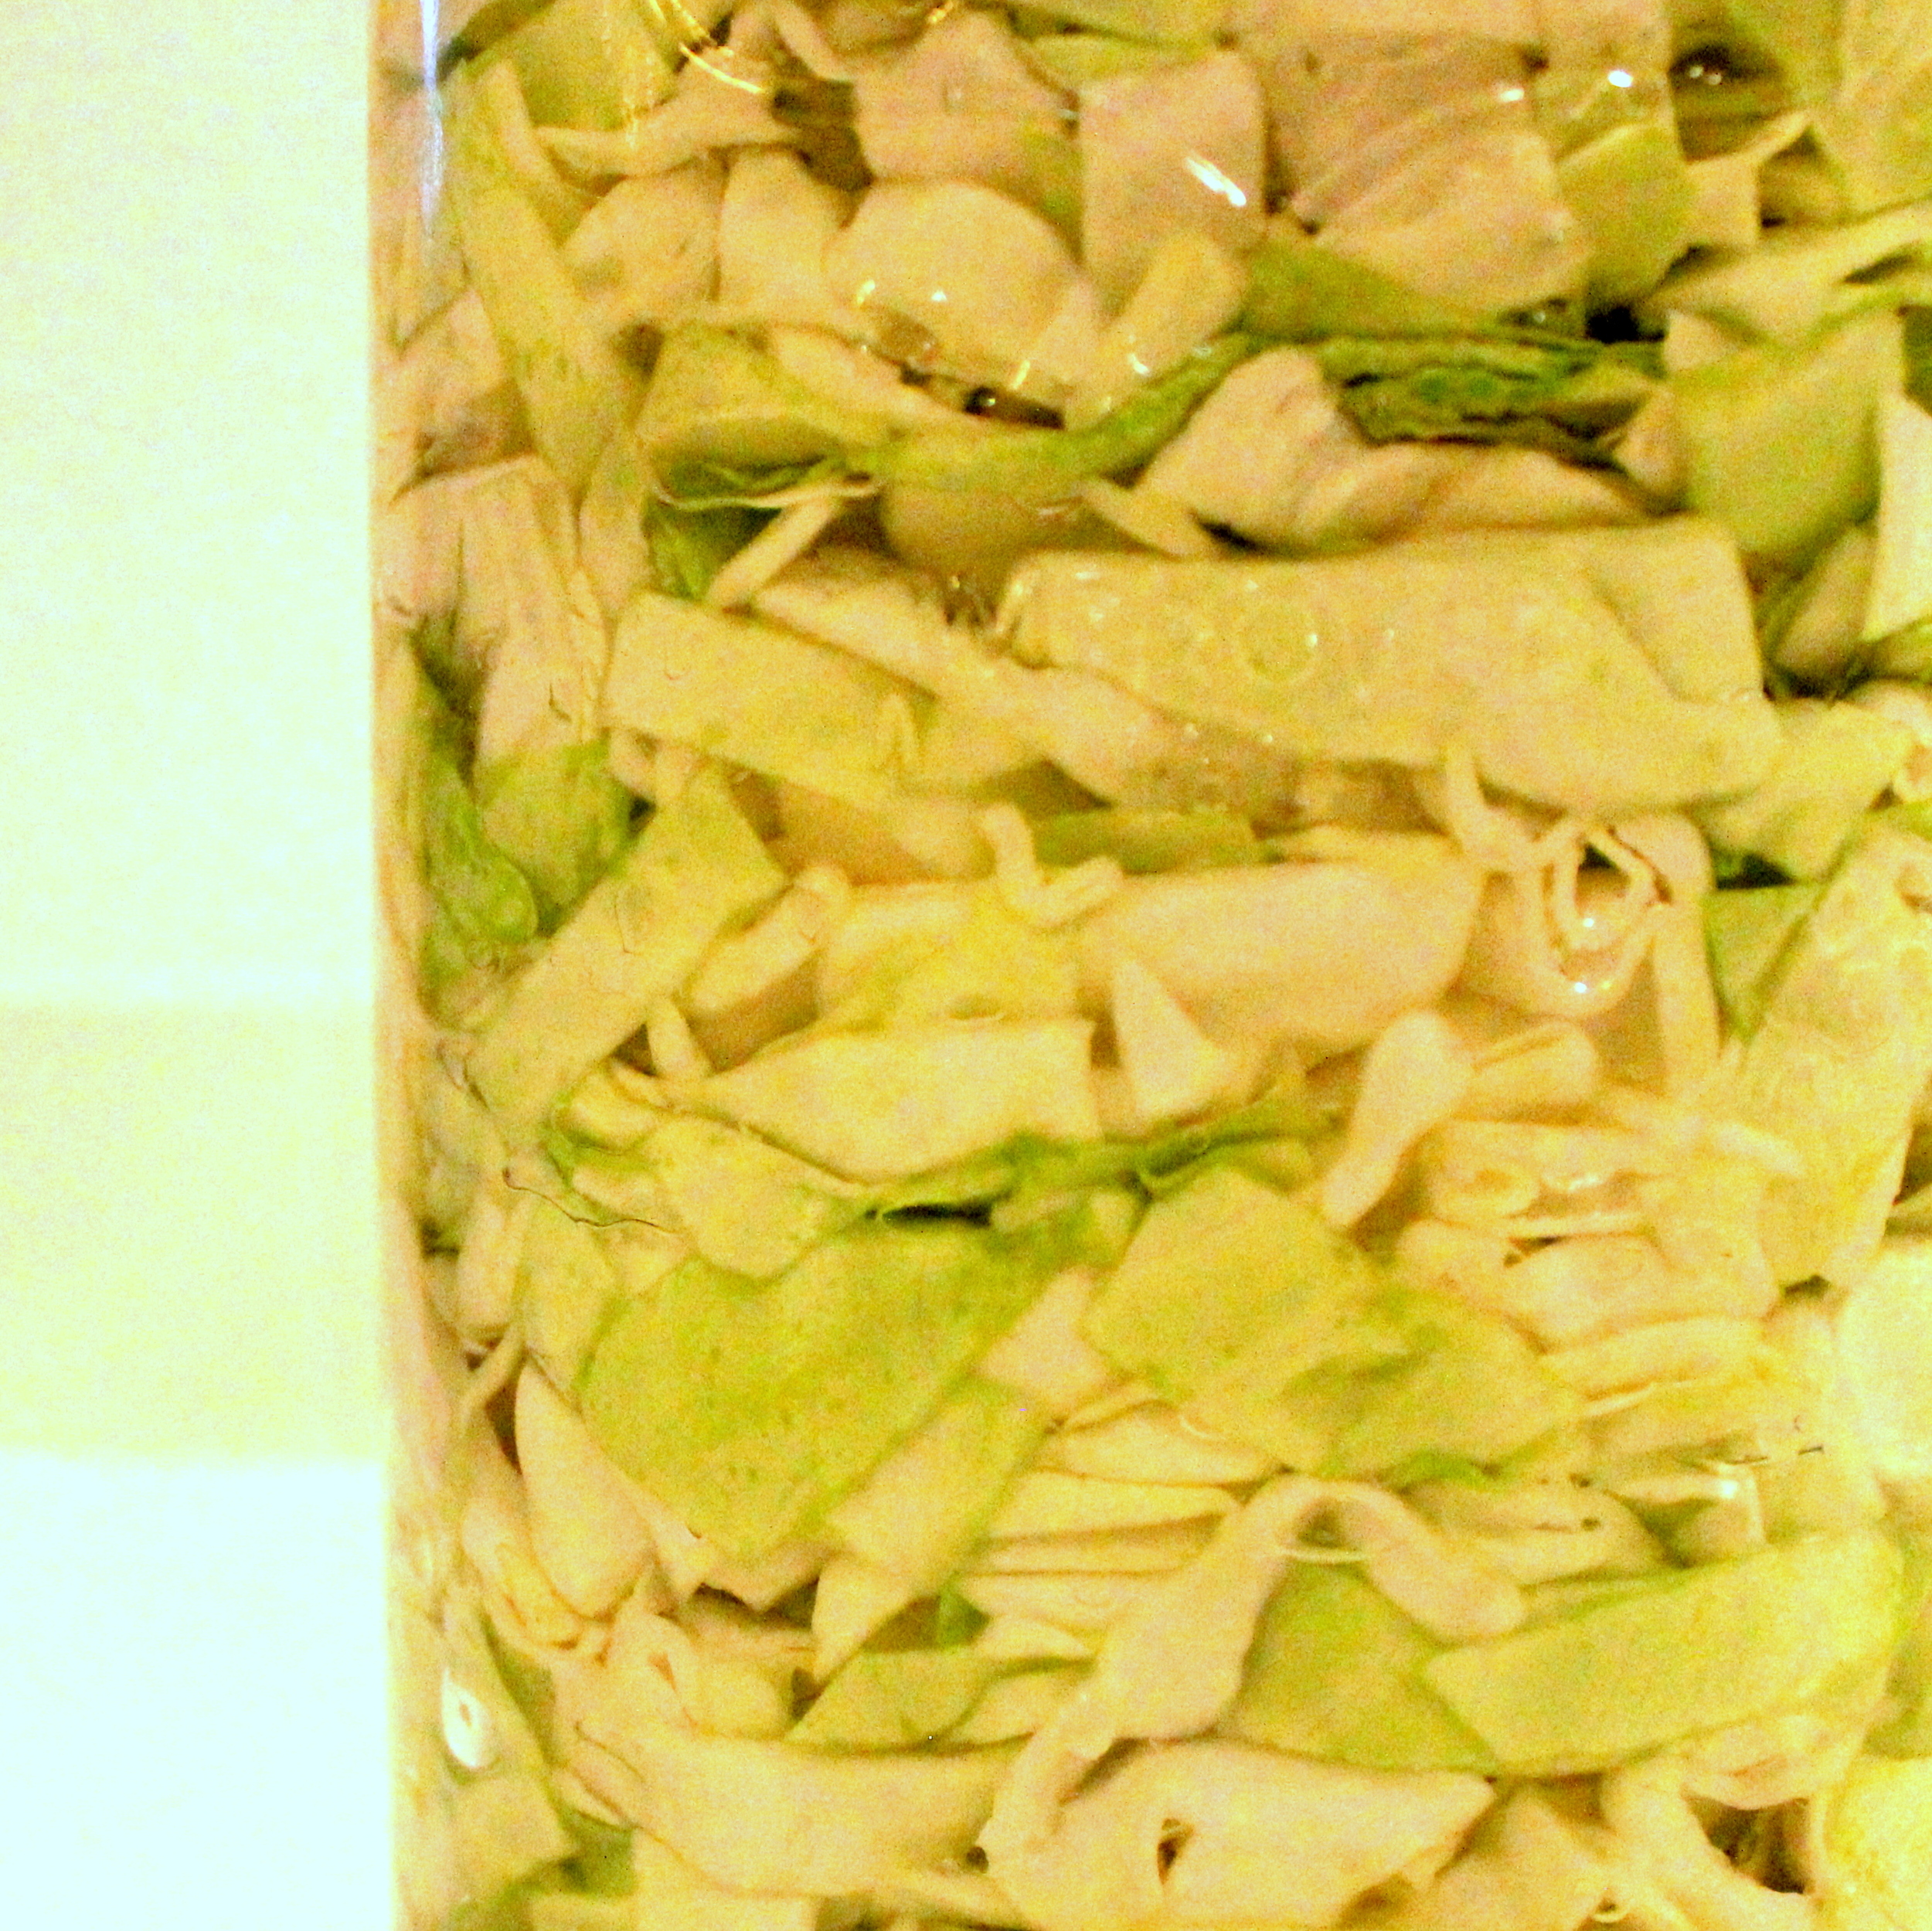
Start with a giant head of cabbage — about five pounds. Peel off outer leaves and wash thouroghly, then cut out the stem. Shred the cabbage finely (much more finely than the picture above — I had to go back and re-shred, which was really annoying).
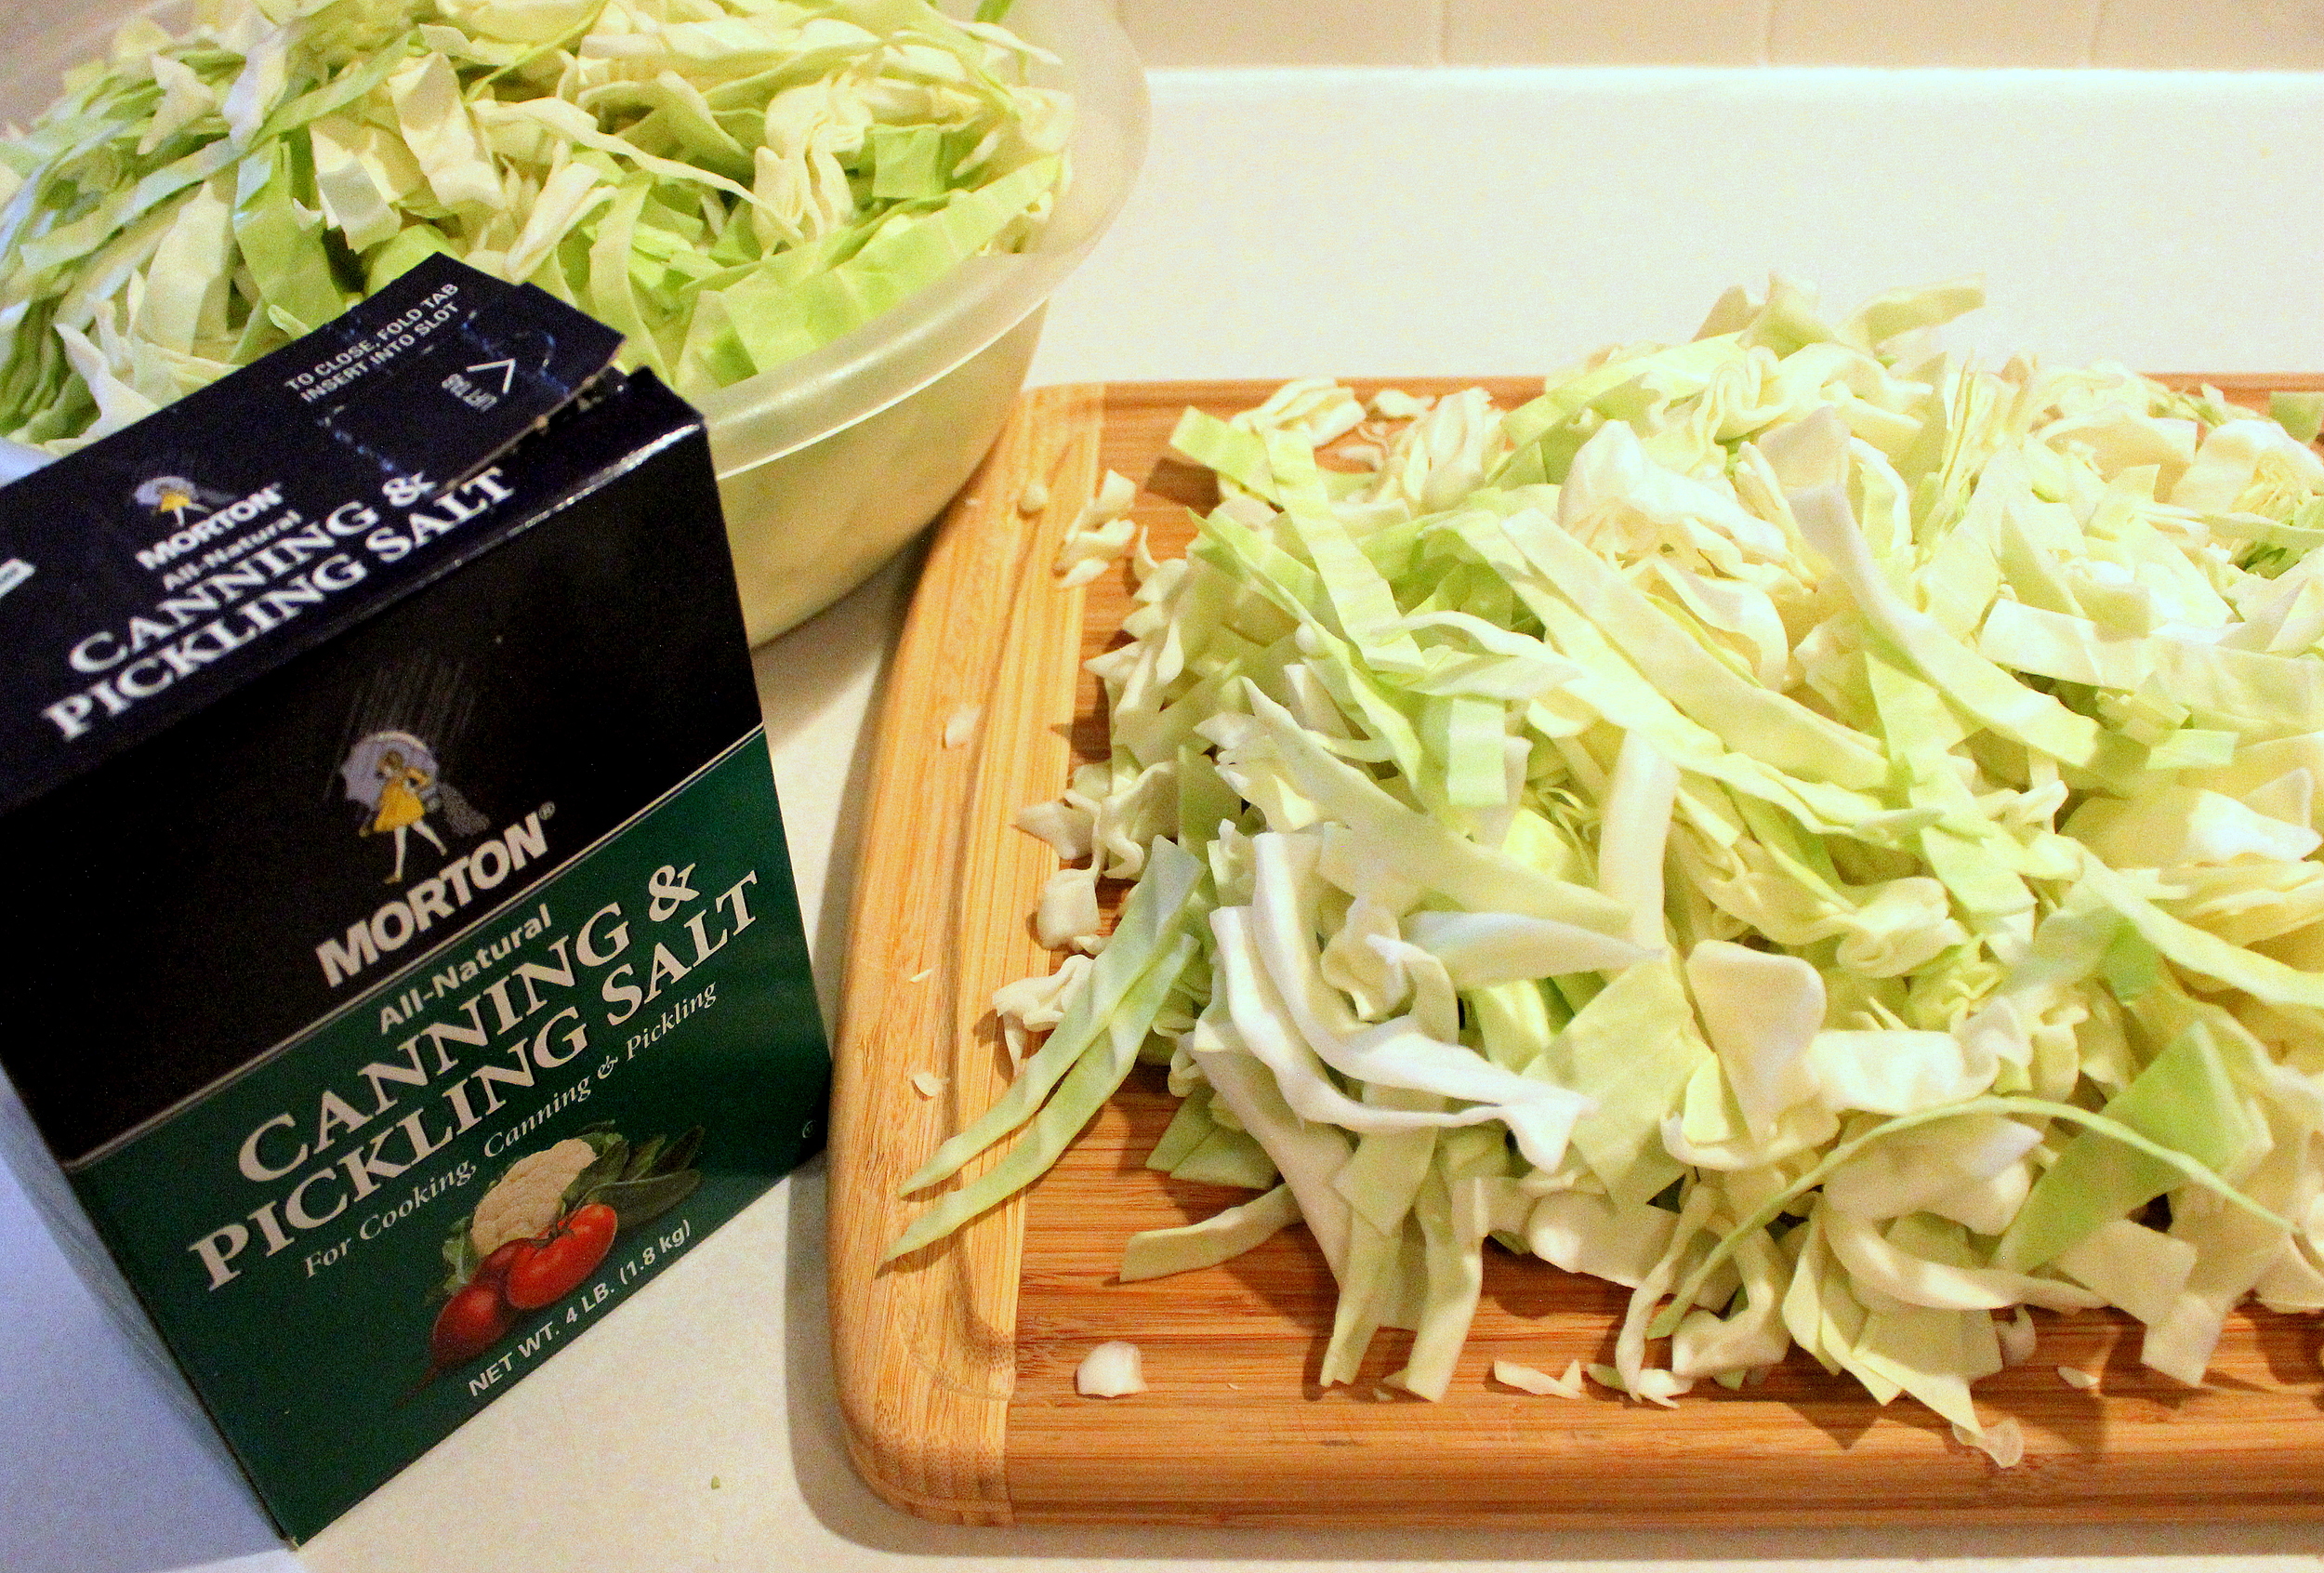
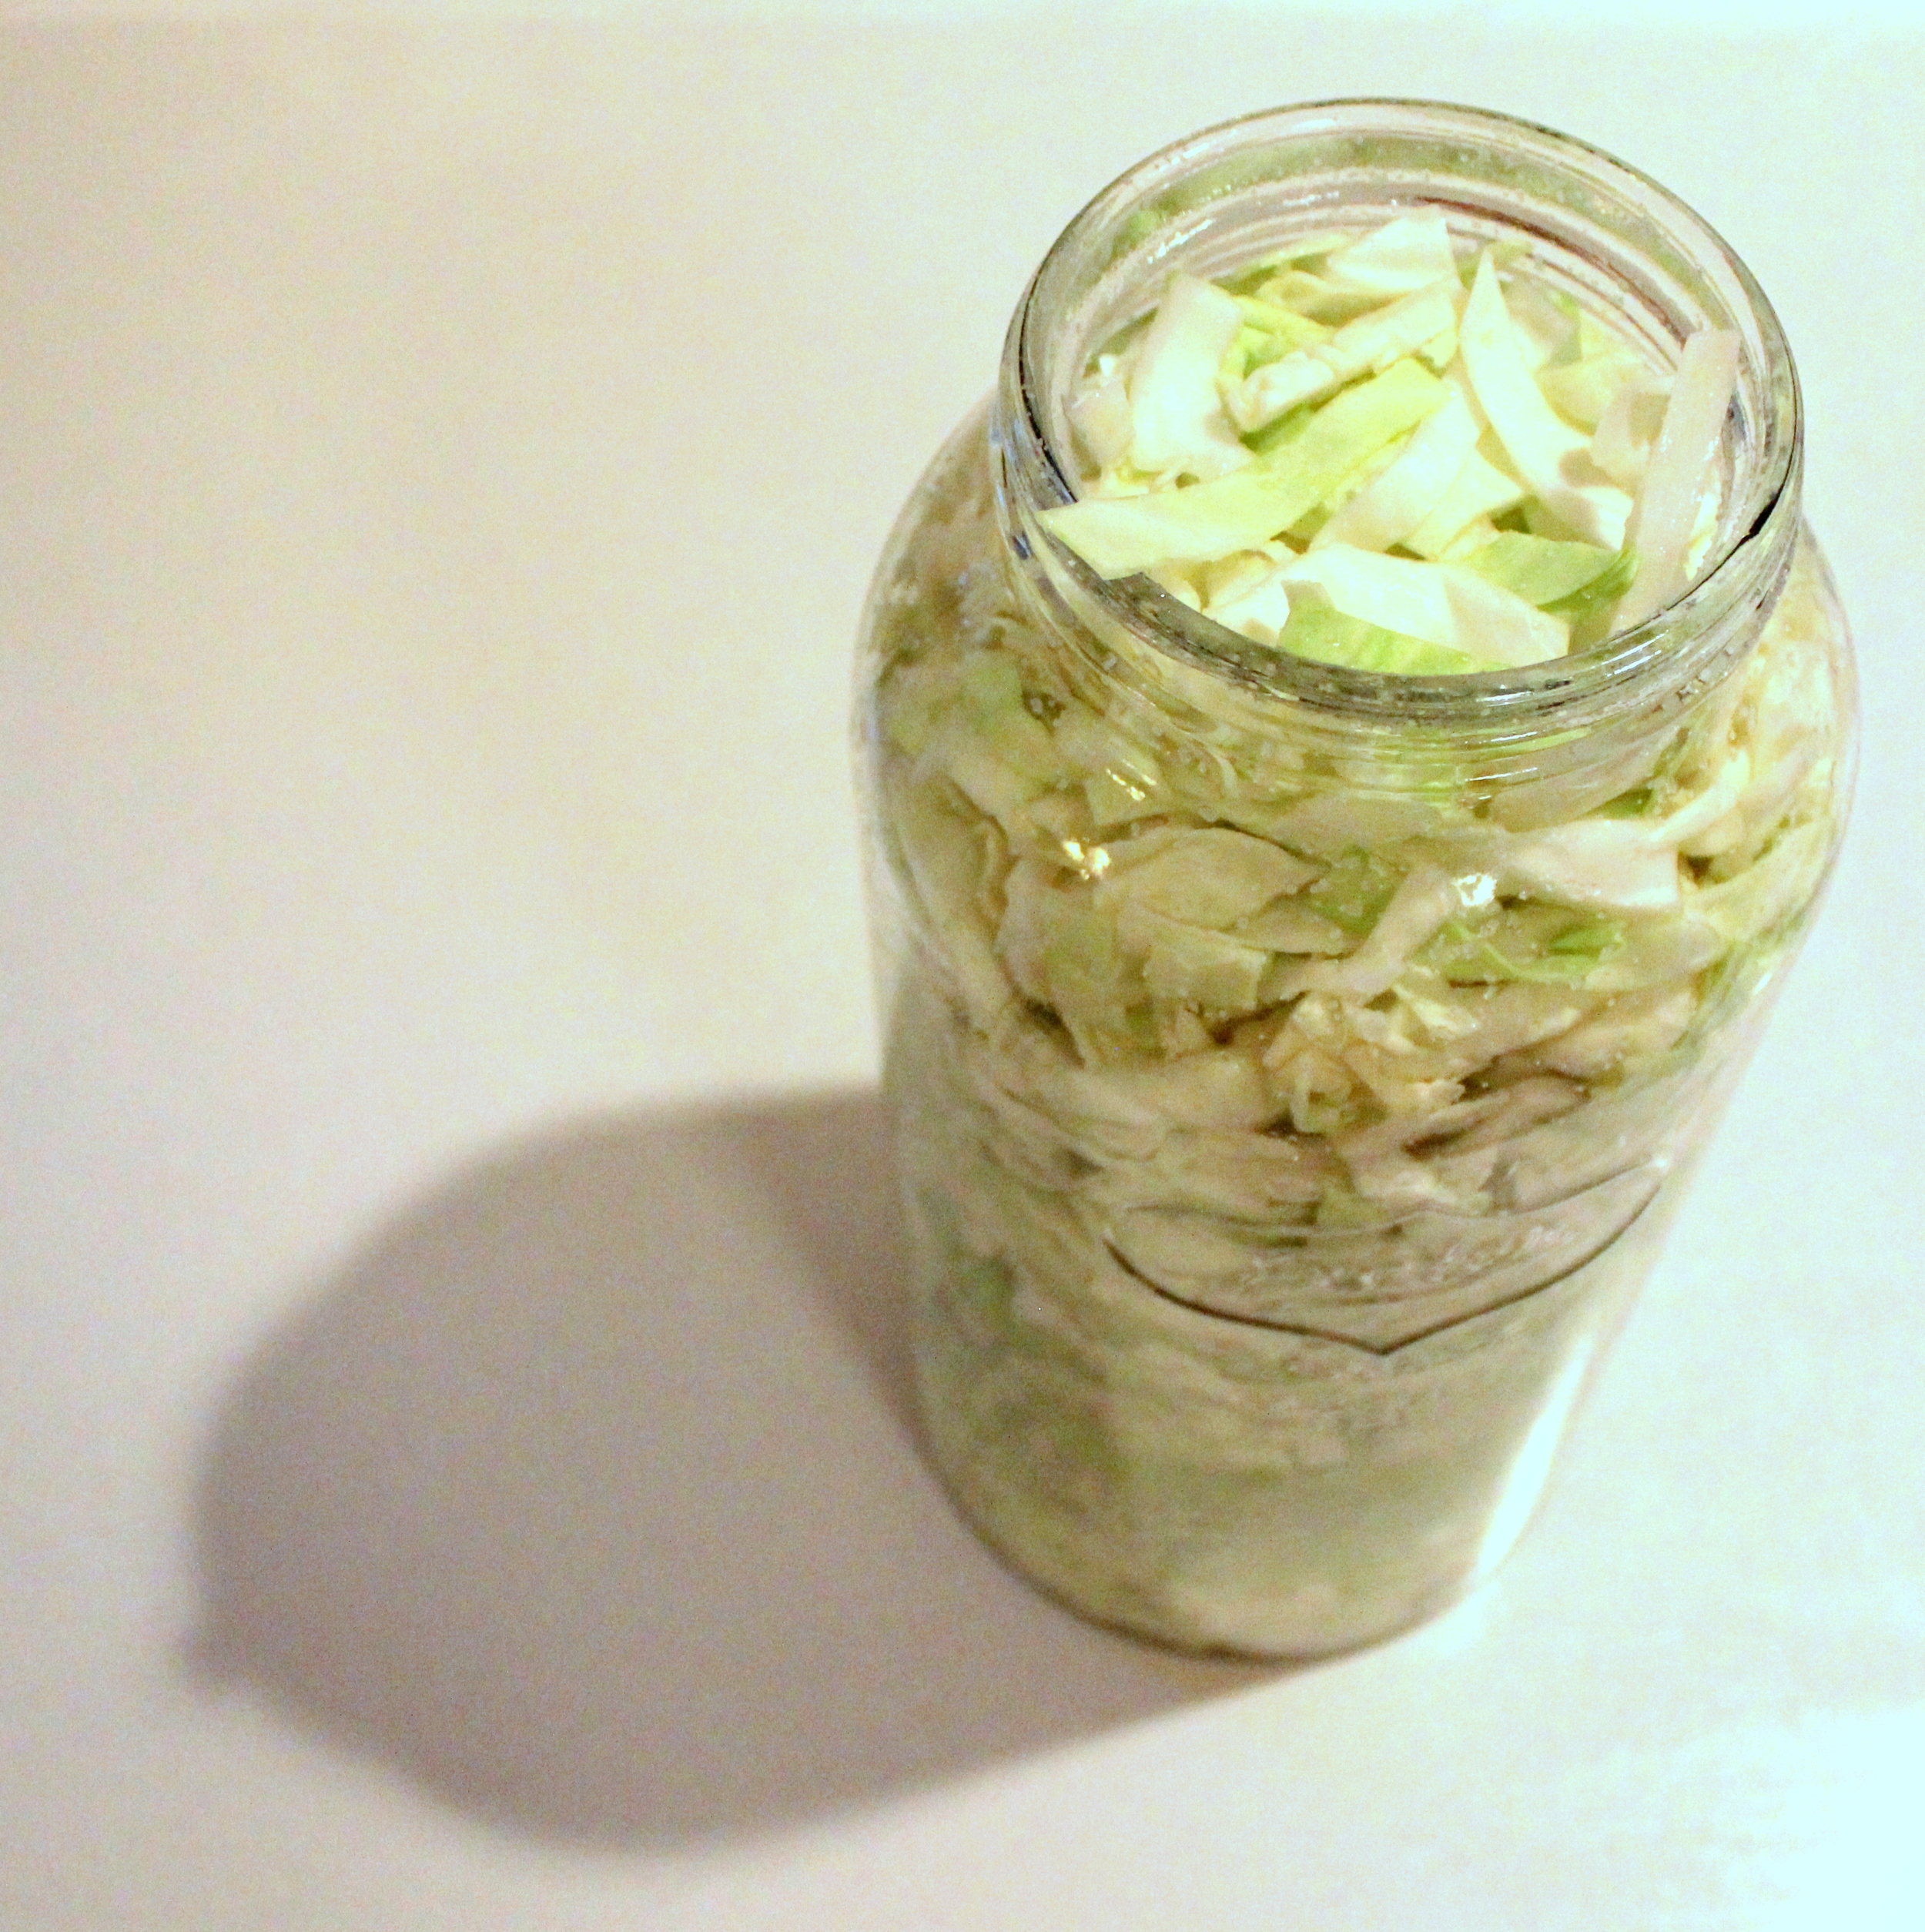
Add cabbage to a large, clean bowl (either glass or plastic) and toss with five tablespoons of non-iodized pickling salt to coat evenly. Pack the salted cabbage tightly into a ceramic crock or glass gallon jar.
Place a plate or bowl inside the mouth of the jar, on top of the cabbage, then set a bowl or a mason jar filled with water on the plate/bowl to weight it down so that the cabbage is submerged. Don’t put a lid on your jar — remember, you want oxygen to be able to get in so that the fermentation process is aerobic.
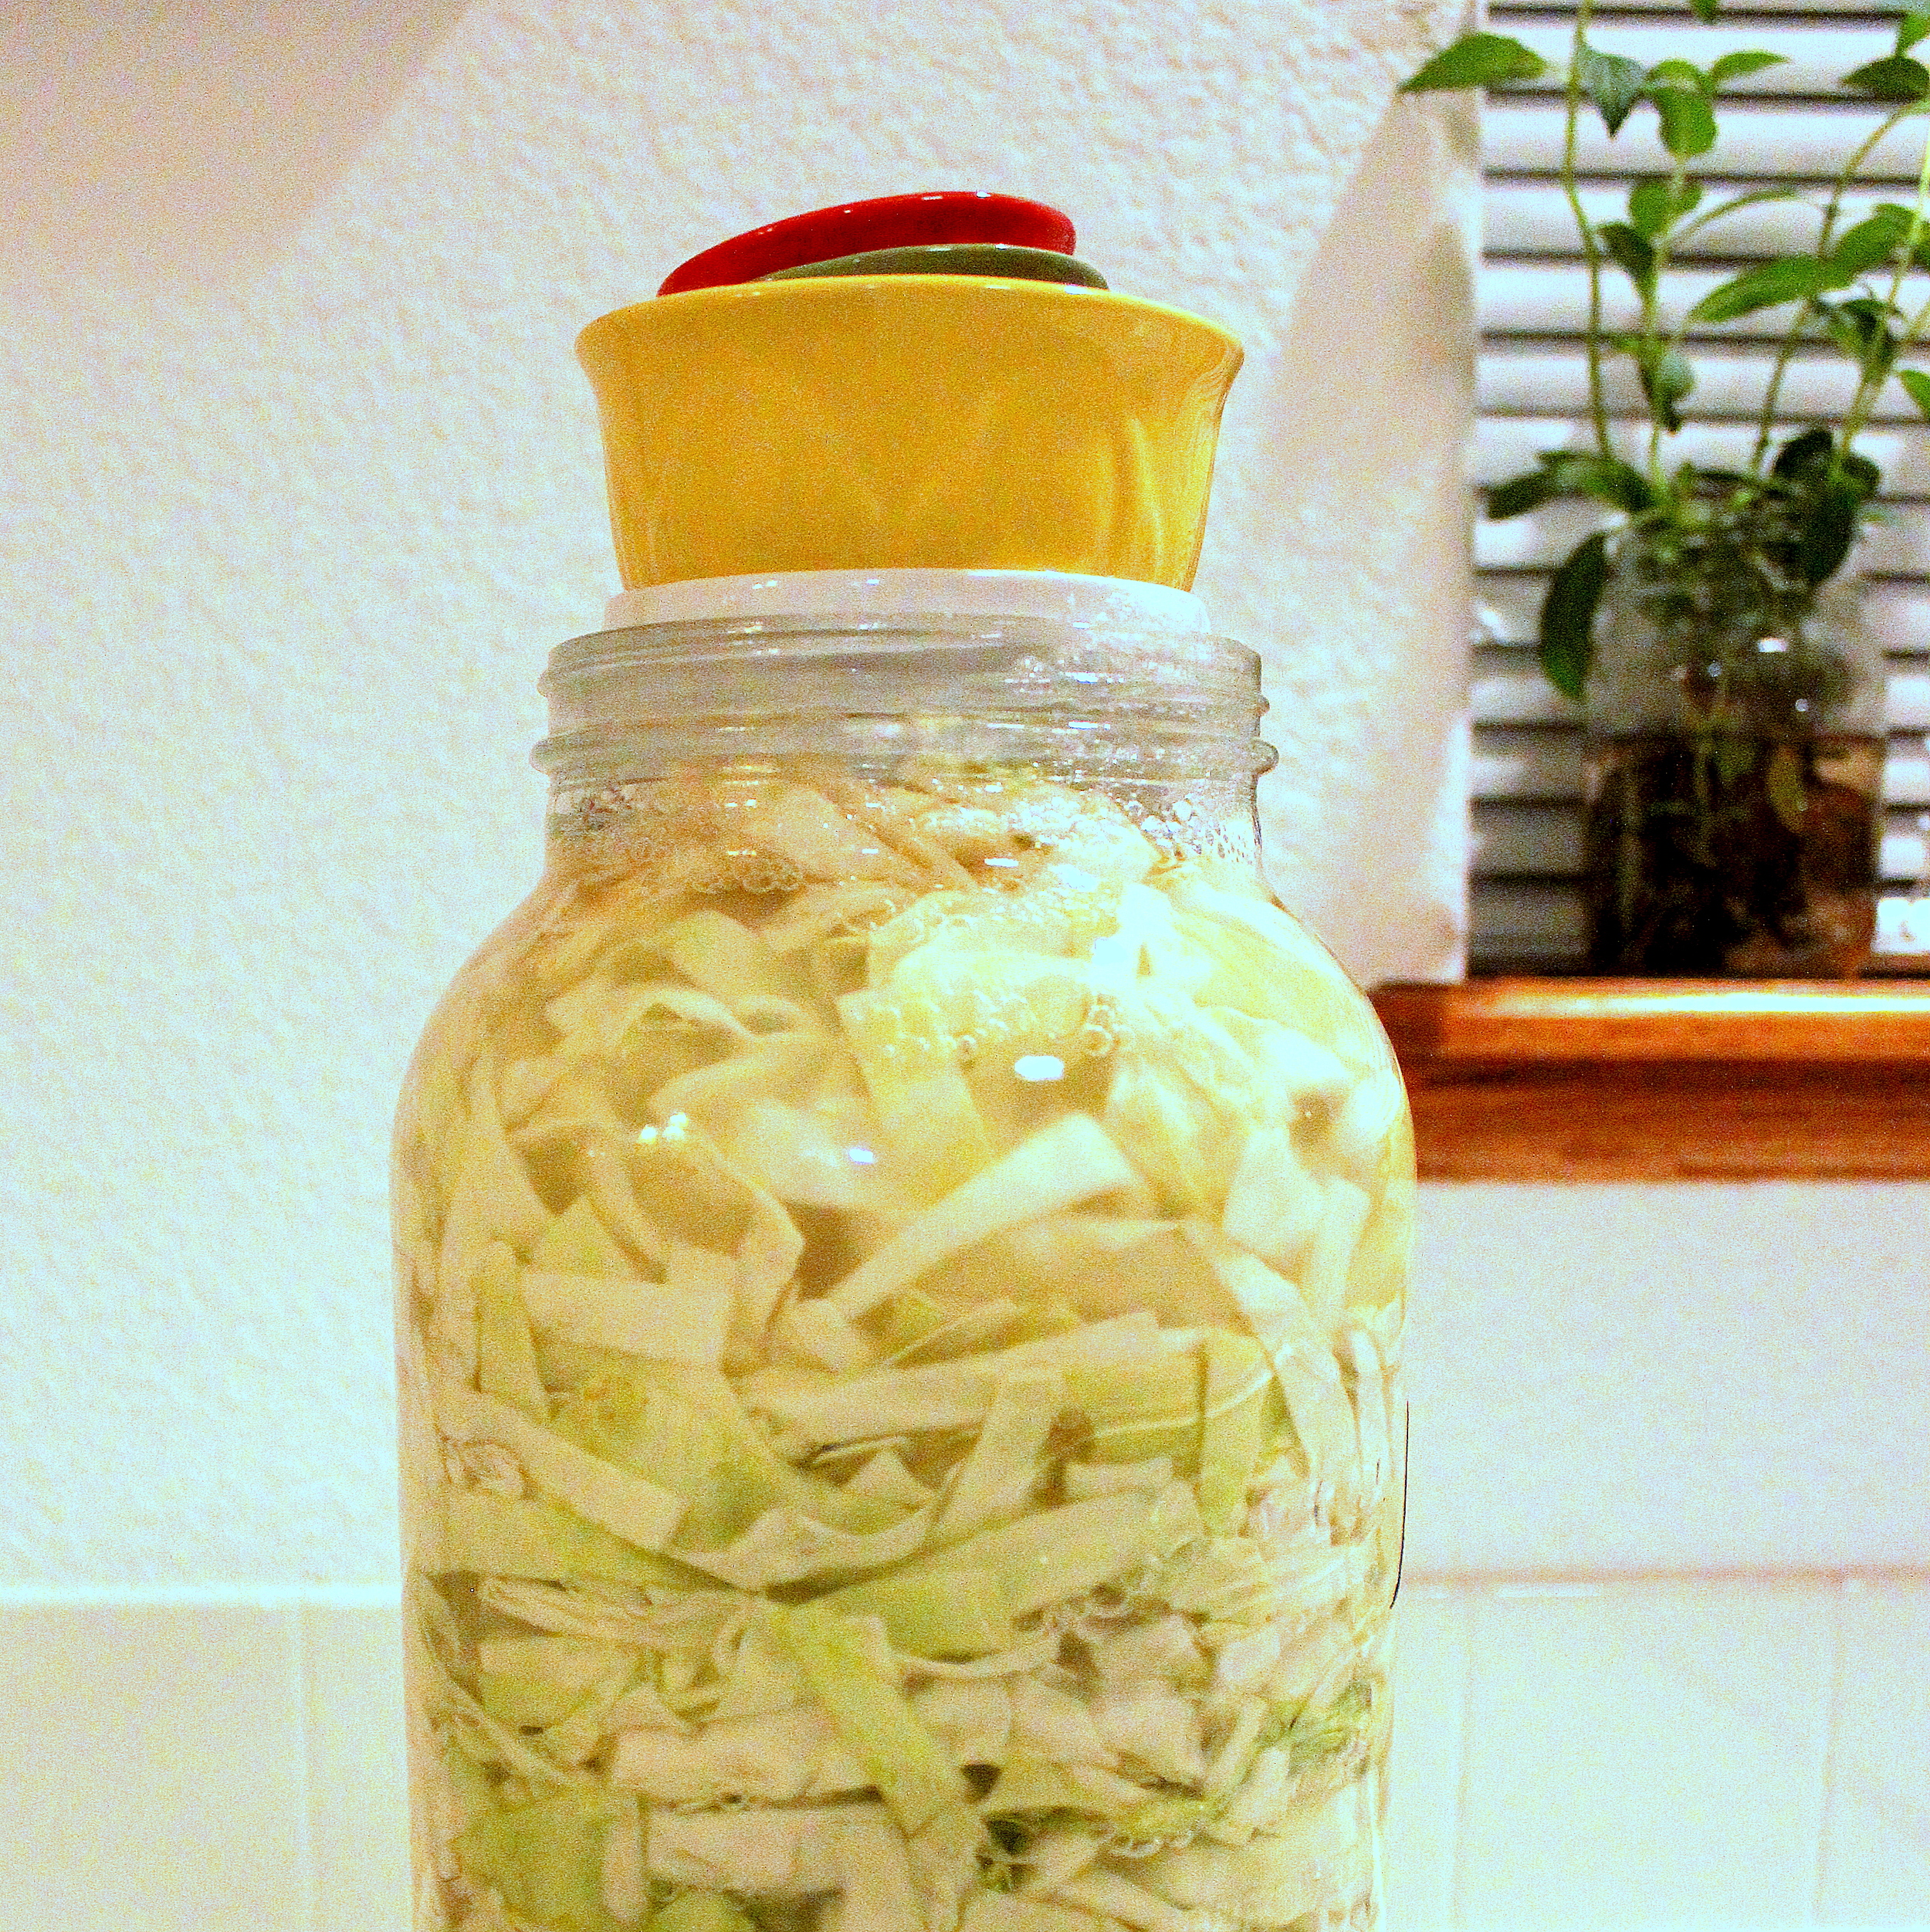
Now, let nature do its thang. Set your pre-sauerkraut in a cool, dark place. And wait.
Check the sauerkraut in 24 hours to make sure that all of the cabbage is still submerged. If not, mix up a brine made of one cup of water plus one tablespoon of salt. Add enough brine to cover the cabbage.
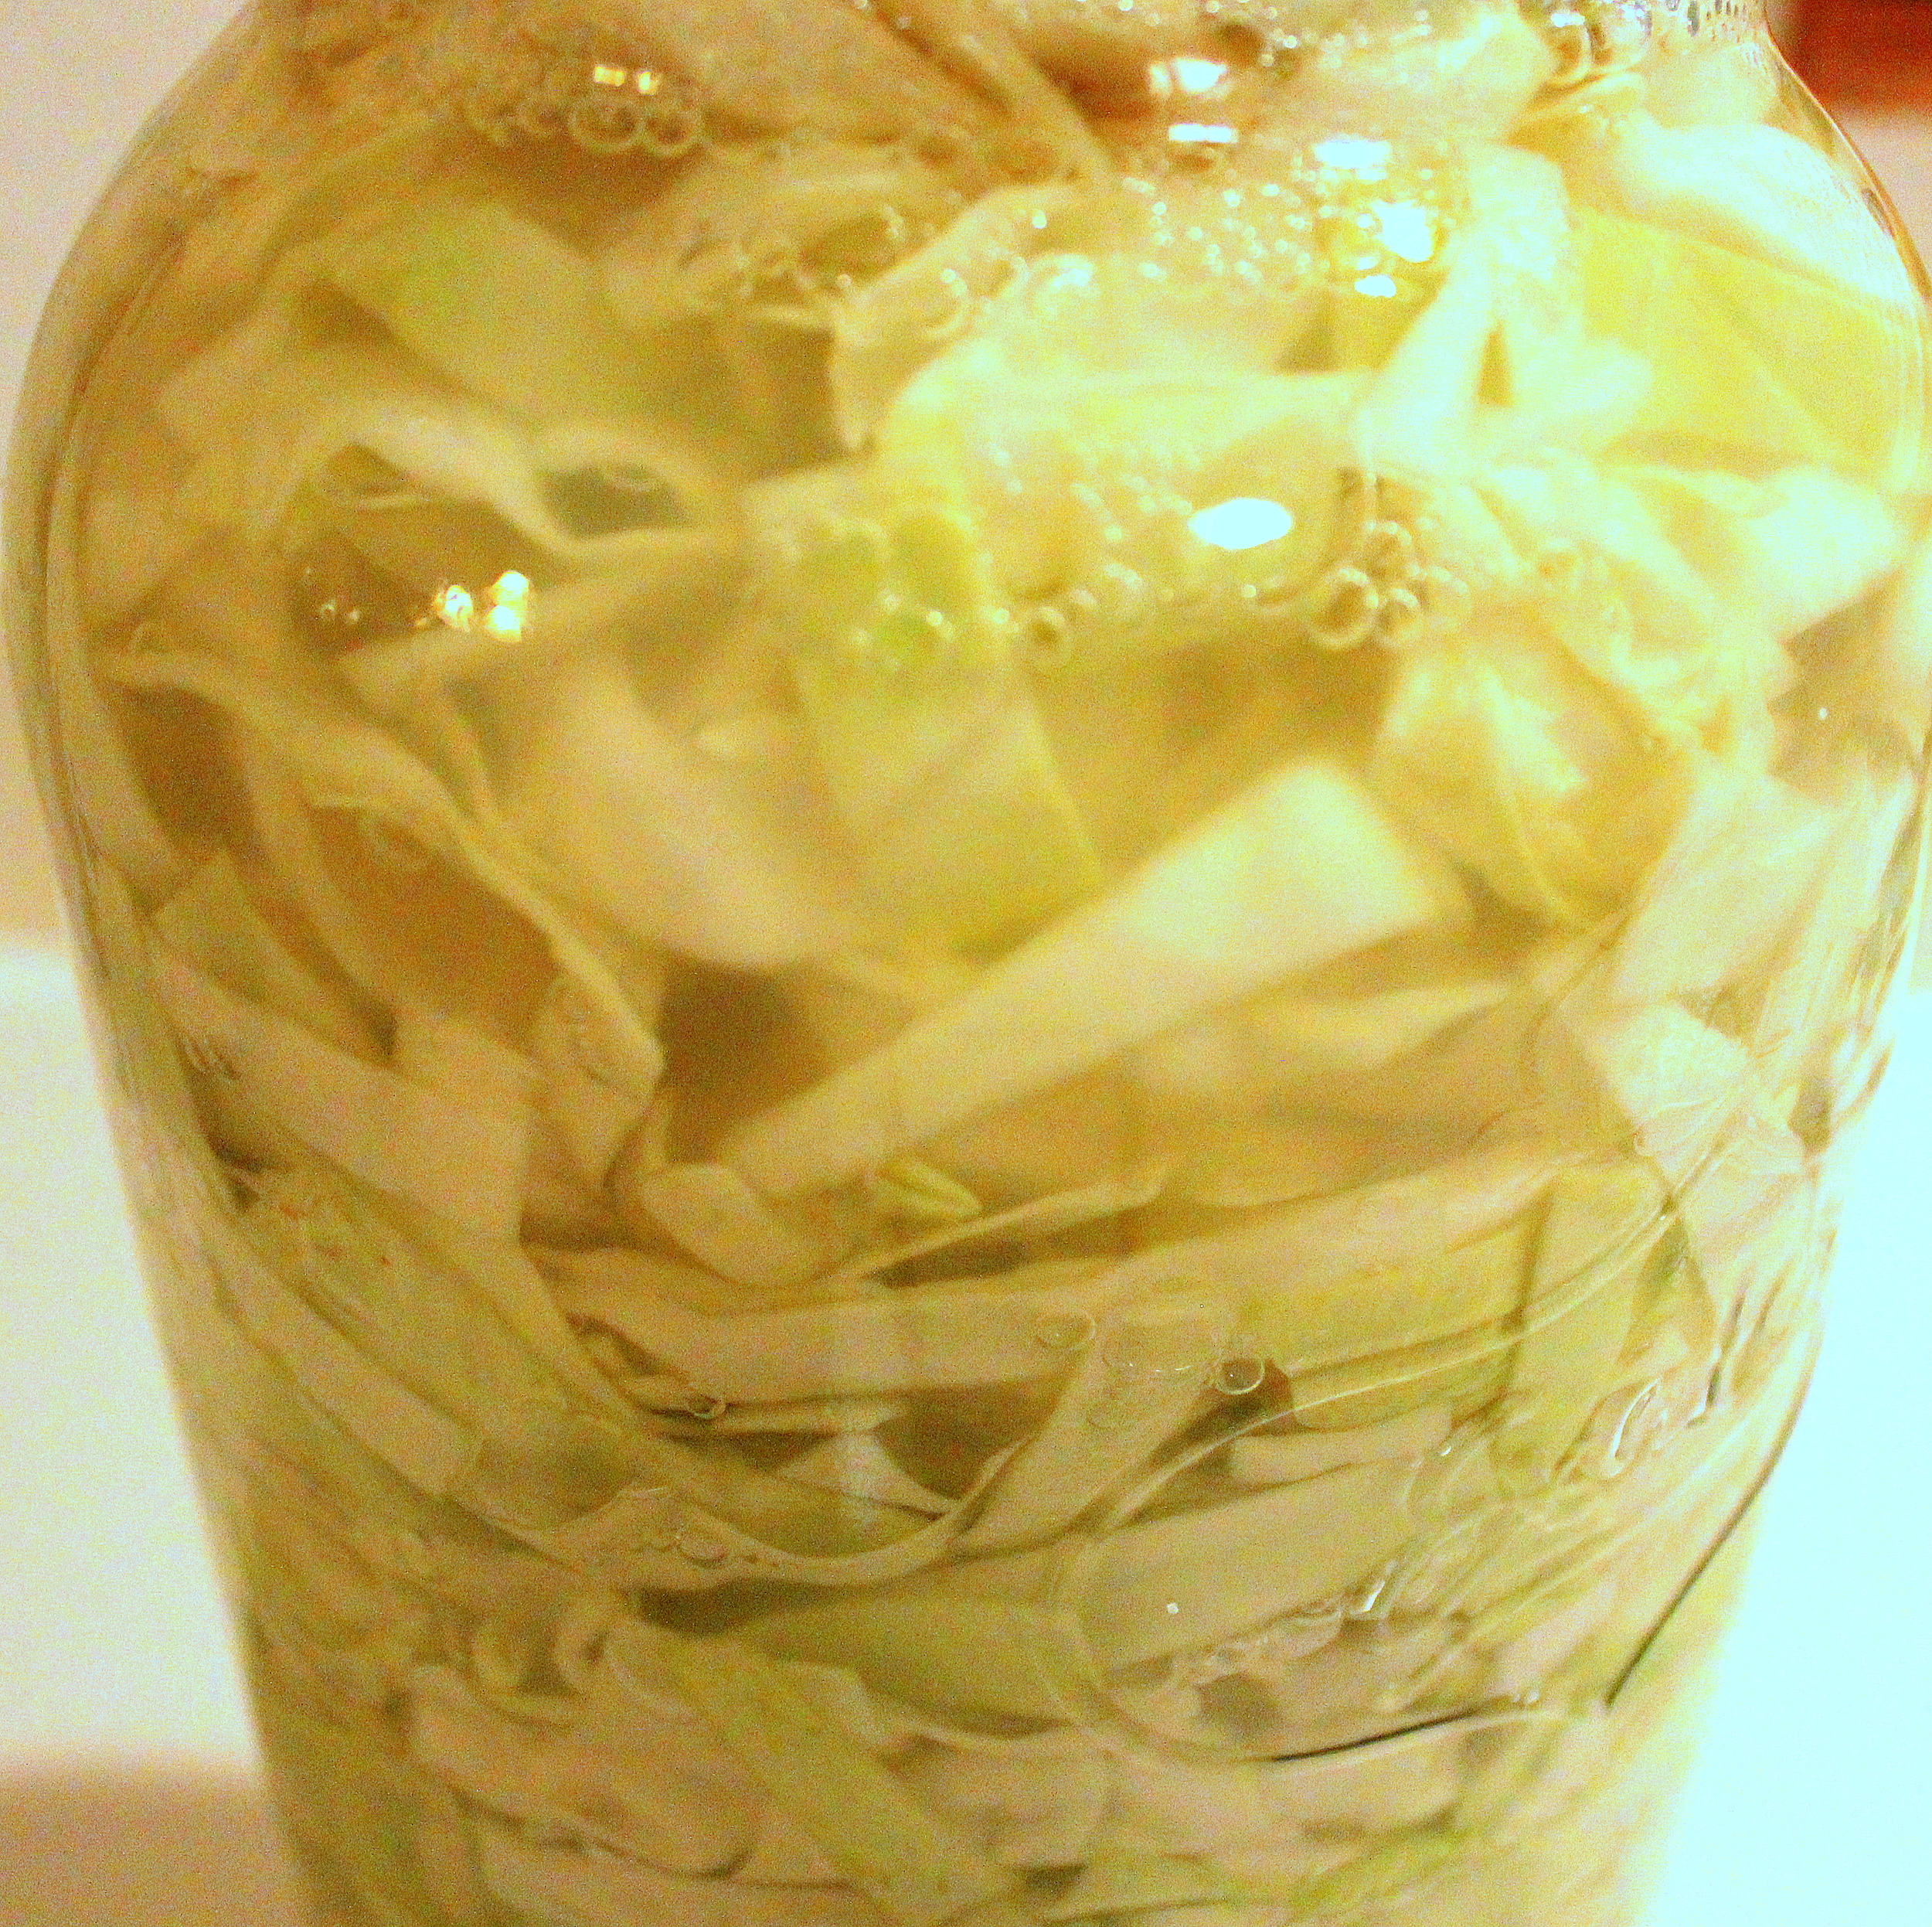
You should notice tiny bubbles coming up to the surface — this means that the natural yeasts are doing their job and transforming your cabbage into sauerkraut! If a scum appears at the top, don’t fear. This is perfectly harmless, and you can just scoop it out with a spoon.
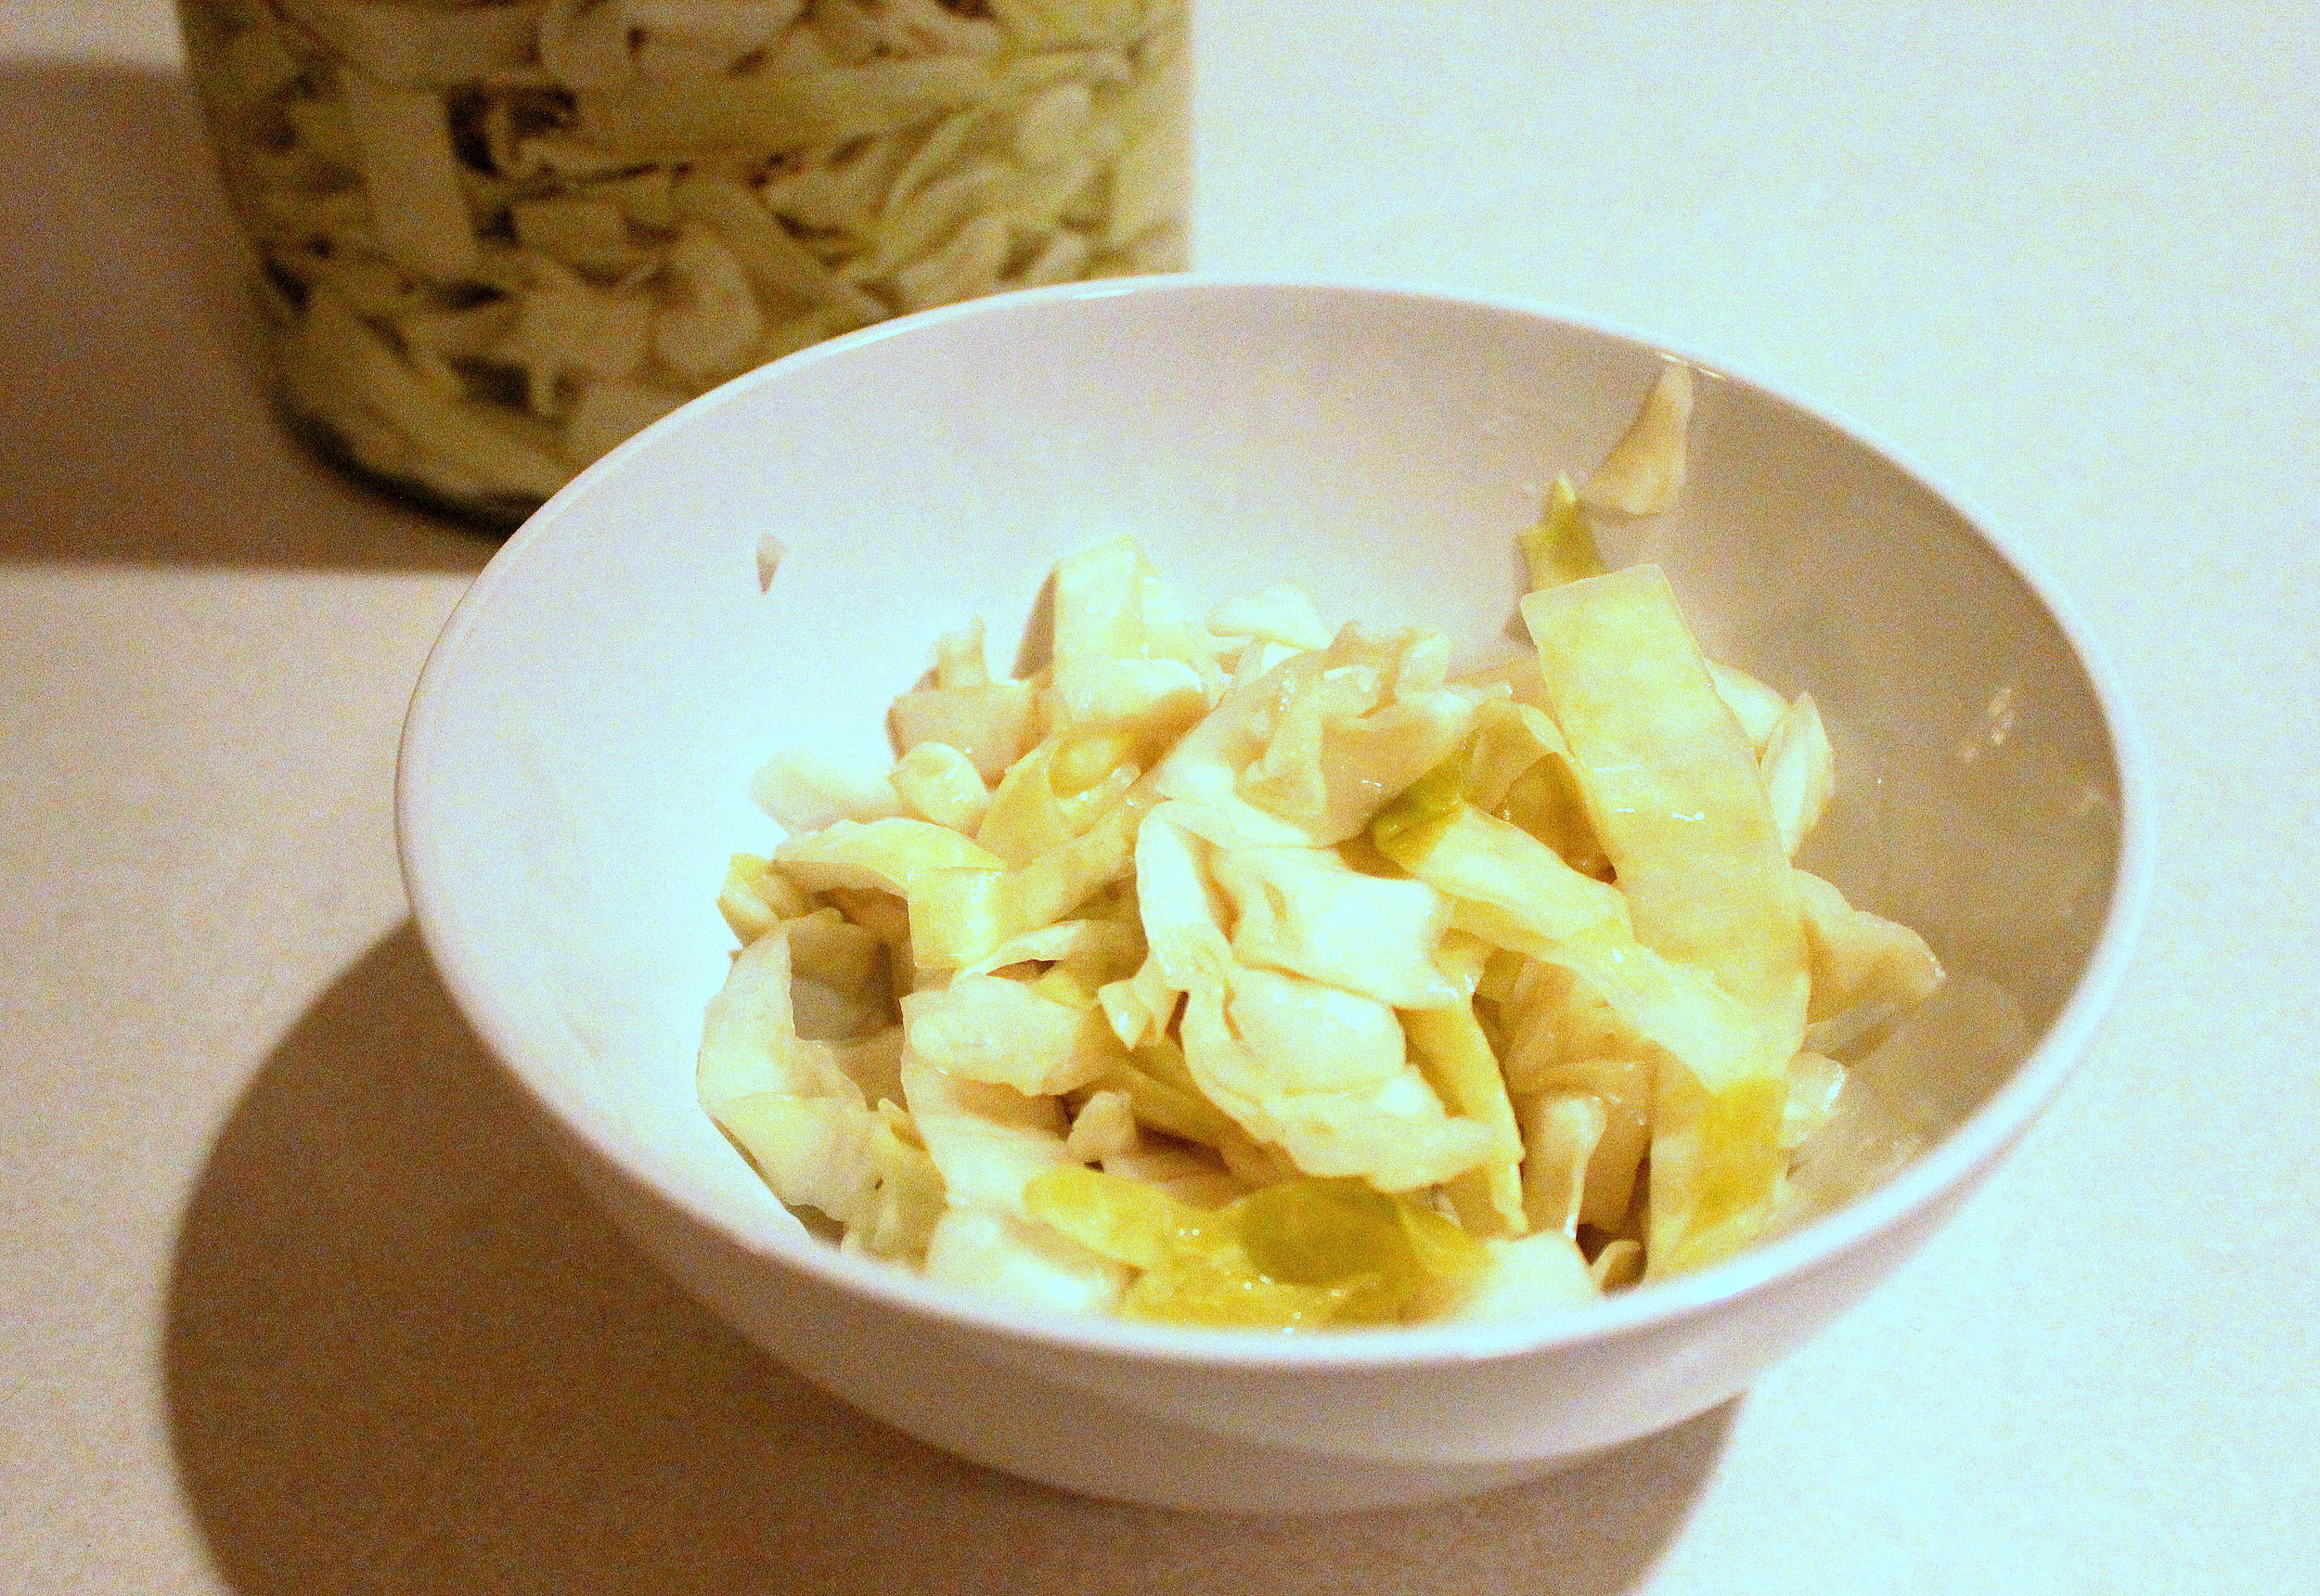
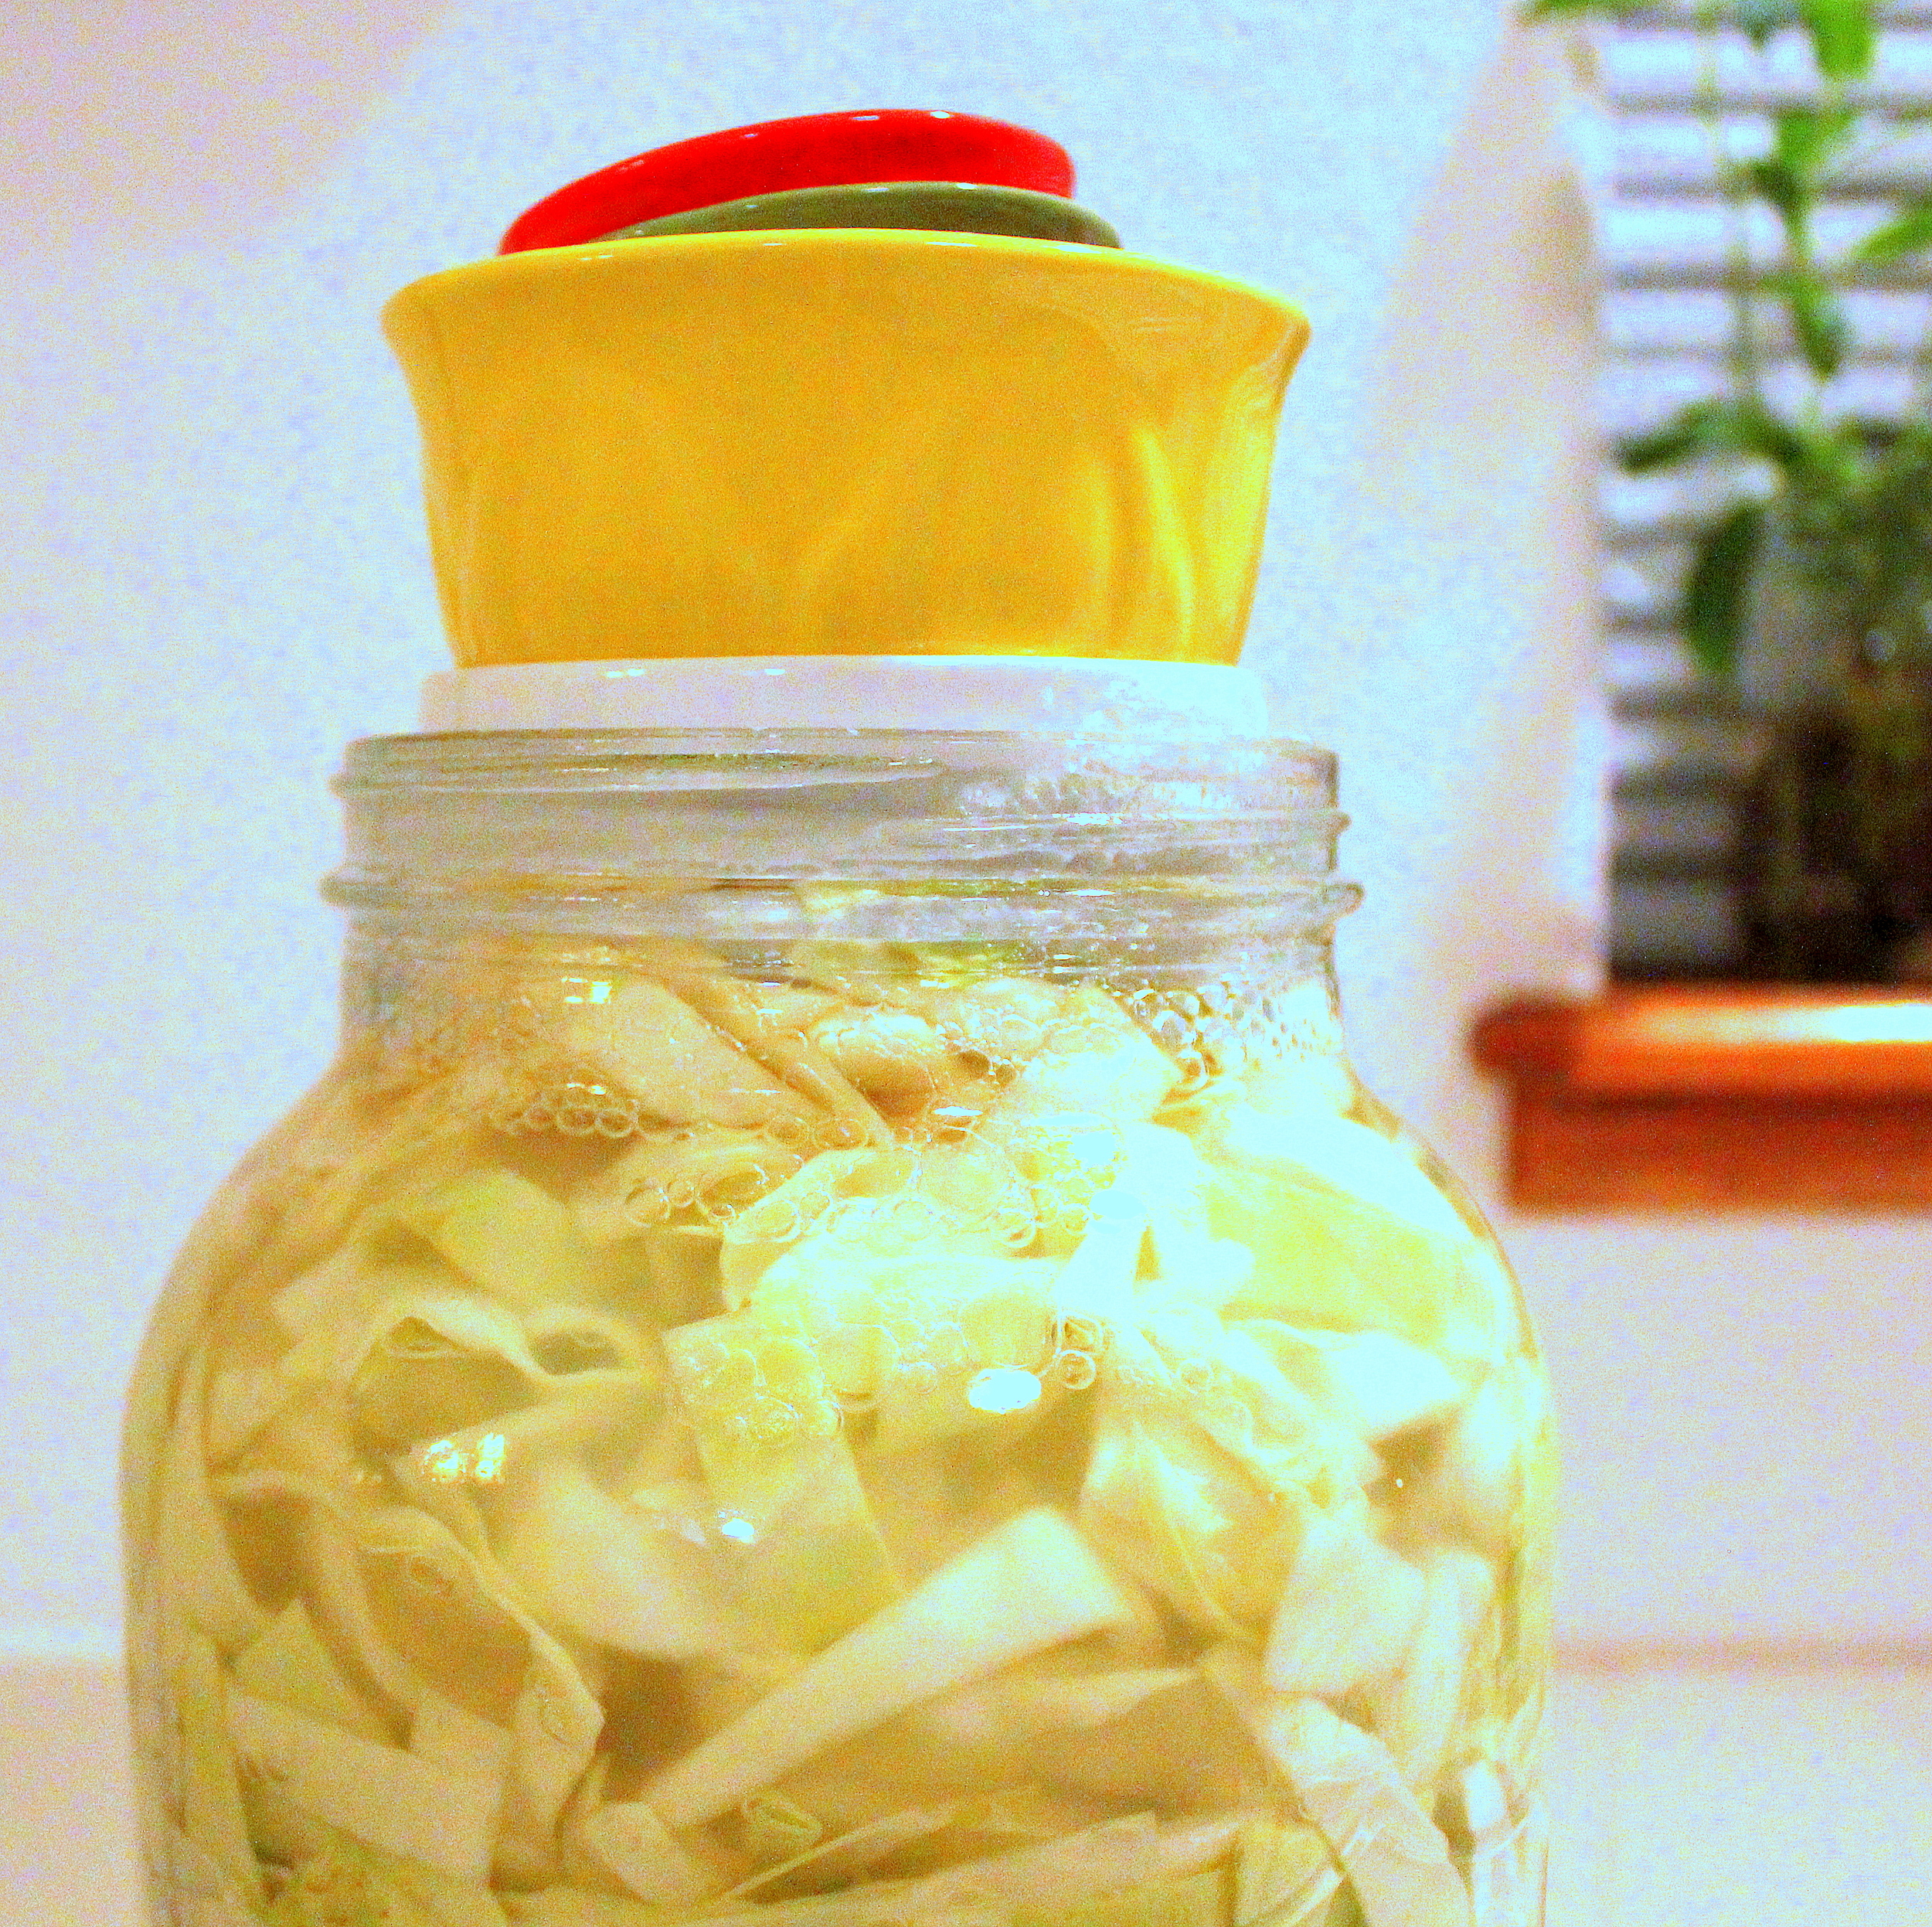
Check on the sauerkraut every few days. It should be fully fermented in about one to two weeks at room temperature, or about three to four weeks in a cool basement. You’ll know its finished because you won’t see any more bubbles rising to the surface and the kraut will be a pale, gold color.
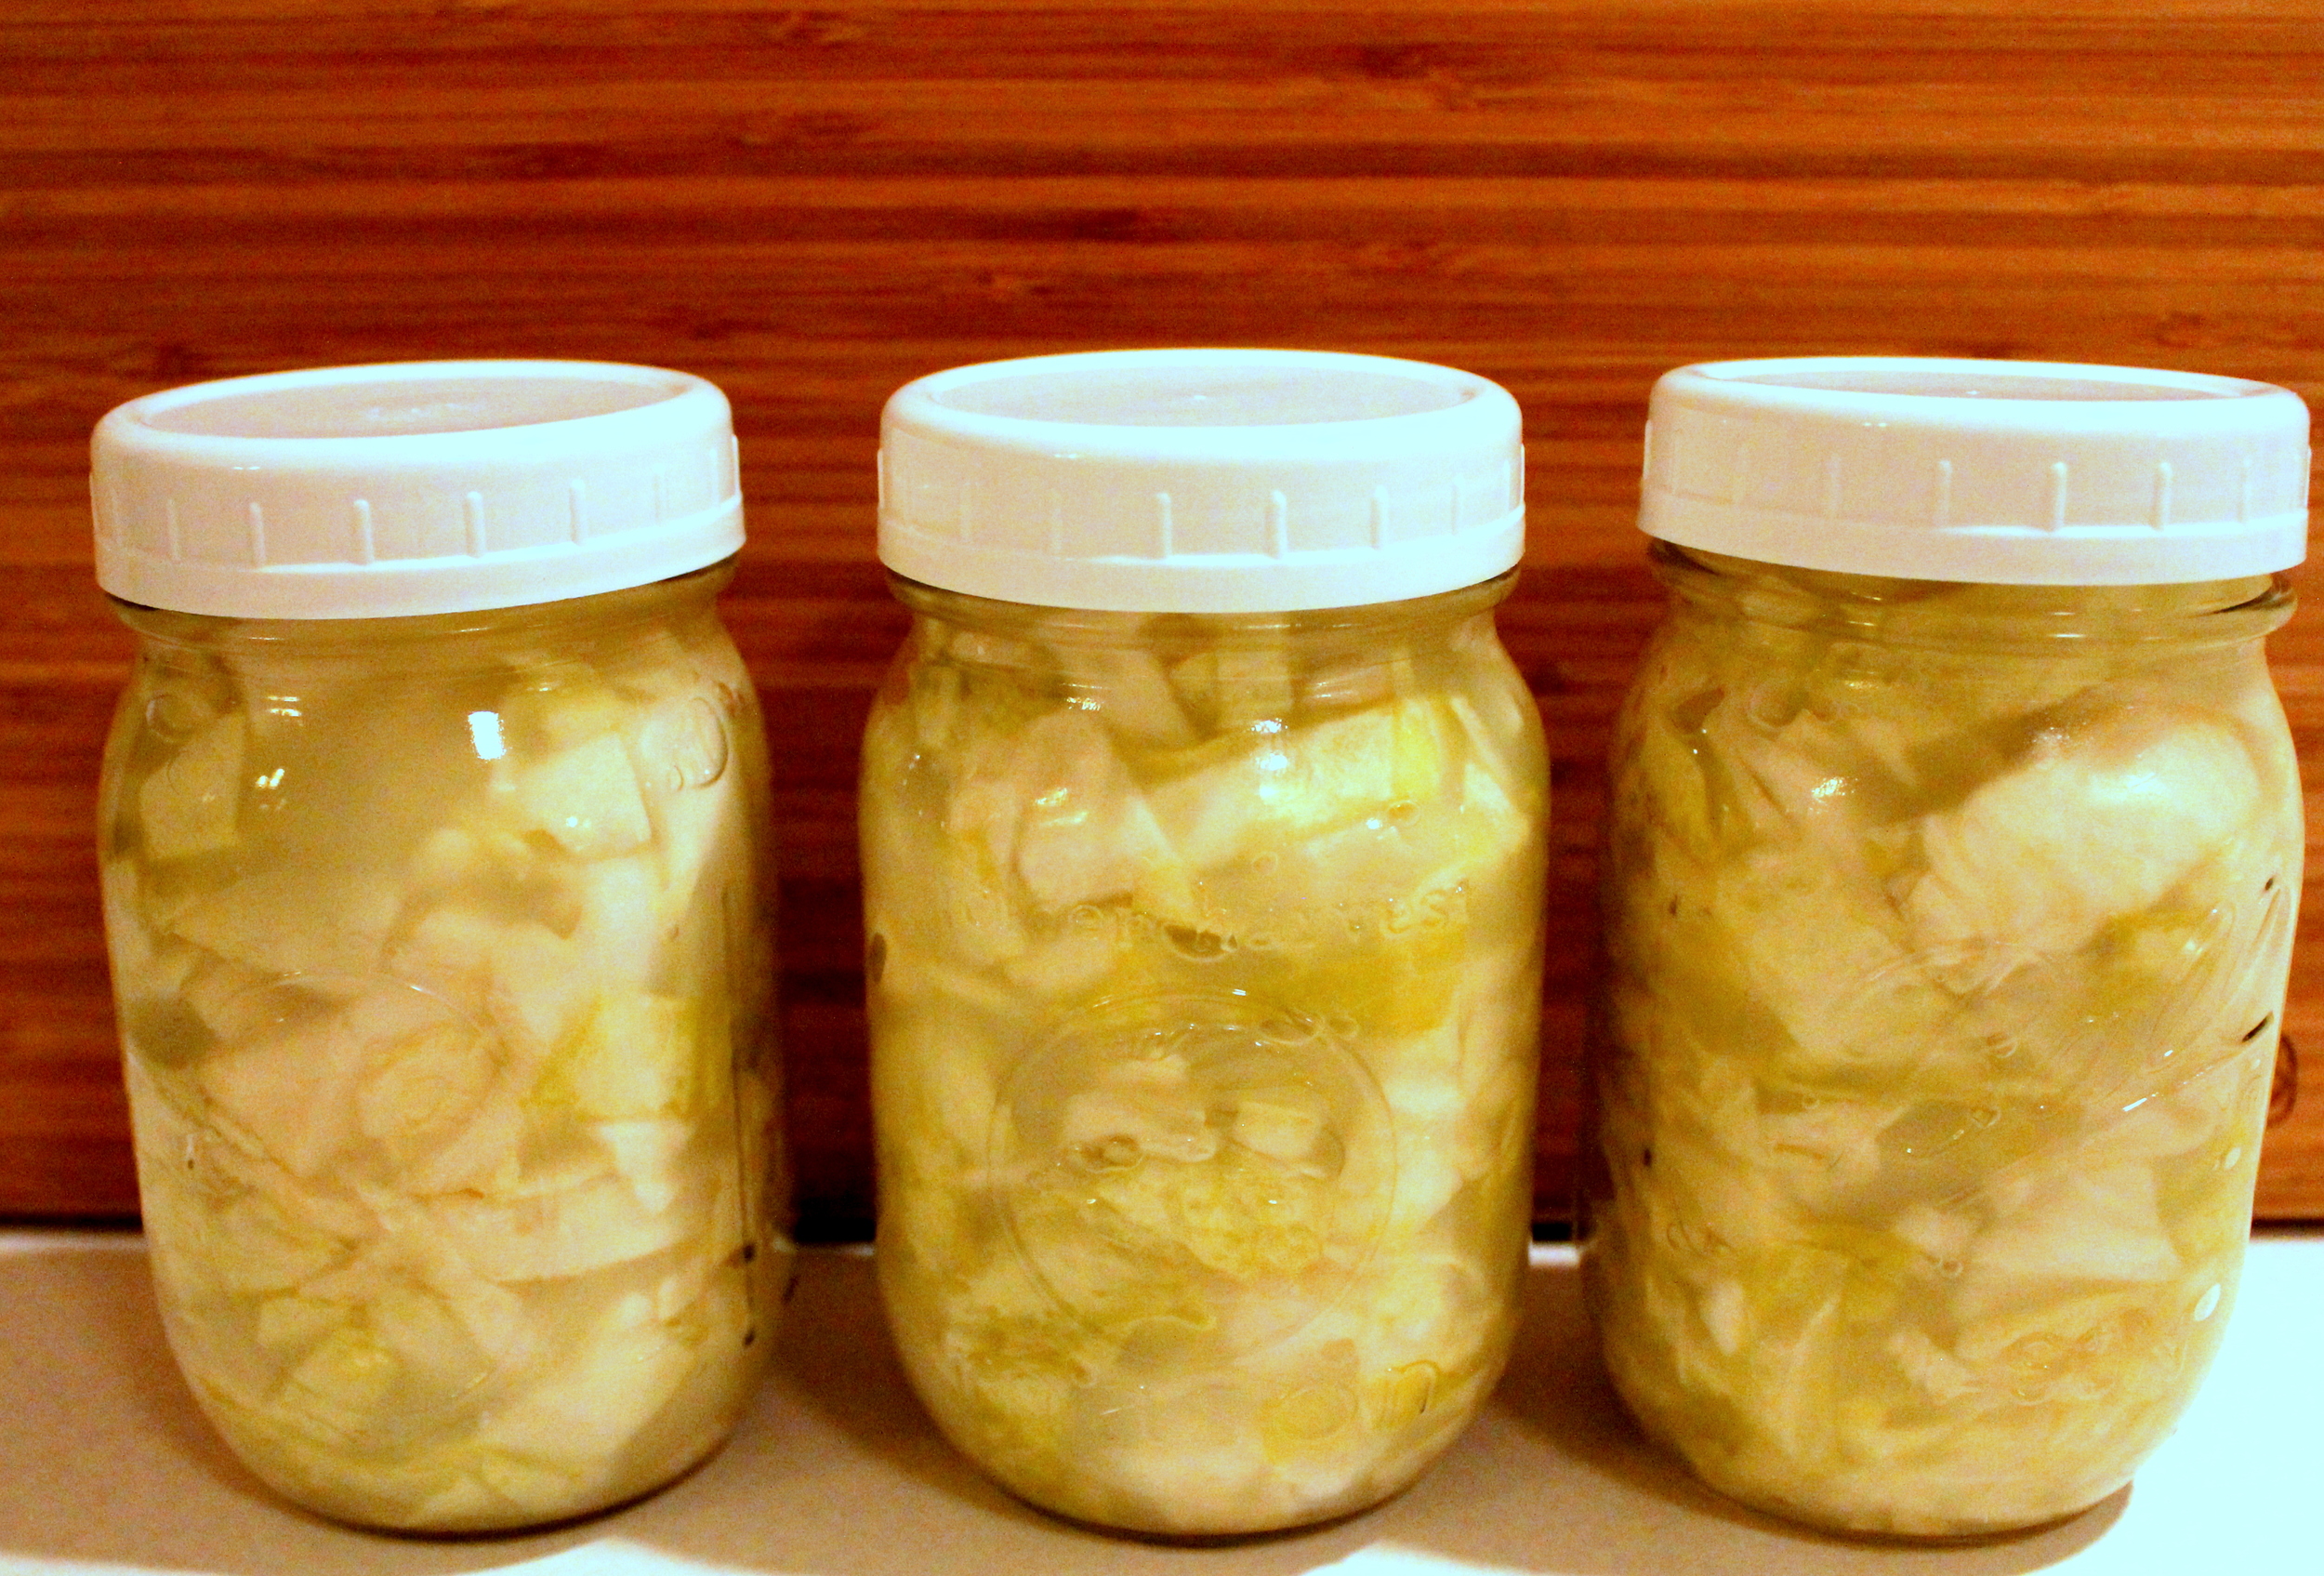
And there you are! Your very own homemade probiotic goodness. Store your kraut in the refrigerator for up to a month, but don’t can it! The heat needed to can the sauerkraut will kill all of those healthy bacteria. Just gobble up all of this sour, salty goodness as soon as you can.
Enjoy!
Fermented Sauerkraut
Ingredients
-
5 lbs cabbage (1 large head or 2 small)
-
5 Tbsp. pickling salt (non-iodized)
-
Water to fill the jar
Instructions:
-
Peel off outer leaves of cabbage and wash thoroughly, then cut out the stem. Finely shred cabbage using a knife or mandolin.
-
Add cabbage to a large, clean bowl (glass or ceramic) and toss with salt to coat evenly.
-
Pack cabbage tightly into a ceramic crock or glass gallon jar, then fill with water.
-
Place a plate or bowl inside the mouth of the jar, on top of the cabbage, then set a bowl or a mason jar filled with water on the plate/bowl to weight it down so that the cabbage is submerged.
-
Set your pre-sauerkraut in a cool, dark place.
-
Check the sauerkraut in 24 hours to make sure that all of the cabbage is still submerged. If not, add enough brine to cover the cabbage (brine should be made of one cup of water plus one tablespoon of salt).
-
Check on the sauerkraut every few days. It should be fully fermented in about one to two weeks at room temperature, or about three to four weeks if in a cool basement. It is finished no more bubbles rise to the surface and the kraut is a pale, gold color.