30-Minute Meals
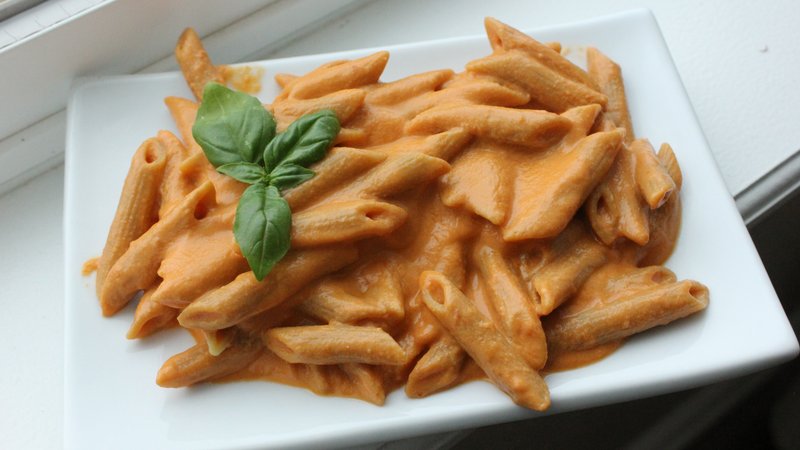
Penne with Vegan Vodka Sauce
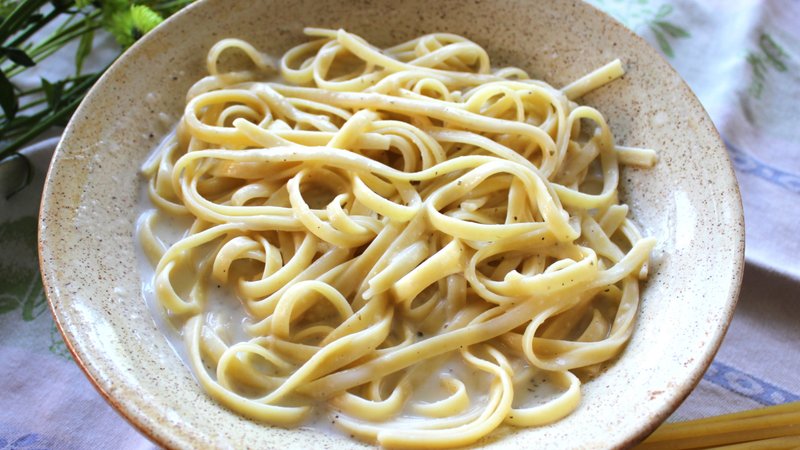
High Protein Fettucine Alfredo (Main Dish Portion)
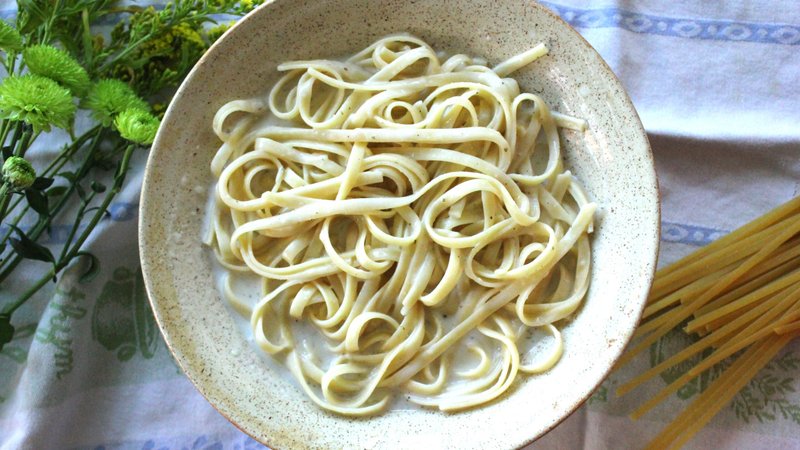
High Protein Fettucine Alfredo (Side Dish Portion)
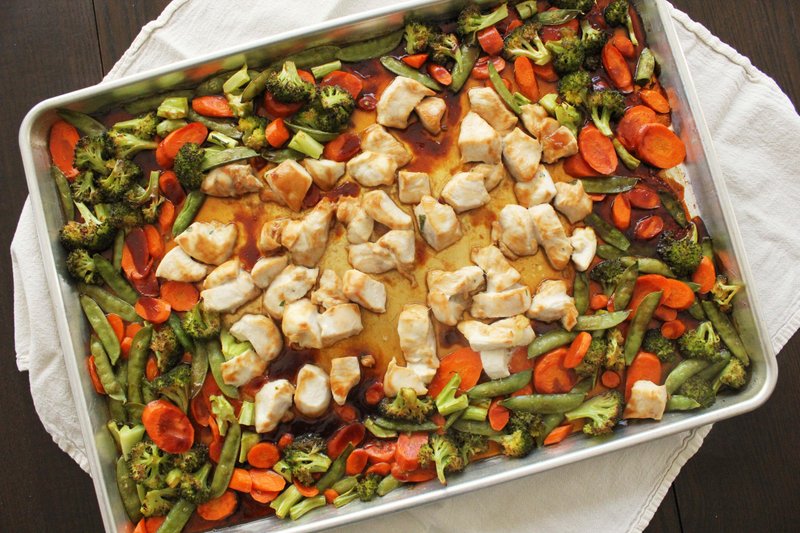
Sheet Pan Teriyaki Chicken
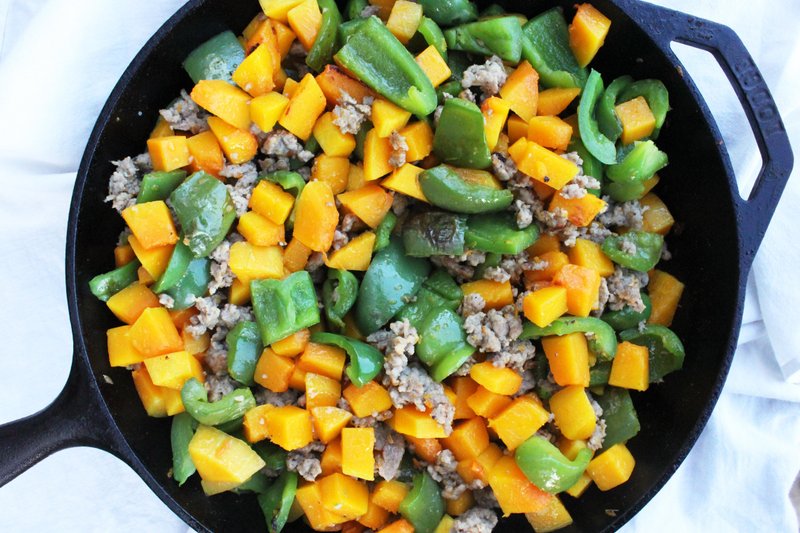
Butternut Squash, Bell Peppers, and Sausage Skillet
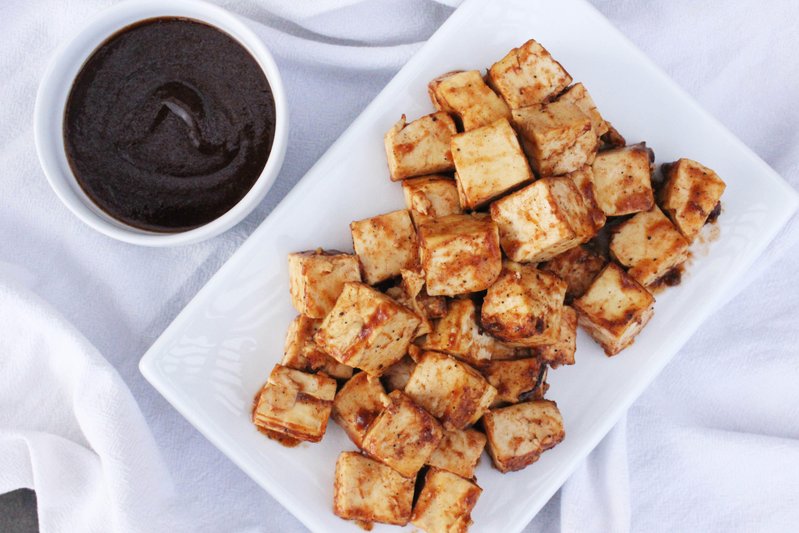
Barbecue Tofu

Creamy One-Pot Sun Dried Tomato Gnocchi With White Beans, Pine Nuts and Spinach
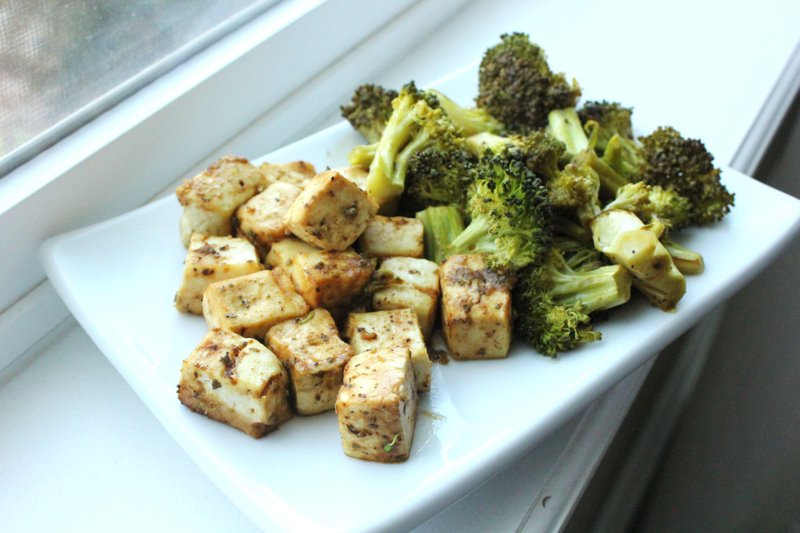
Balsamic Dijon Tofu with Broccoli
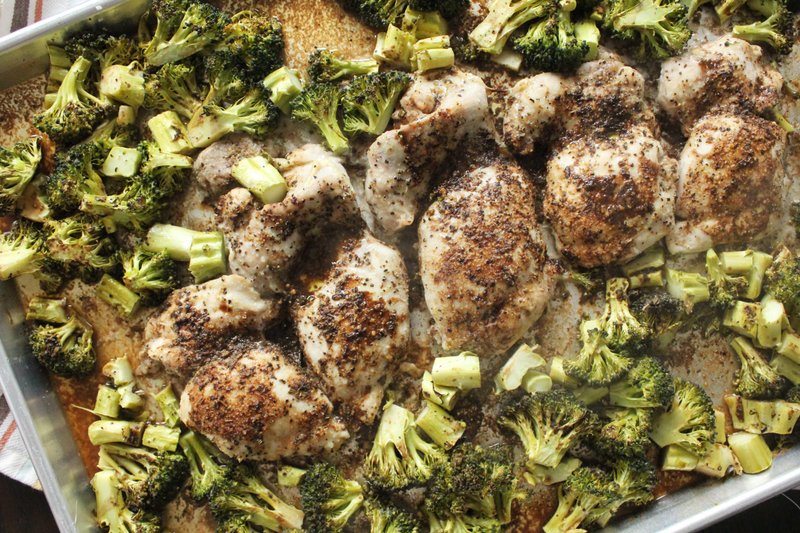
Balsamic Dijon Chicken Thighs with Broccoli
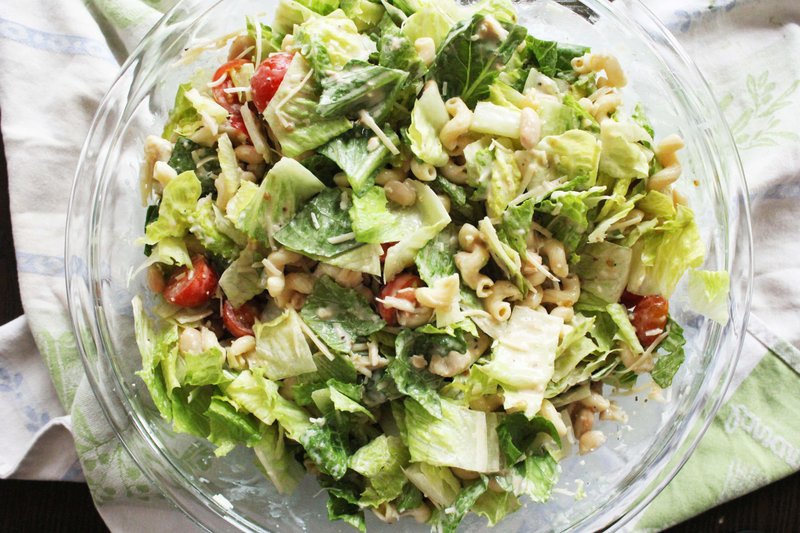
Penne Caesar Salad
Slow-Cooker Recipes
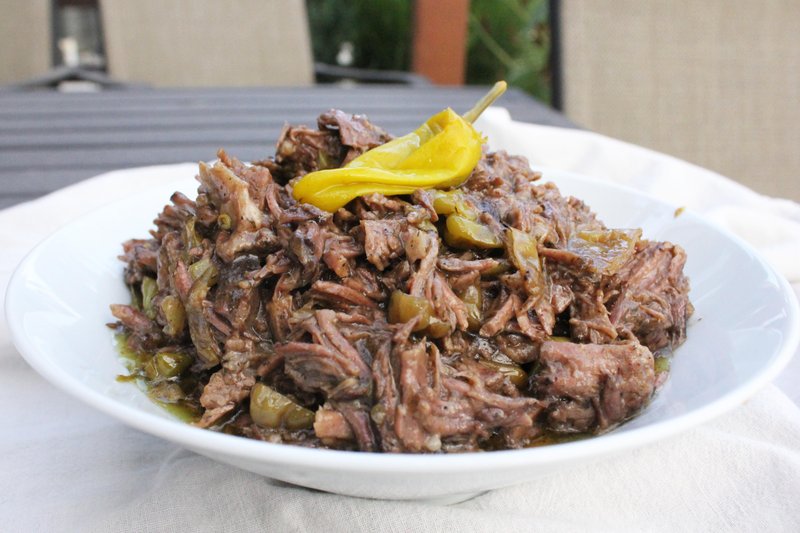
Peperoncini Pot Roast (Mississippi Pot Roast)
Lentil Bolognese
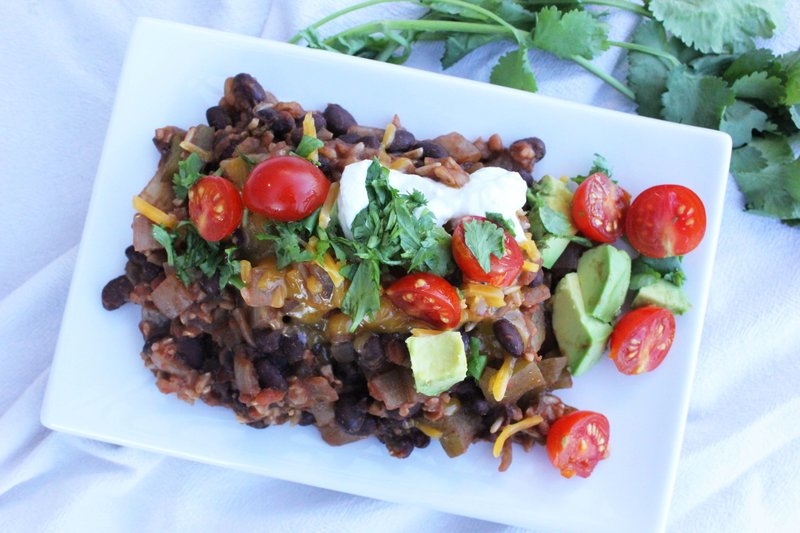
Slow-Cooker Burrito Bowls
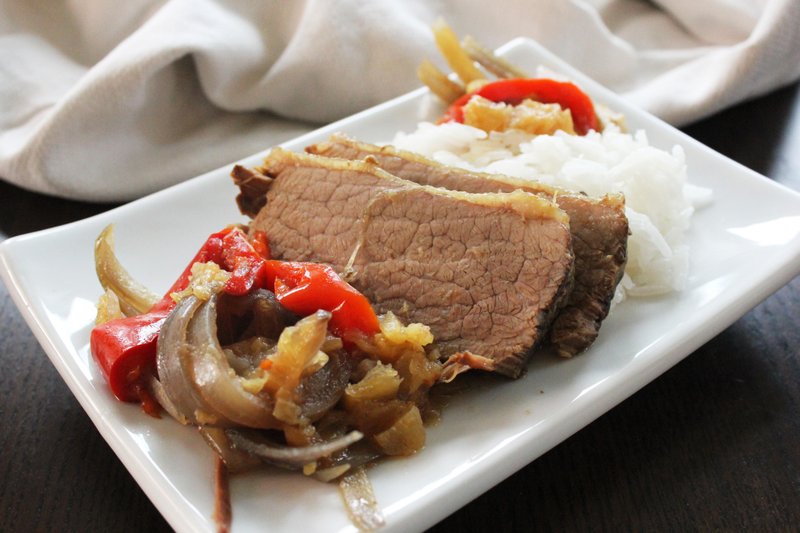
Slow Cooker Hawaiian Beef
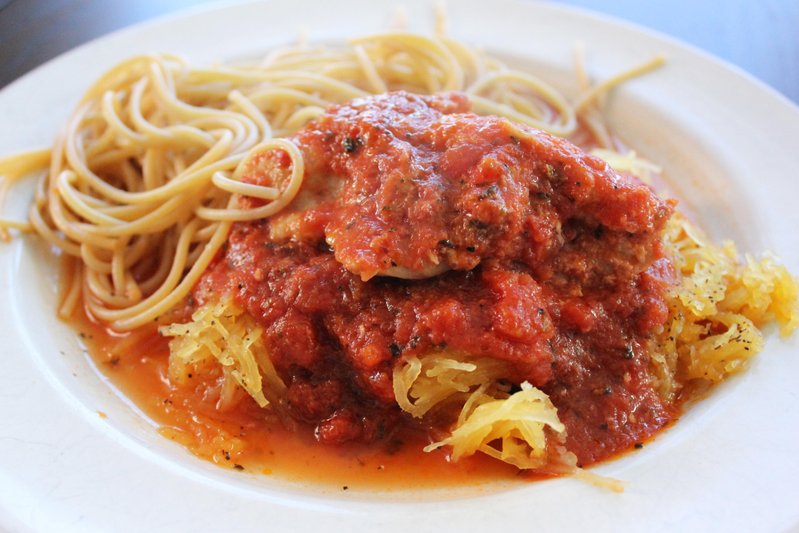
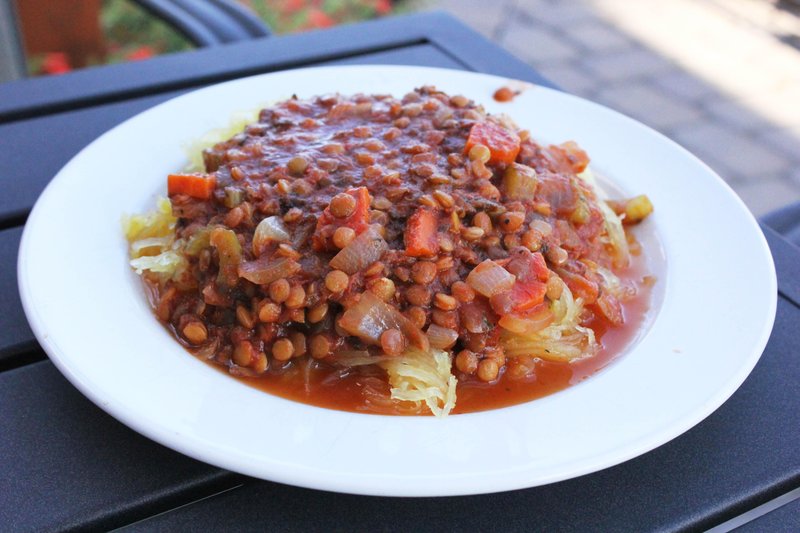
Slow Cooker Chicken Marinara with Spaghetti Squash
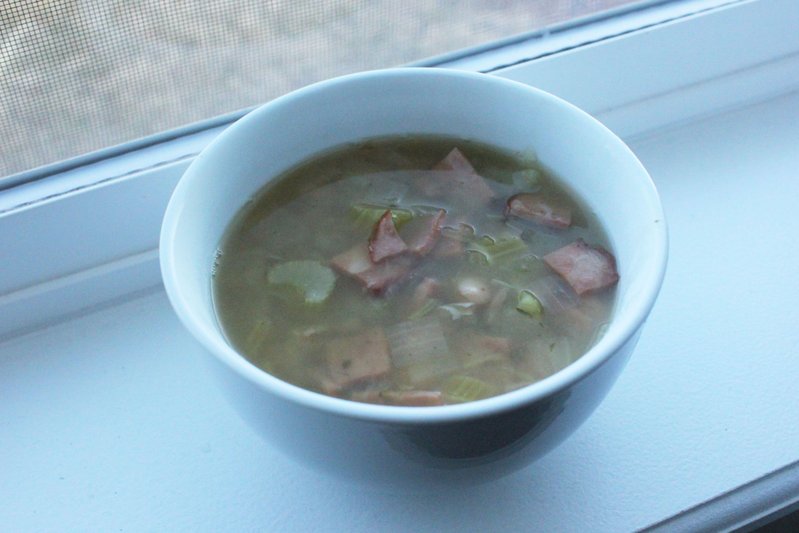
Ham & Bean Soup
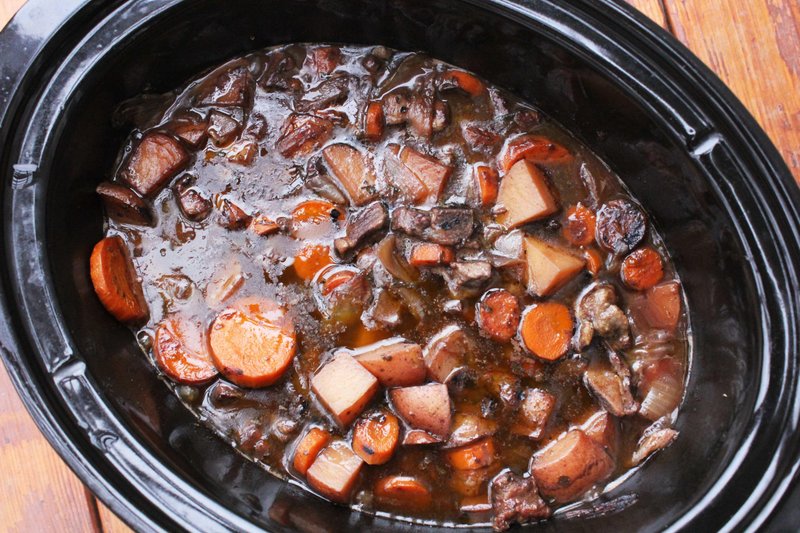
Slow-Cooker Beef Stew with Red Wine
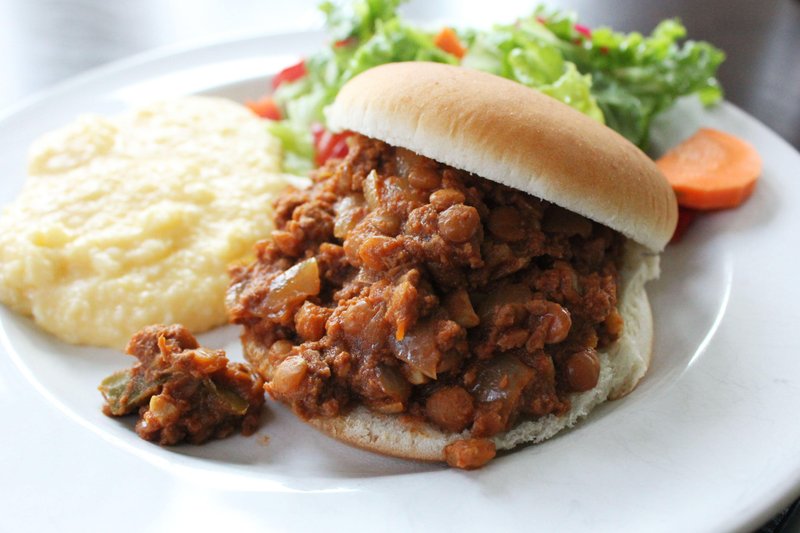
Beef & Lentil Sloppy Joes
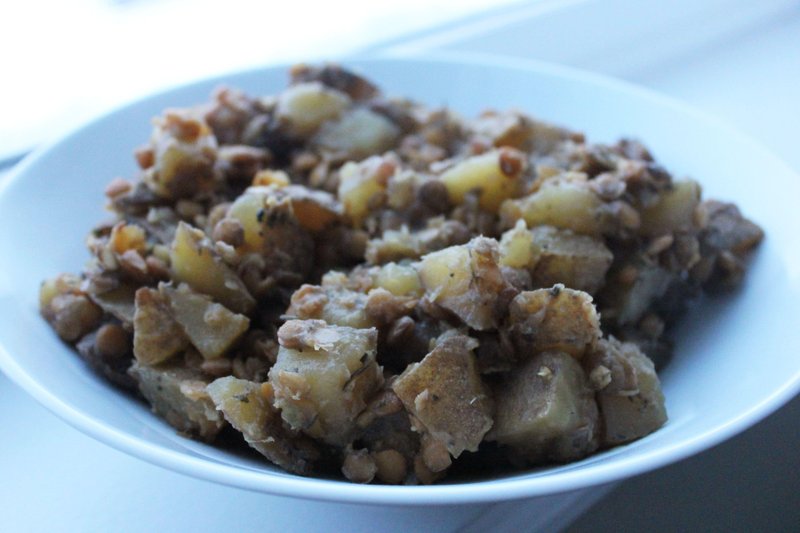
Dijon Lentils & Potatoes

Homemade Tofu and Vegetable Ramen Noodle Soup
Sides
Penne with Vegan Vodka Sauce
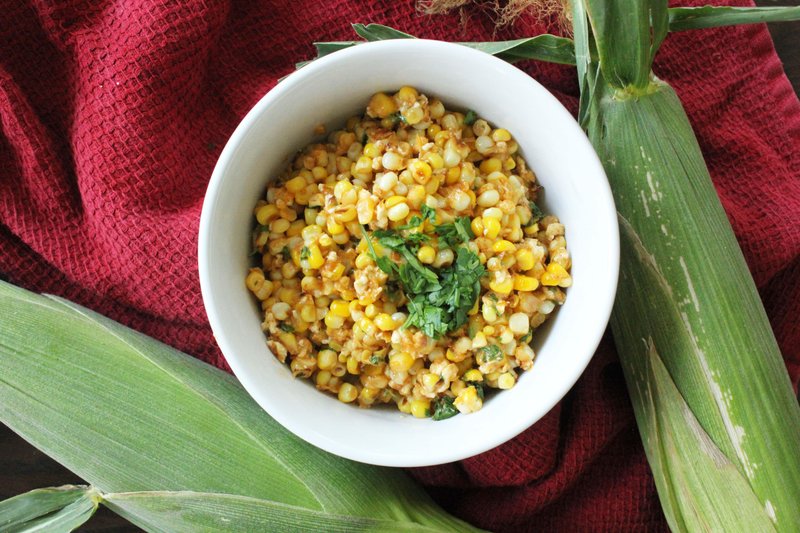
Mexican Street Corn
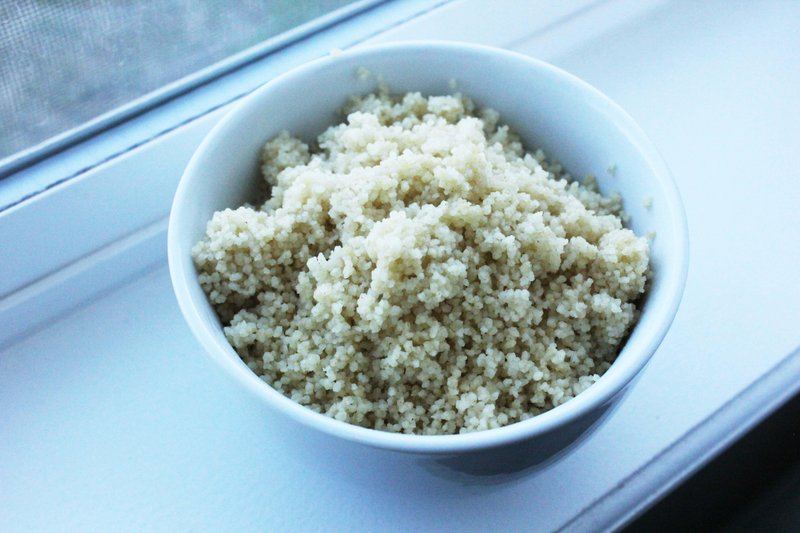
Couscous
Creamy One-Pot Sun Dried Tomato Gnocchi With White Beans, Pine Nuts and Spinach
Penne Caesar Salad
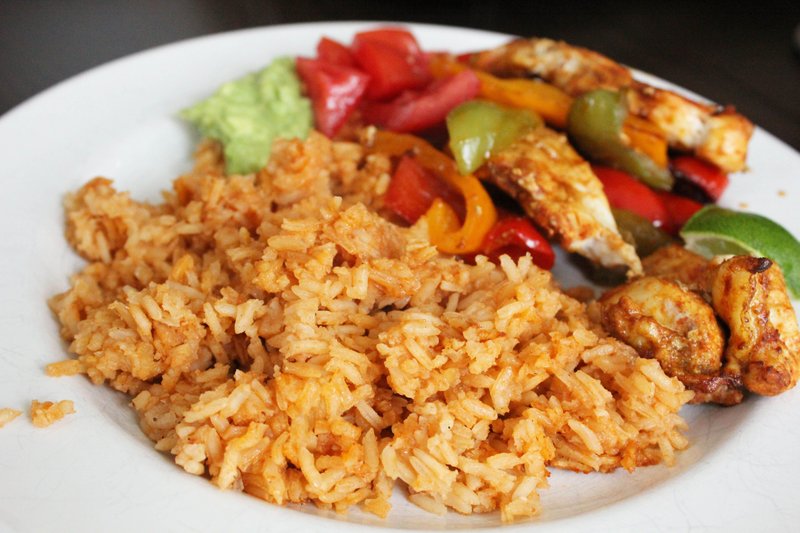
Mexican Rice
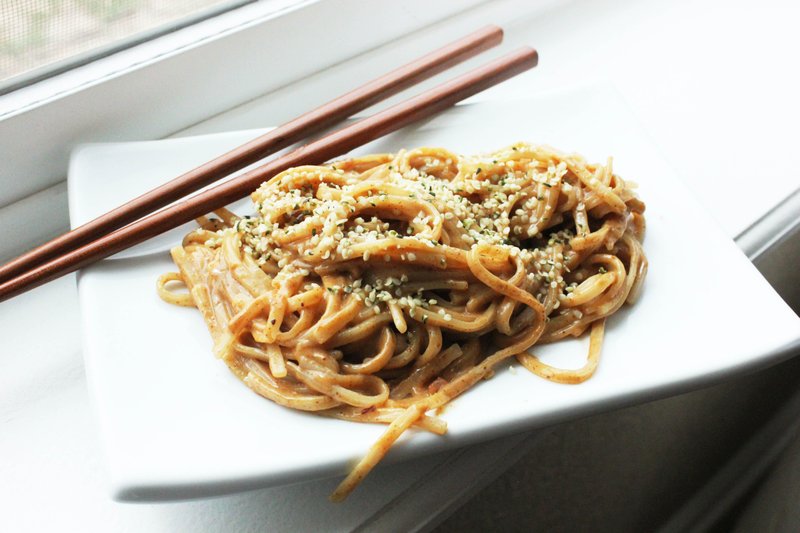
Sticky Thai Peanut Noodles
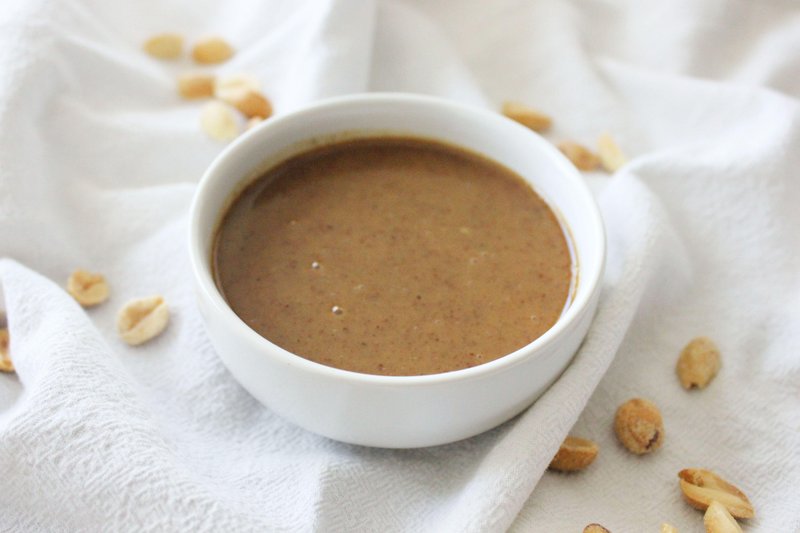
Peanut Sauce

Pita Bread
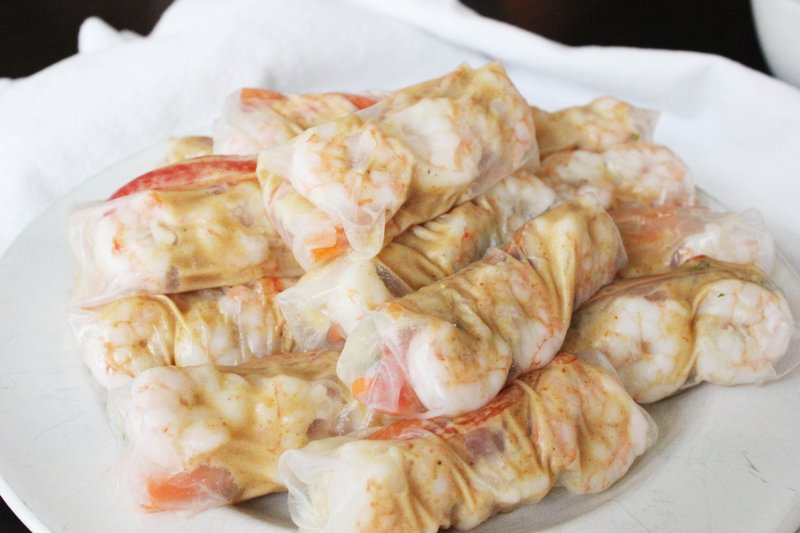
Fresh Shrimp Spring Rolls with Peanut Sauce
Vegan

Chickpea Edamame Salad with Lemon & Dill
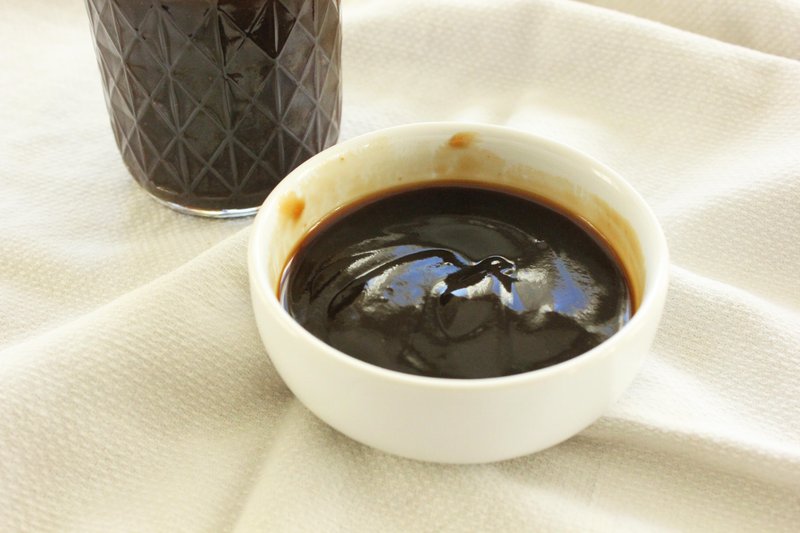
Homemade Teriyaki Sauce
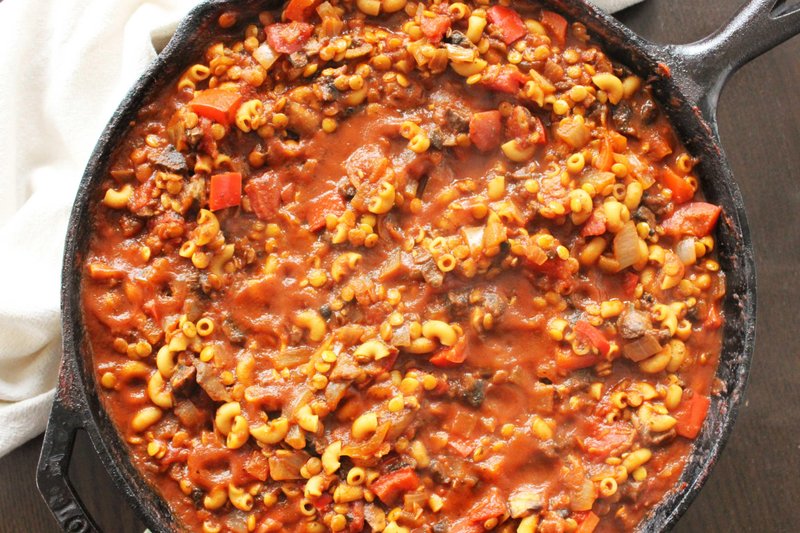
Vegan Hungarian Goulash
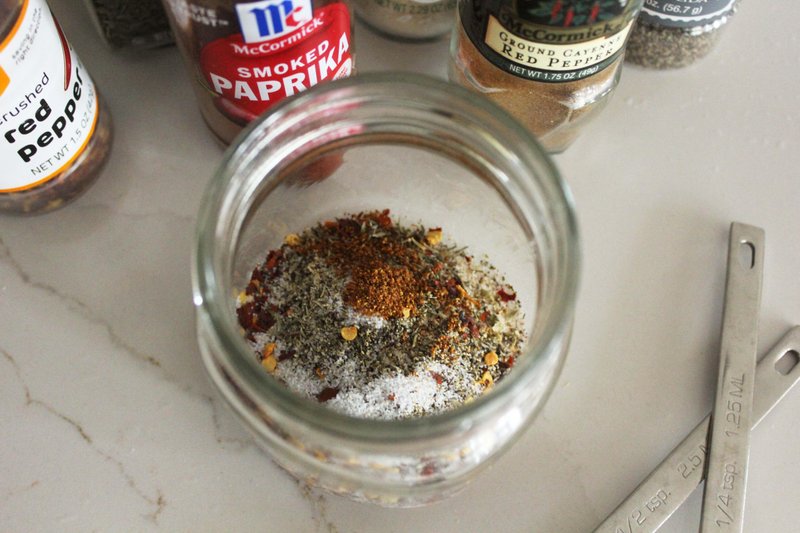
Cajun Seasoning
Couscous
Barbecue Tofu
Balsamic Dijon Tofu with Broccoli
Mexican Rice
Sticky Thai Peanut Noodles
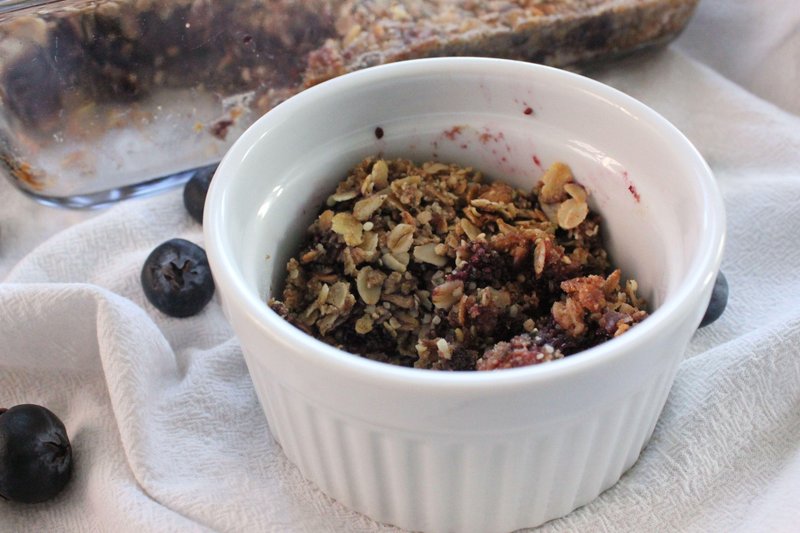
Hi Protein Blueberry Breakfast Cobbler
Still looking? Browse our full collection here