Try this easy recipe to make crispy, light, and airy kale chips using your oven – no air-fryer or deep-fat-frying required!
 If you’ve been unsure about all the to-do about kale, I’m sharing this recipe for Crispy Oven-Baked Kale Chips to win you over.
This post is dedicated to my stepson, who has been requesting this recipe since he learned about kale chips. He loves them so much!
Without further ado, let me share a few tricks about how to make the best, crispiest kale chips in the oven – no air-fryer needed.
How to Choose the Best Kale to Make Kale Chips
Like many other foods, the quality of your ingredients will determine the quality of the finished product. That’s one of the reasons I’m such a huge advocate for eating produce when it’s in season.
Kale begins its growth as a tender, sweet green leaf, similar to spinach. This type of “baby kale” is best eaten raw and is ideal for salads as it has the least amount of fiber of its lifespan.
As kale grows, it becomes tougher and more fibrous. If left to grow too long, it will become bitter as it begins to flower and seed to create the next generation of kale.
For kale chips, the ideal time to pick kale is in between the two extremes; once it reaches full maturity the leaves are hearty and sturdy, but still has a very mild flavor.
Once kale is picked, it’s best to use it within about a week; as long as it’s stored correctly, it should maintain its crispness. You can choose to wash your kale either before or after it’s stored. Wrap the kale in a clean damp tea towel or place in a produce bag, then store it in the crisper drawer of the refrigerator until ready to use.
To freshen up kale which has begun to wilt, soak it in very cold water for a few hours immediately before cooking.
How to Prep Kale to Make Crispy Oven-Baked Kale Chips
Wash Kale Leaves
To prep kale to cook in any recipe, always wash it thoroughly. Especially if it’s coming from a garden or a local farmer, it likely has a little dirt in its leaves!
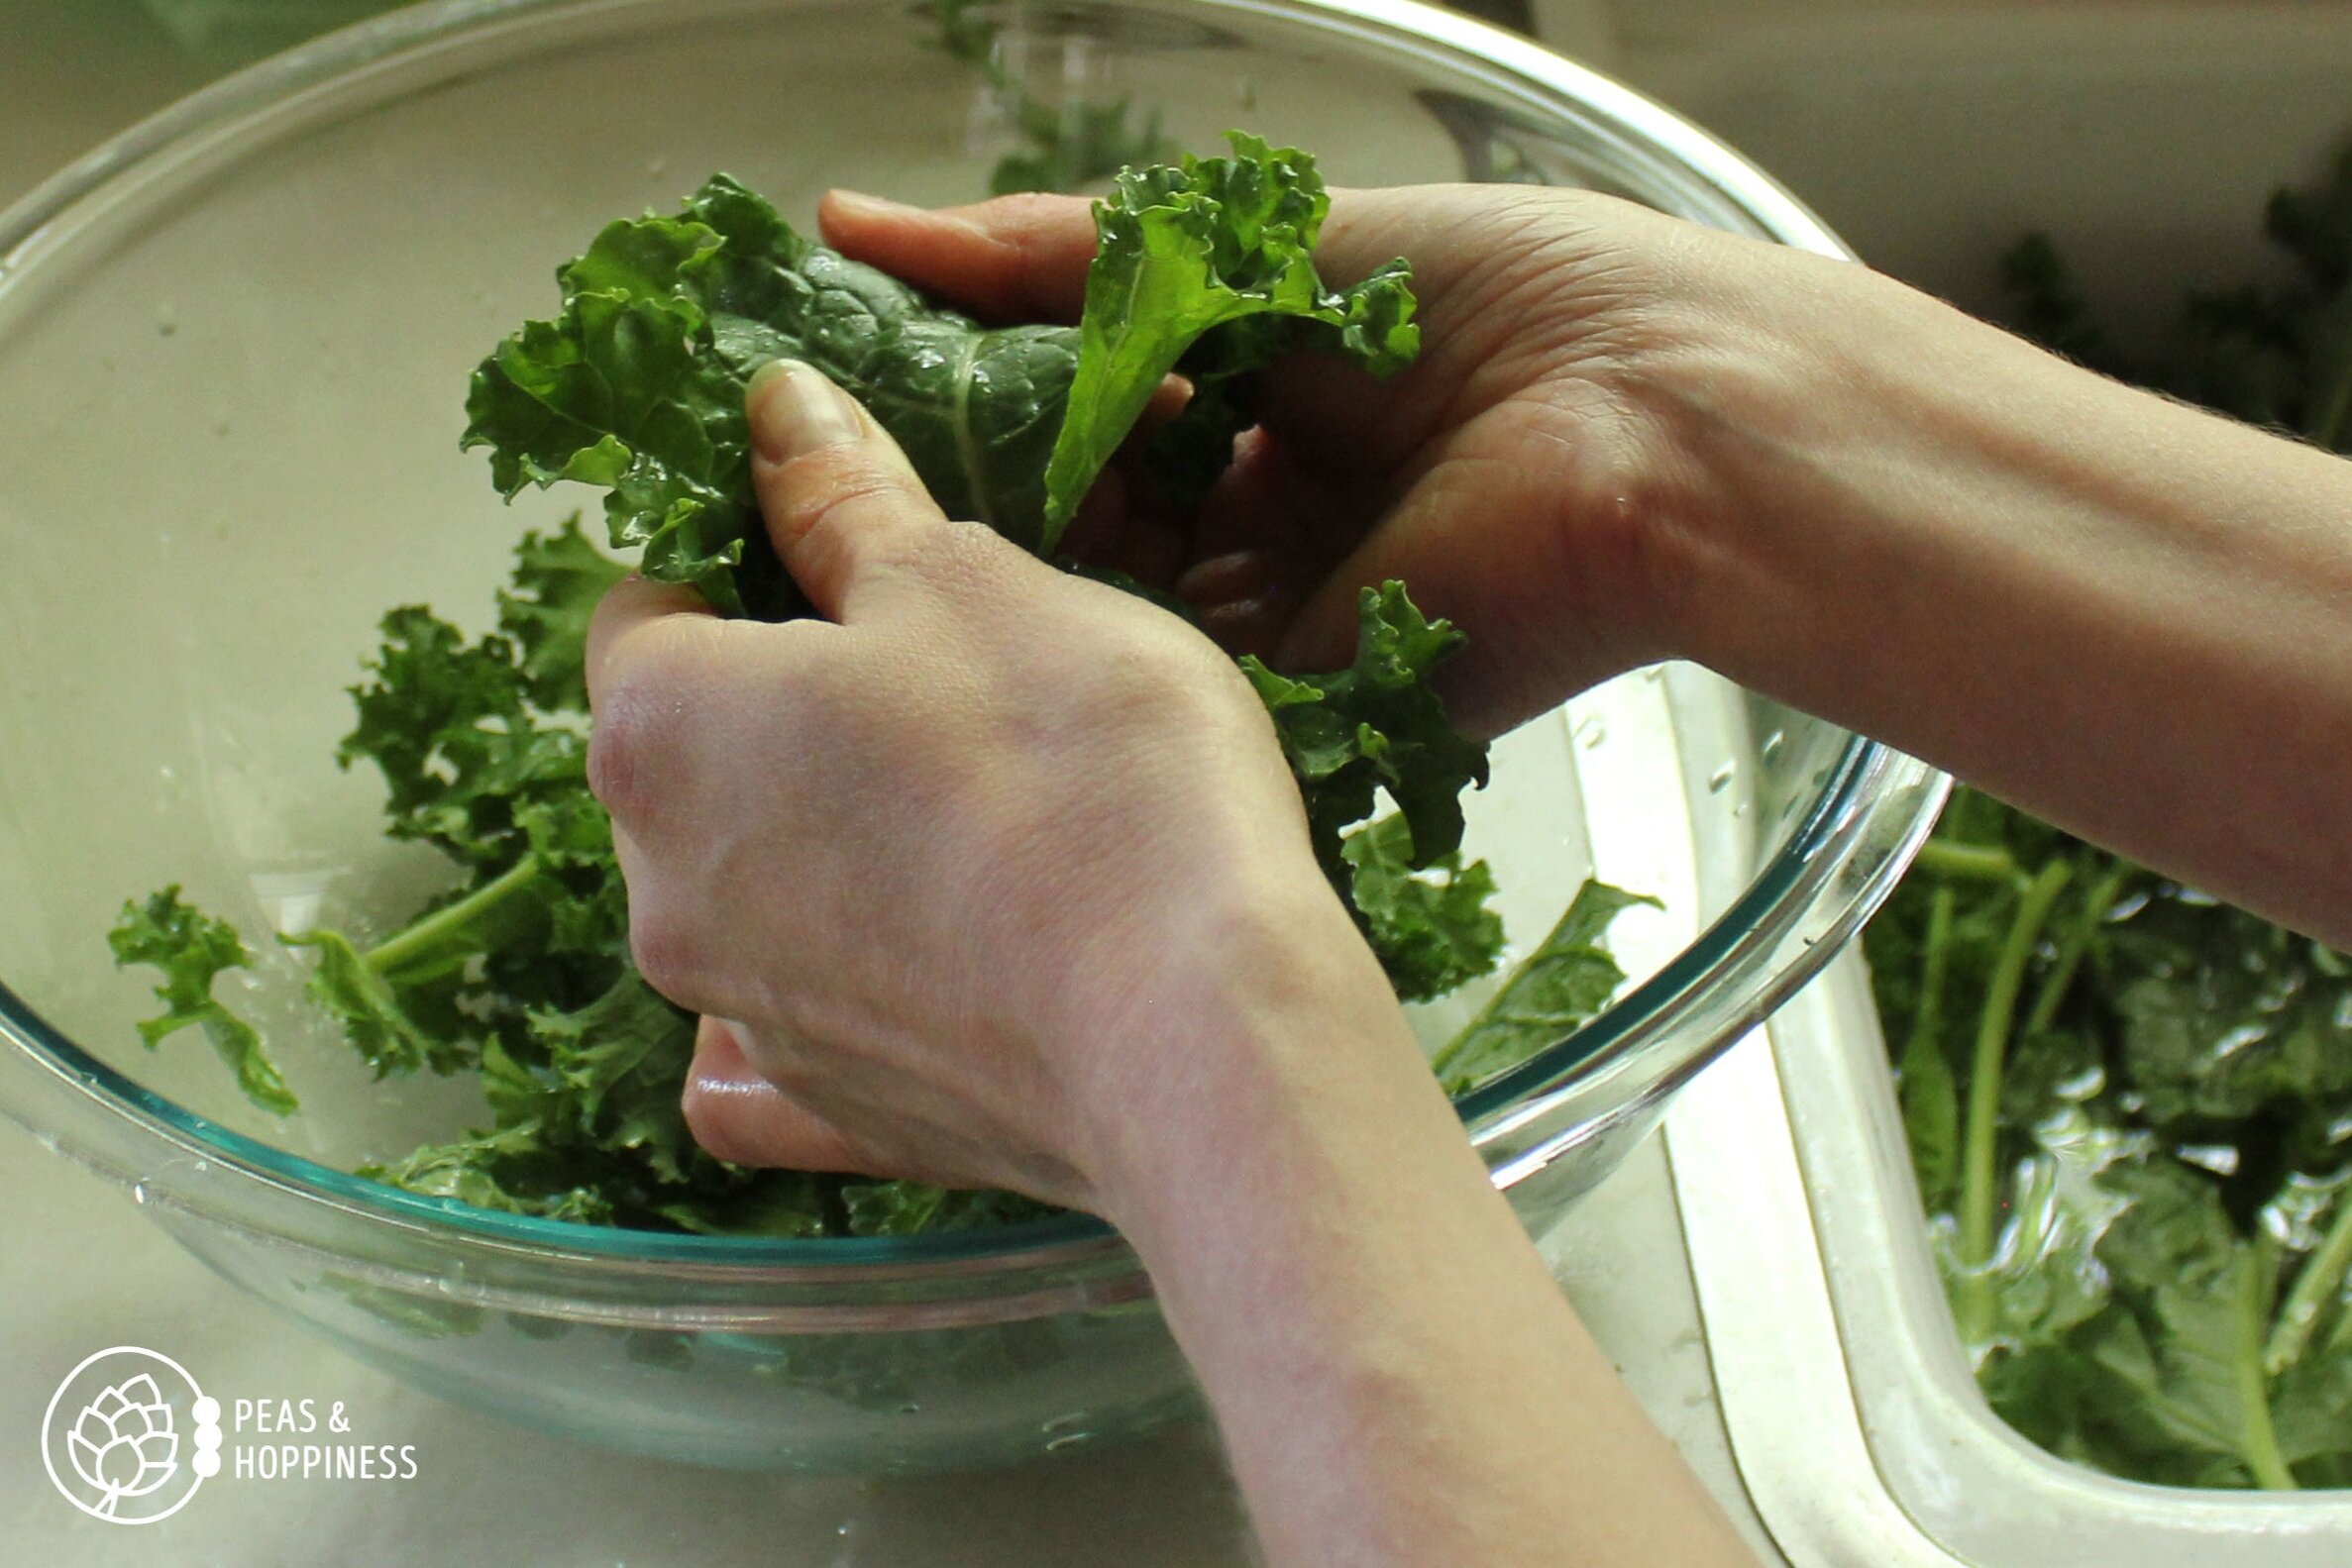
Soak the kale leaves in cold water (especially if its very sandy, like the Colorado soil is here), then wash each leaf individually by rubbing your fingers on all the leafy surfaces. There’s no need to use any special vegetable or produce wash – simple water will do just fine.
Dry the leaves as much as possible by pressing with a towel and/or allowing to drain in a colander. Moisture will prevent the kale from become crispy when baking, so make sure to dry it well!
Remove Leaves From Kale Stem
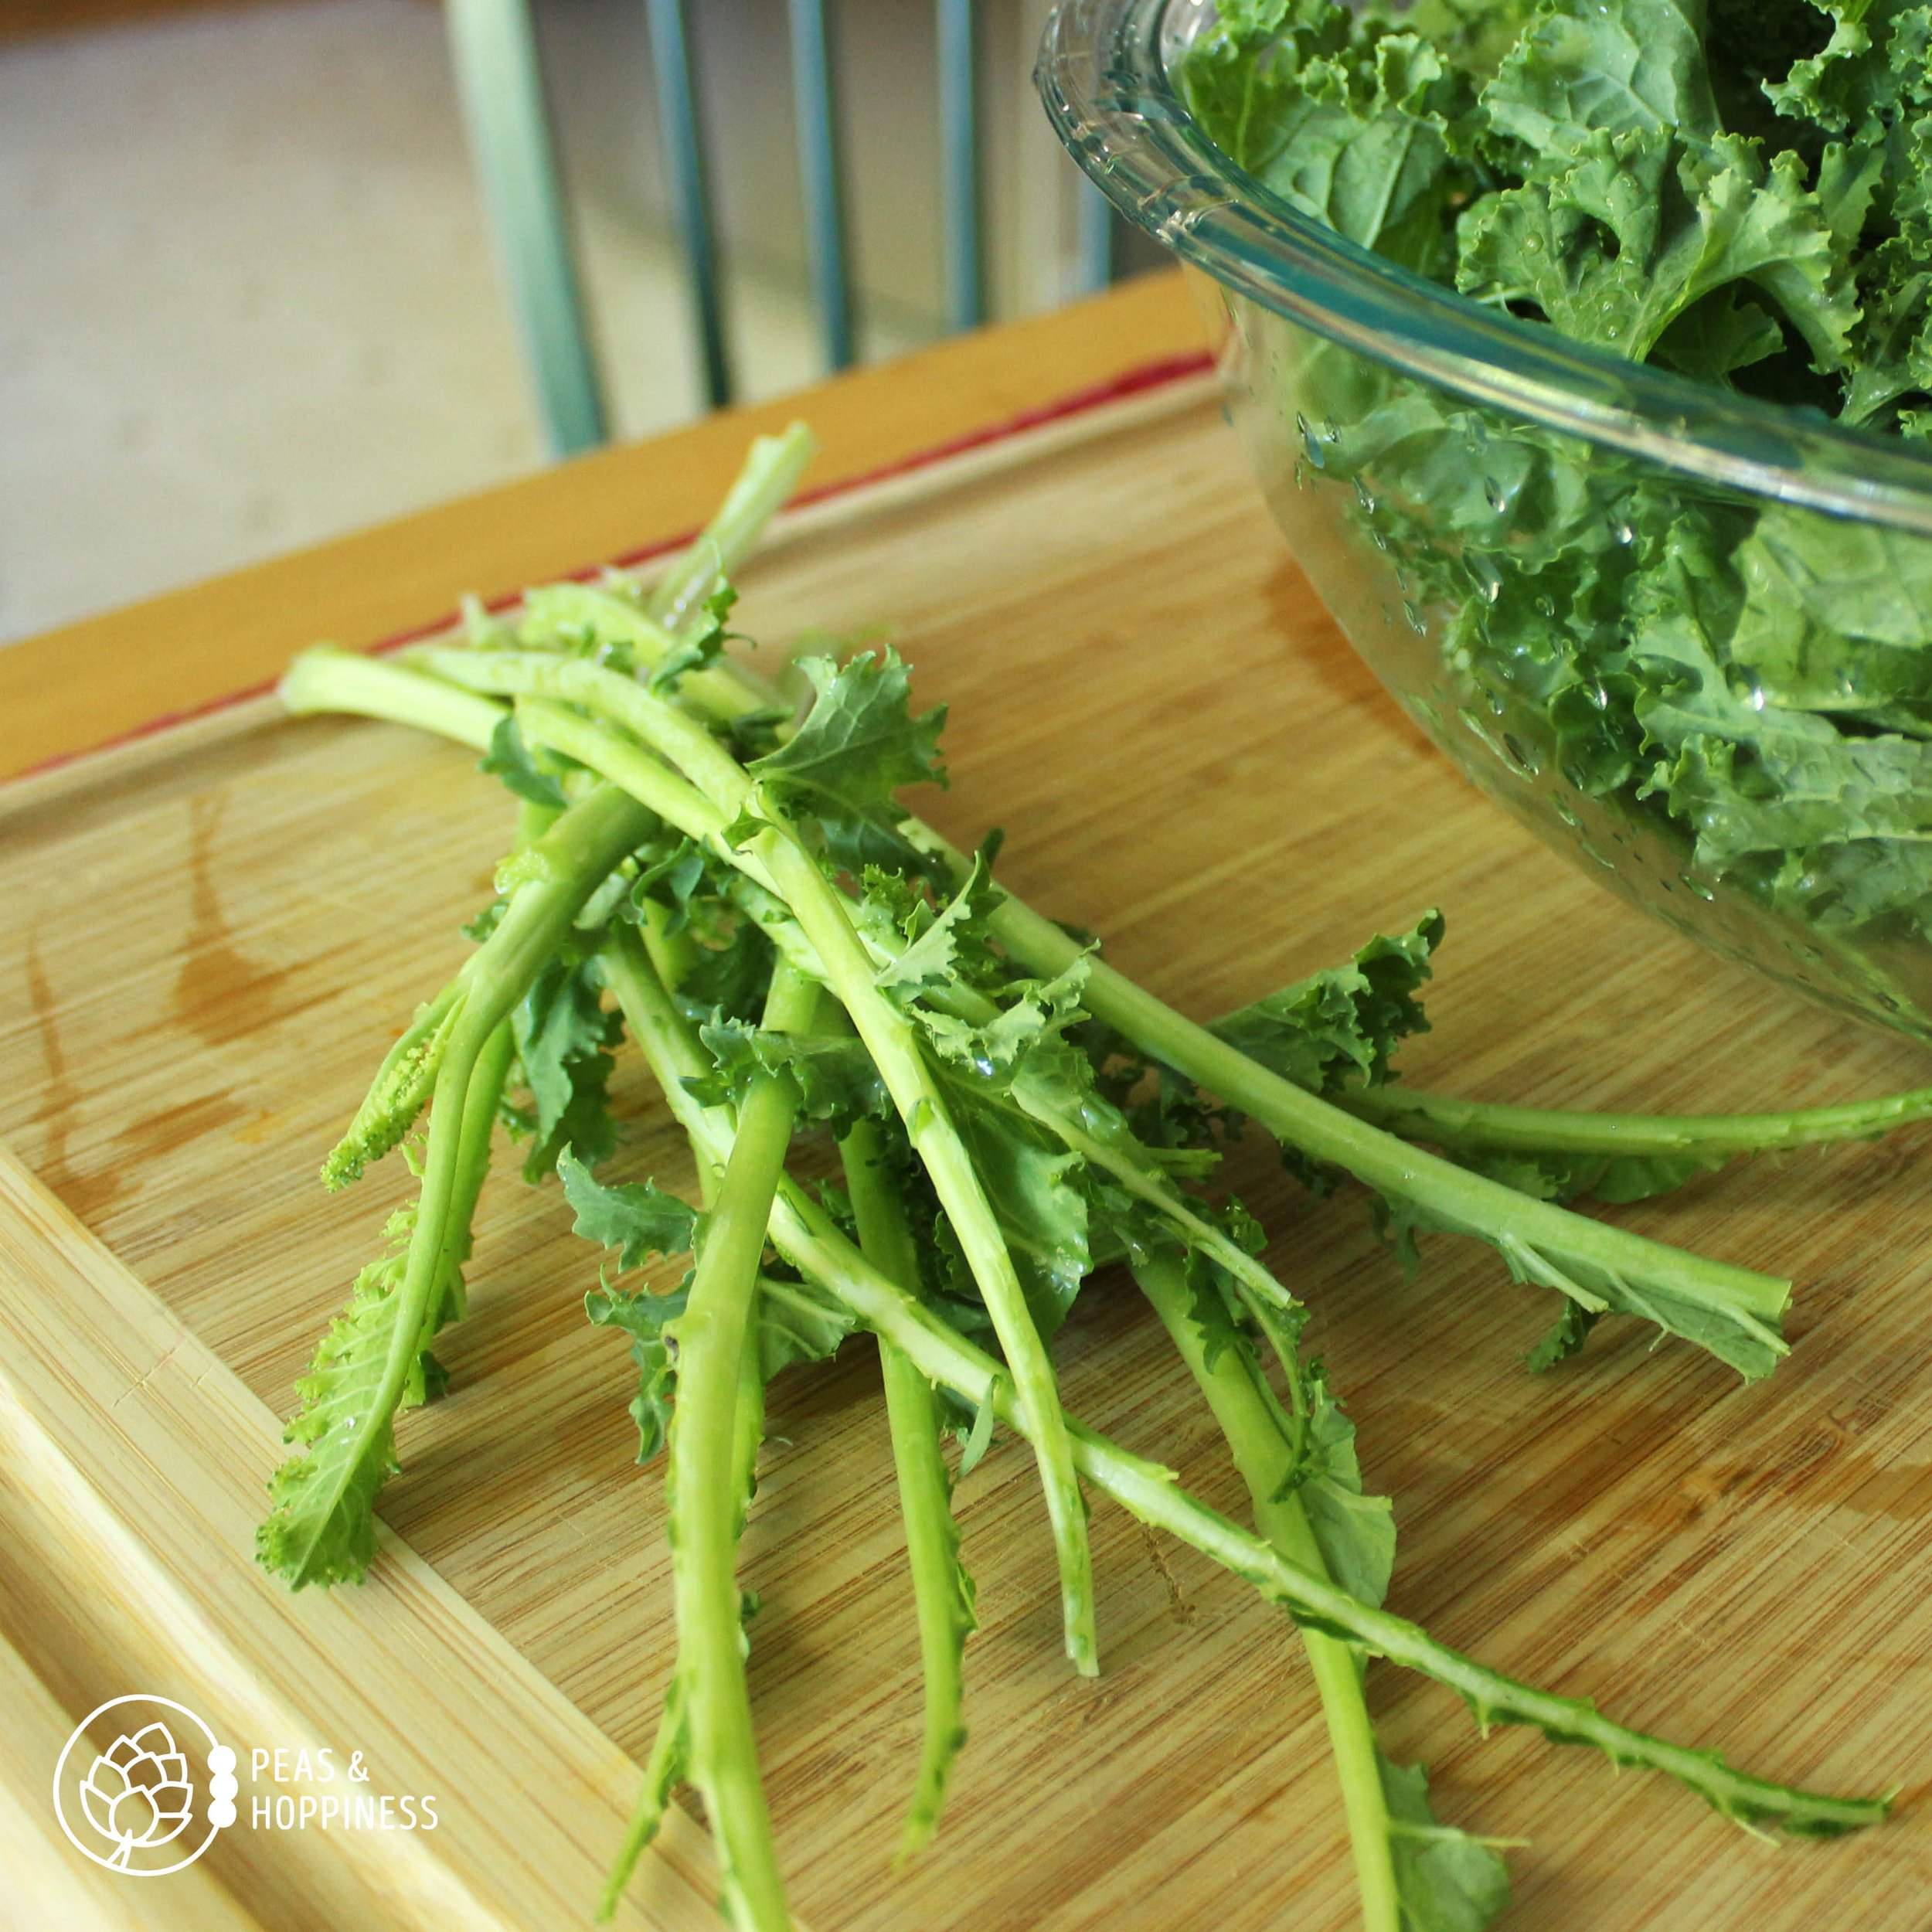 Once leaves are clean, remove the leaves from the stem of the kale. At this point in its growth, the stem is inedible – it’s just too fibrous – and should be thrown away.
To remove the leaves from the kale, in one hand hold the kale leaf by the base of the fibrous stem with stem-side up. With the other hand, pinch the stem loosely at the base with thumb and forefinger and slide down the stem to strip leaves off.
Discard the tough stem and use either your finger to tear or a chef’s knife to chop the leaves into approximately 1-inch pieces.
The Secret to Crispy Kale Chips (without Using Oil or an Air Fryer)
Water is the enemy of crispiness when it comes to cooking. That’s why fried foods are so crispy – water and oil don’t mix (think of shaking up there is no water in oil! (Remember how water and oil don’t mix?)
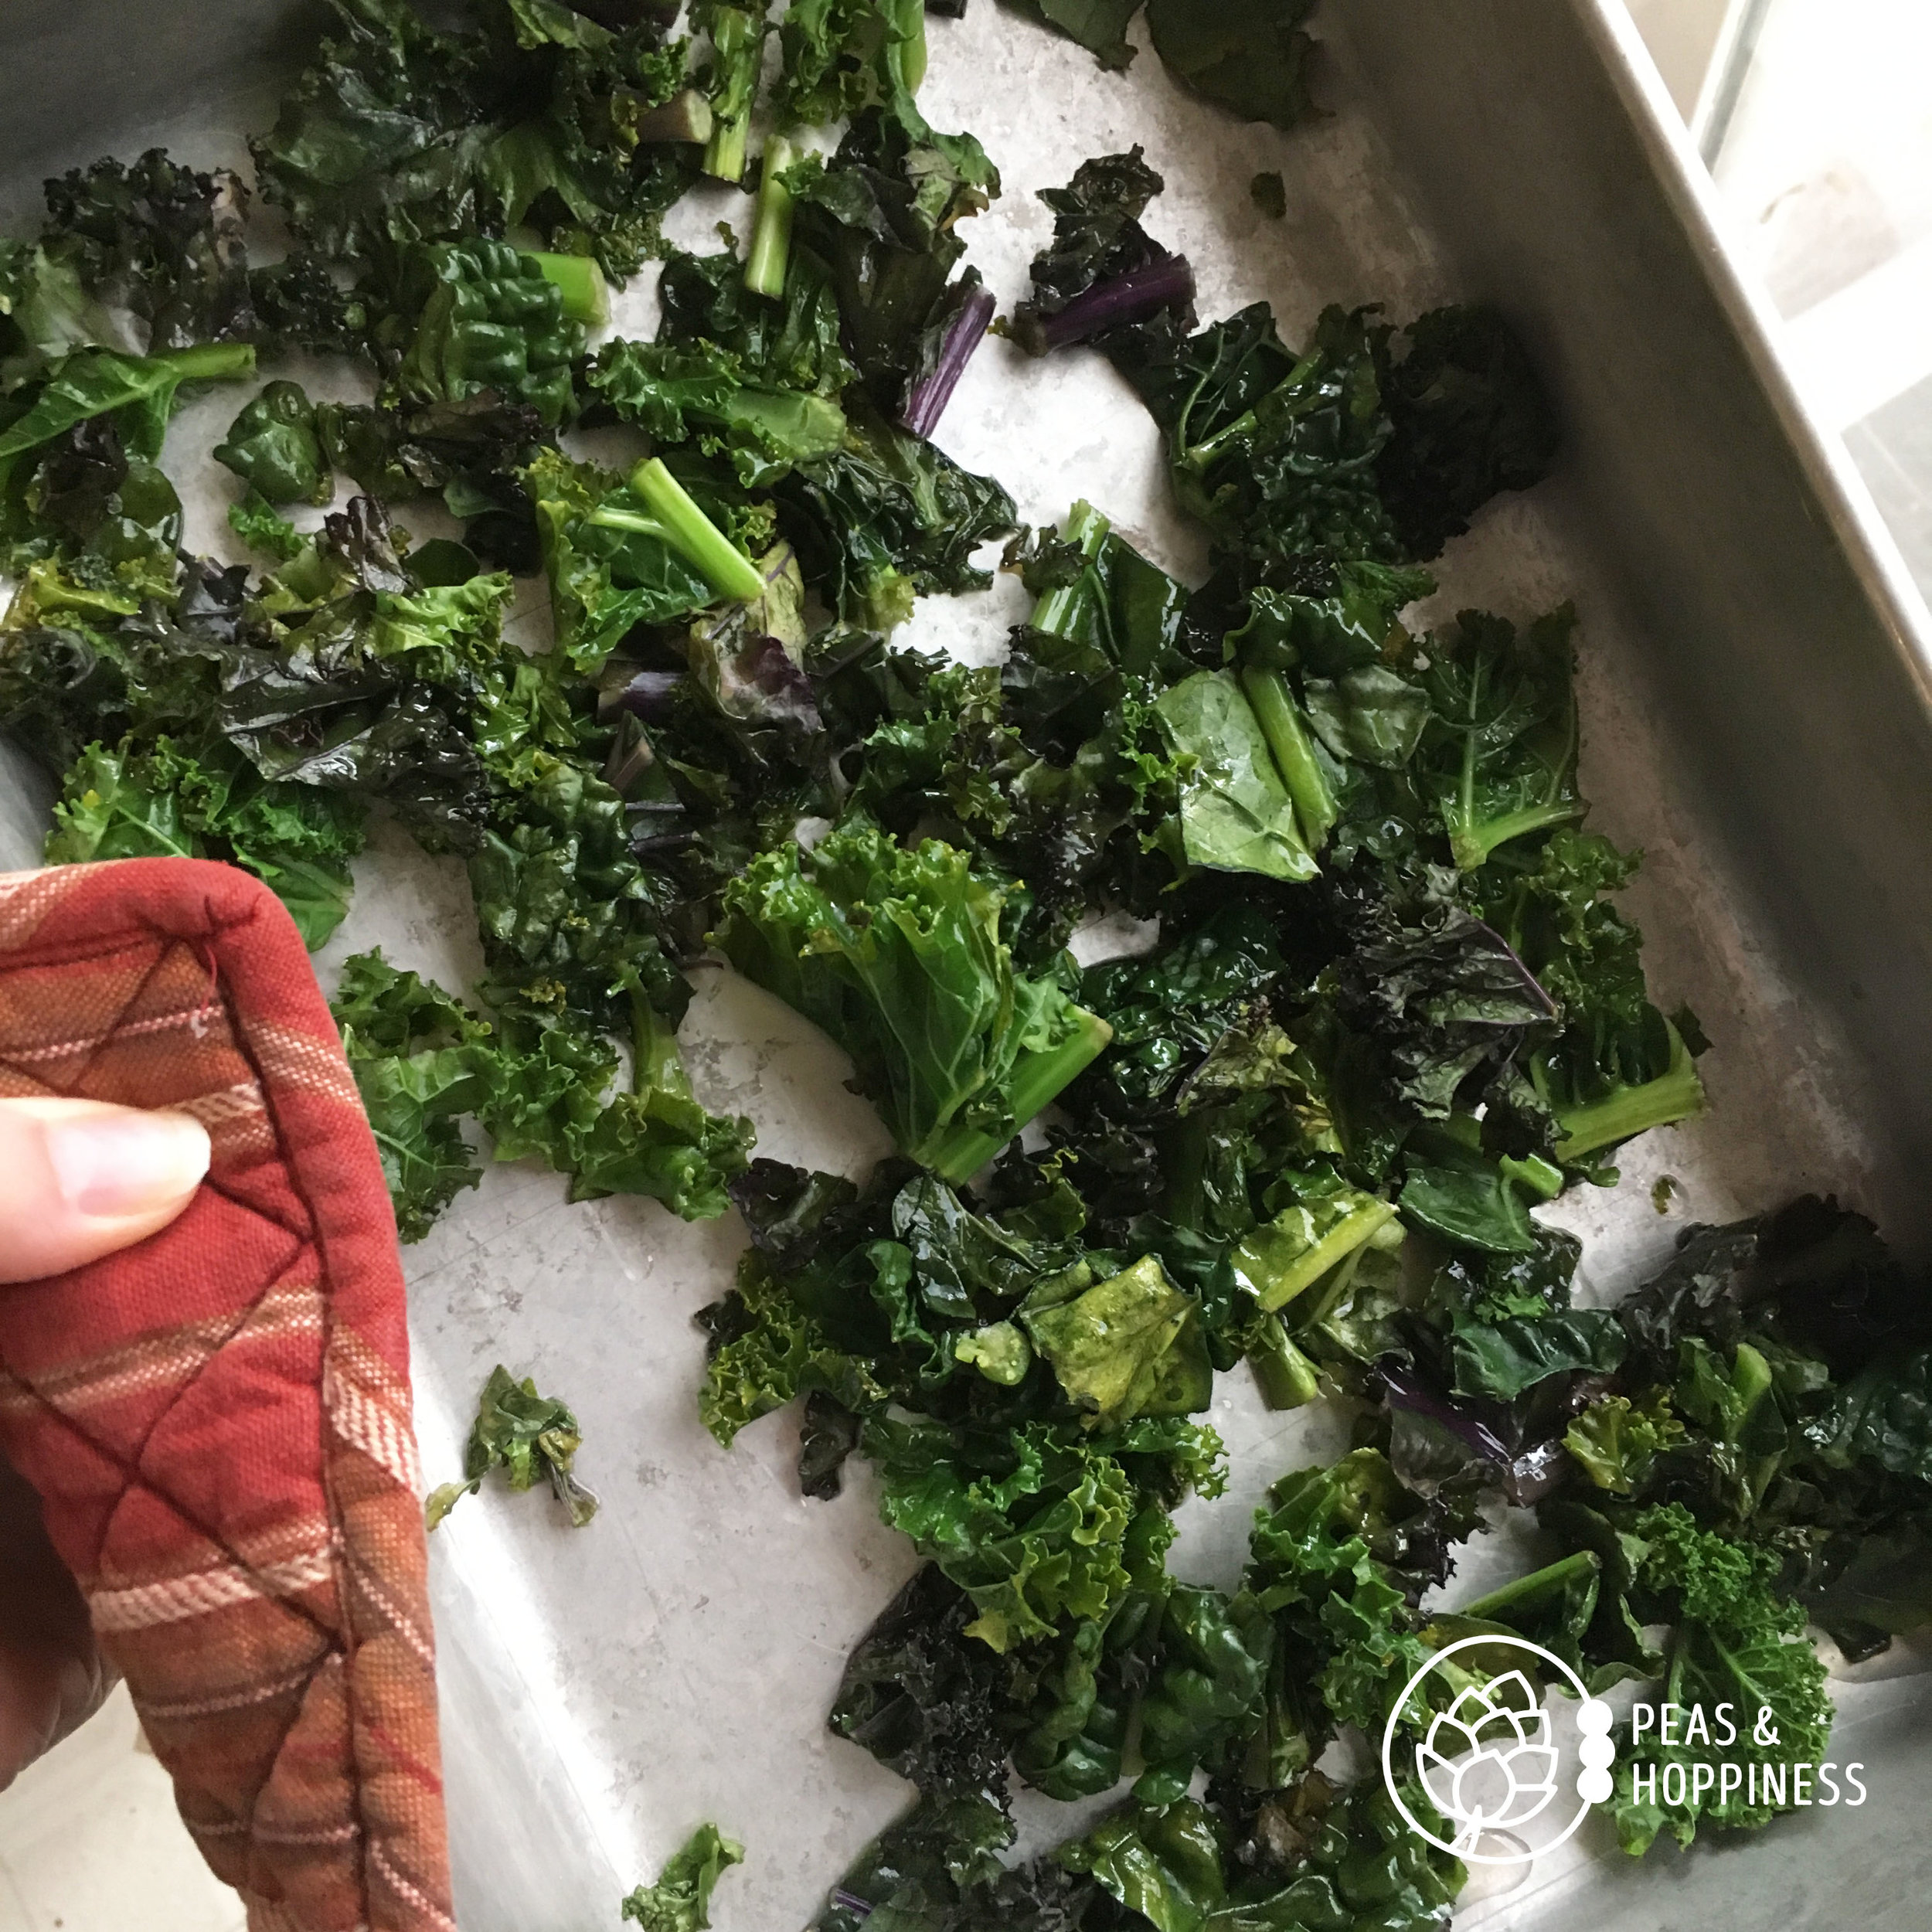 When trying to recreate the crispy texture of chips in an oven, it’s essential to remove as much water from the process as possible – thus the reason to dry the kale thoroughly before baking.
Another way to dry out (and crisp up) the kale chips would be to use a convection oven or air-fryer, which is basically a countertop convection oven. These devices use a fan to move air around the oven while food cooks, helping it to dry and become crispy.
The good news is you don’t need to purchase an expensive oven or cooking device to make these chips!
Here’s my secret: open the oven a few times during the baking process to allow excess steam to vent, thus allowing the kale chips to become crispier.
How to Make Crispy Oven-Baked Kale Chips
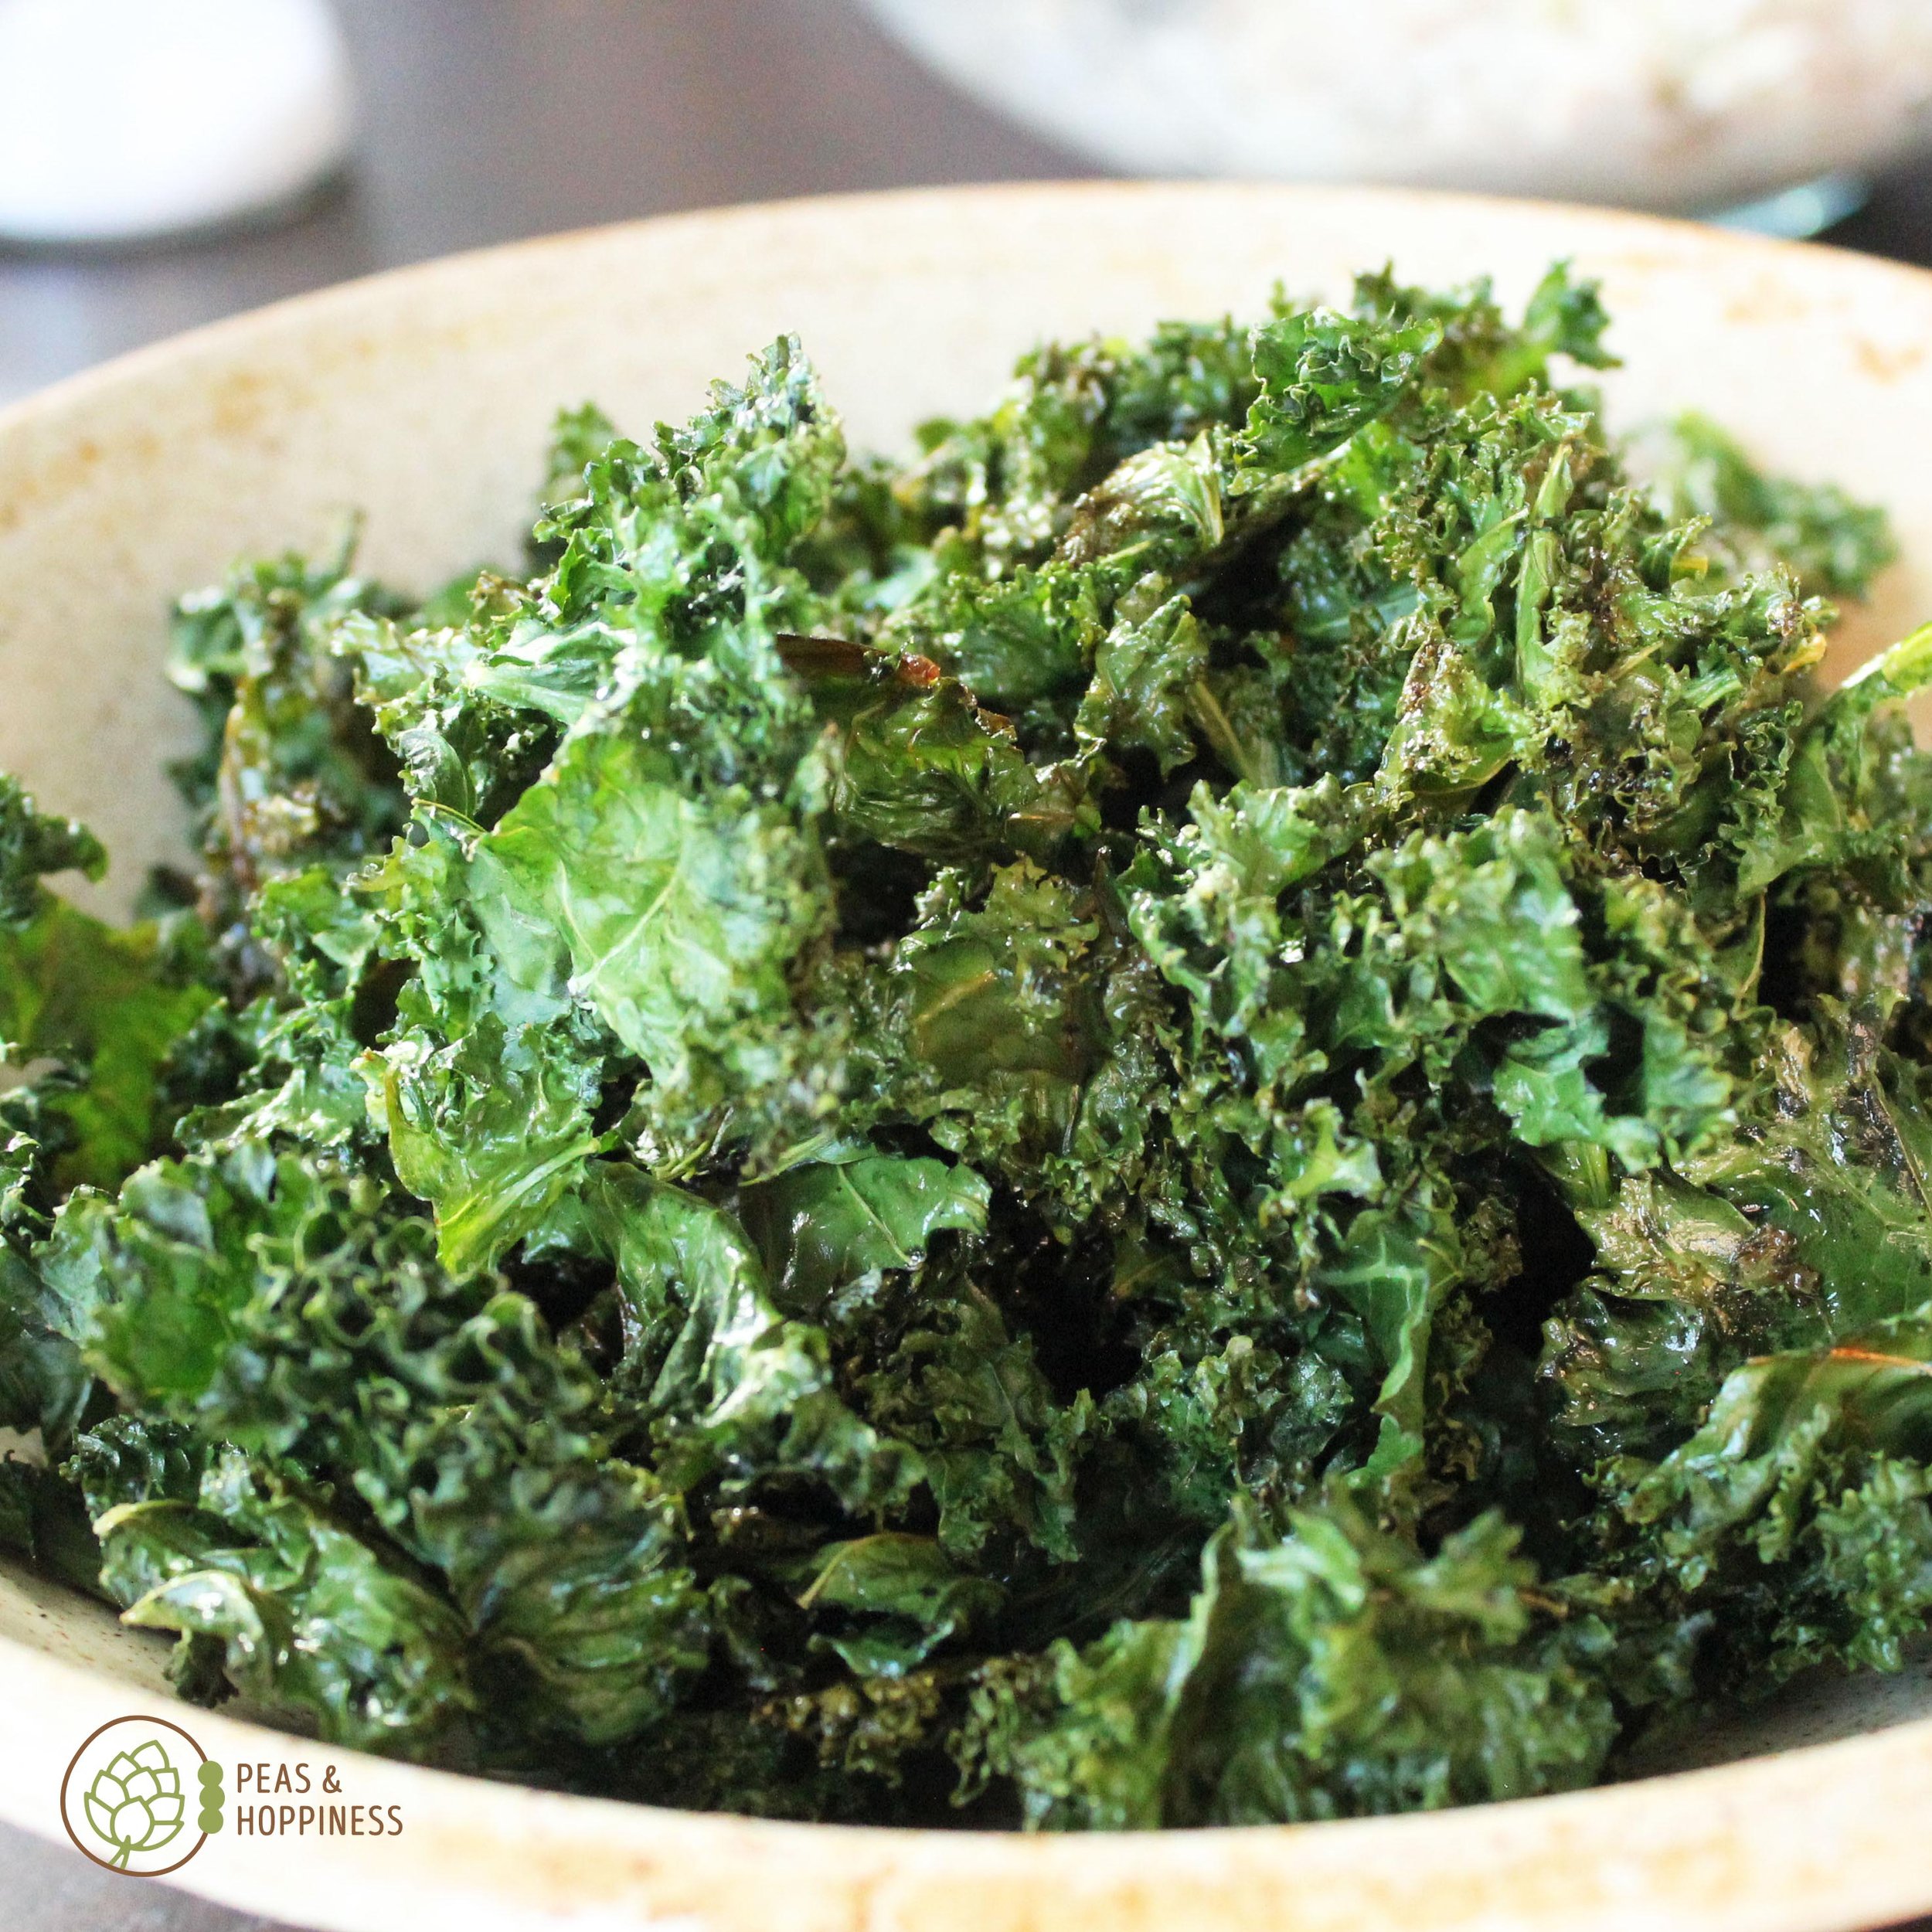 Now that you know all my kale-ific secrets, let me share this super easy and very yummy recipe with you.
Preheat oven to 350ºF. Strip kale leaves from stem and tear or chop into 1-inch pieces. Or if you’d like to make it really easy, just use pre-washed and chopped kale instead.
Place kale leaves on a large baking sheet and toss with oil and salt. Add other herbs and spices if you’d like, such as cayenne (for a spicy kick – use a small amount!), basil, oregano, or cumin. Arrange leaves no more than one layer thick, using several pans if necessary.
Bake in the oven for 8-10 minutes or until crispy, opening the oven door several times during baking to release steam. Watch carefully after 10 minutes and remove from oven before leaves burn.
Enjoy this tasty, nutritious treat!
Happy kale eating,
Dietitian Ann from Peas and Hoppiness
Better for You, Better for the Planet
Enjoy the best tasting, most nutritious vegetables year-round when you download this Seasonal Vegetable Guide.
In-Season Produce, Year-Round
Explore seasonal produce with our customizable meal planning service, the Peas & Hoppy Meal Guide Membership, to support local farmers and get more in touch with where your food comes from.
“I love the balanced meals and variety of food choices the guides provide. The meals are filling, taste good, and are nutritious.”
-Rhonda, member of the Peas & Hoppy Meal Guides
